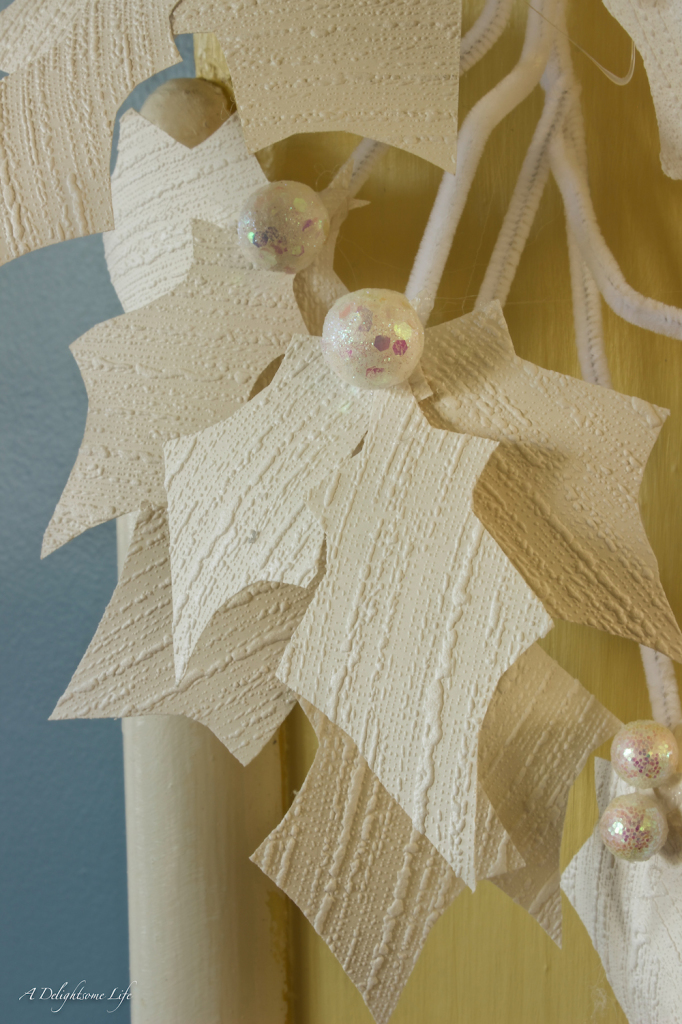
Made from Textured Wallpaper
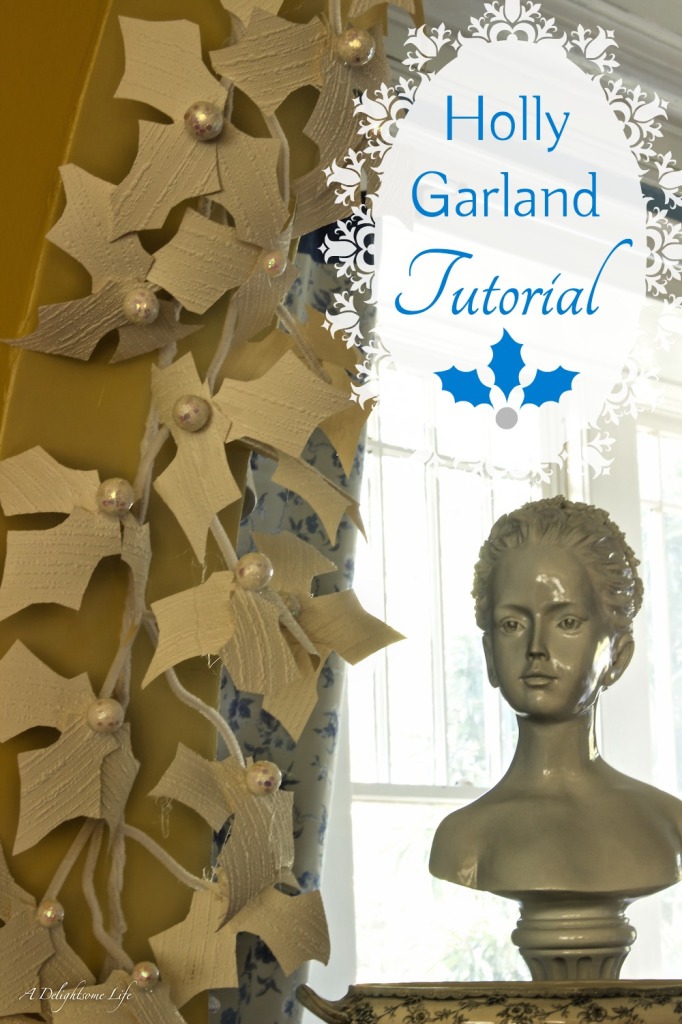
I have so enjoyed my book page leaf garland and wreaths for my fall decoration that it is going to be difficult to replace them. I think I have found my solution – for Christmas. I found a way to make handmade Christmas holly garland using textured wallpaper.
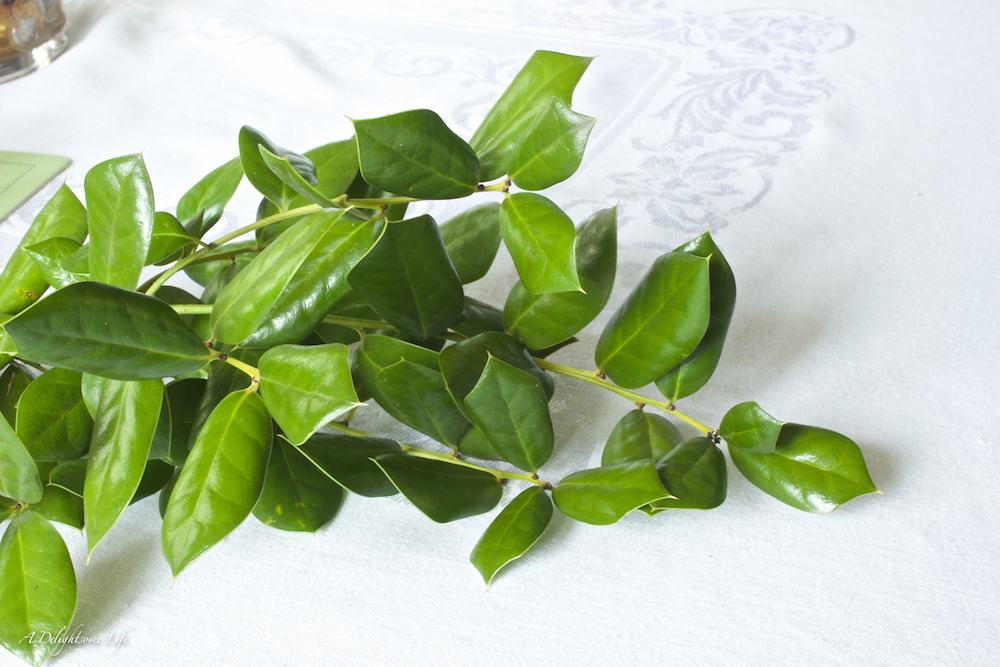
The Holly
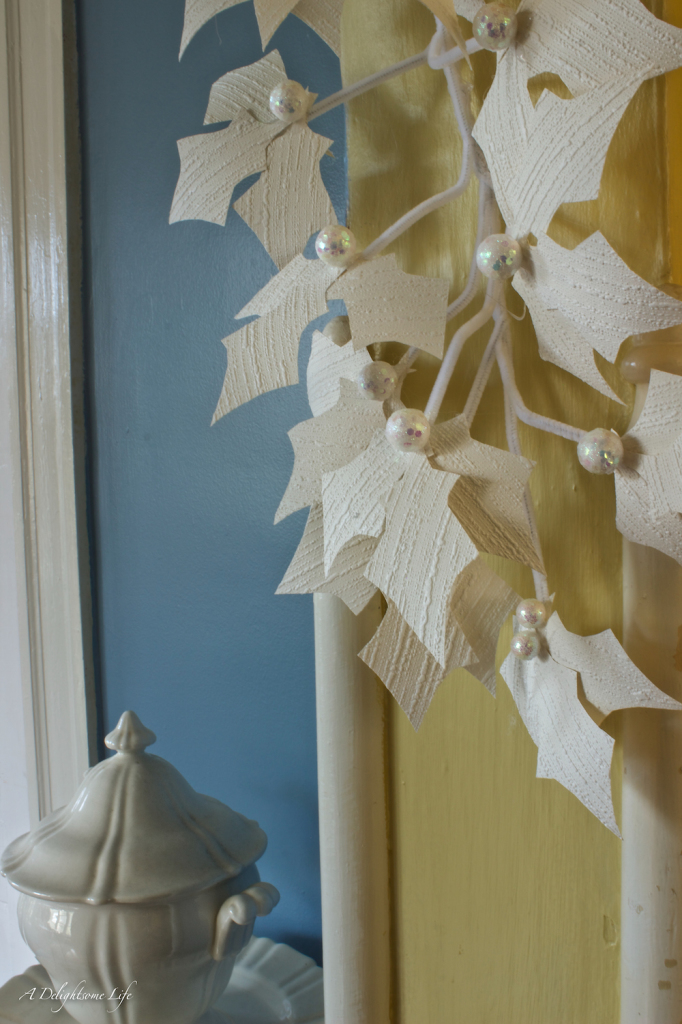
I studied the way the holly leaf grows on the bush. It grows in stems reaching outward. I also loved the look of three holly leaves combined with berries. Just how was I going to recreate this look for Christmas? My aha moment came.
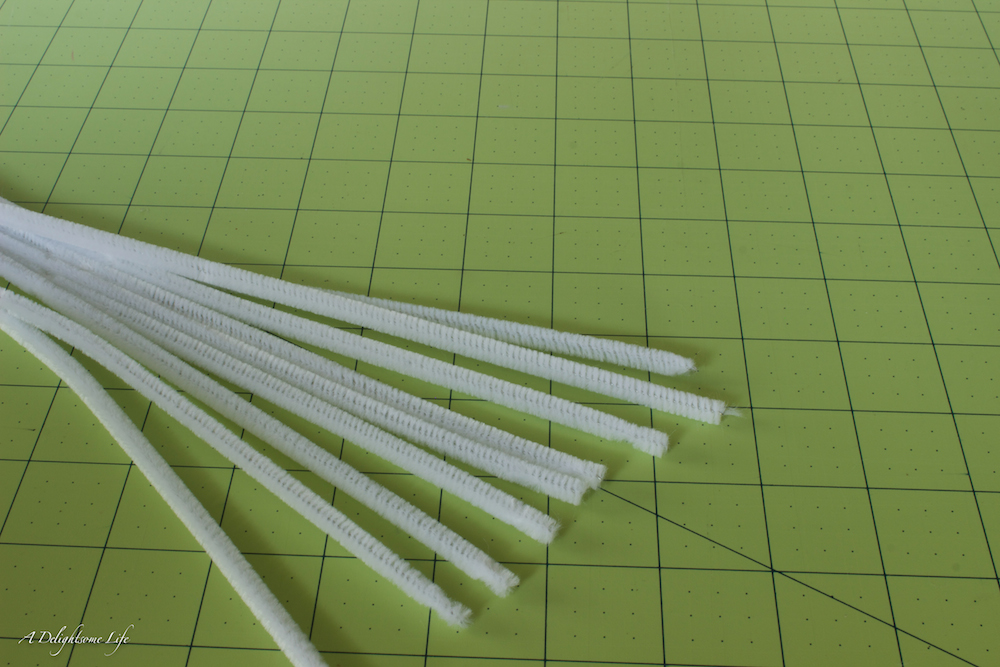
White Chenille Stems
These wonderful, simple craft items beautifully accomplish what I wanted to create. I made my way to Hobby Lobby – let me tell you what a blessing it is to have such a fantastic craft and decorating resource where we live! I still have to drive 30 minutes to get there, but it has made such a difference! I found what I needed and more inspiration. I’ll share more very soon!
The Holly Leaves
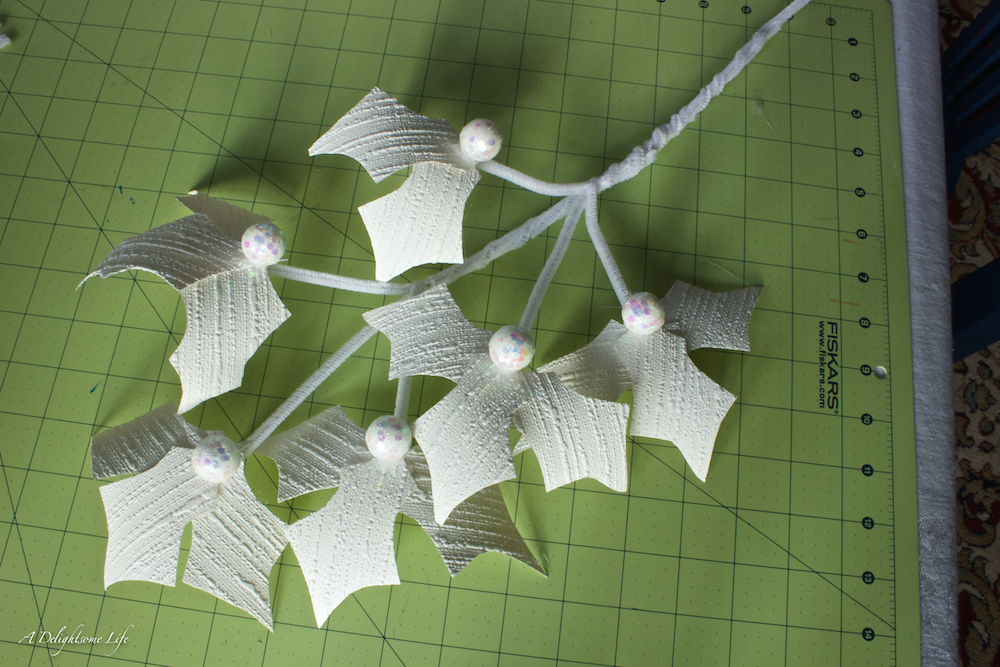
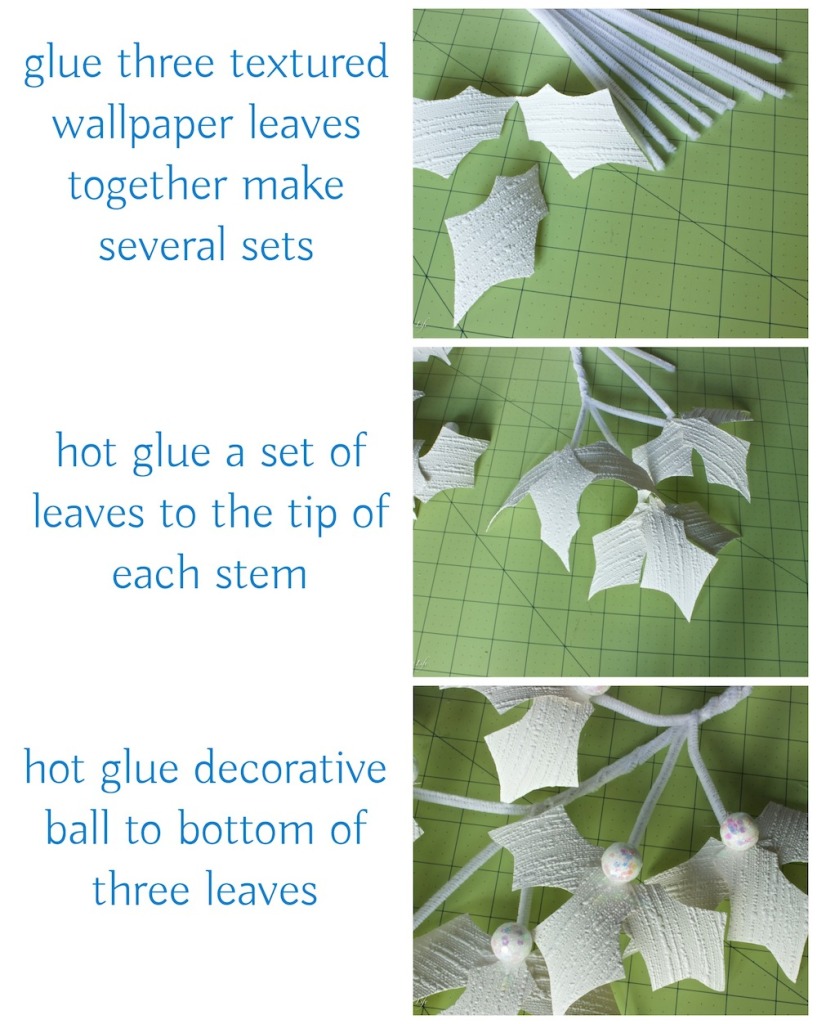
I knew I wanted a winter wonderland look -mostly white. I just loved how the Poinsetta flower turned out on my Coffee Filter wreath so I decided to try the textured wallpaper for the leaves. Yeah! They worked better than I imagined – the wallpaper curved naturally aiding the natural look of the leaf. I free hand cut several leaves at a time. I used hot glue to attach three leaves together – the first two facing away from each other horizontally and the third in the center vertically. I attached each three-leaf set to the end of the chenille stem and voila – holly branches. I found at Hobby Lobby in the Christmas decor aisle these iridescent balls which work perfectly for the berry!
The Holly Garland
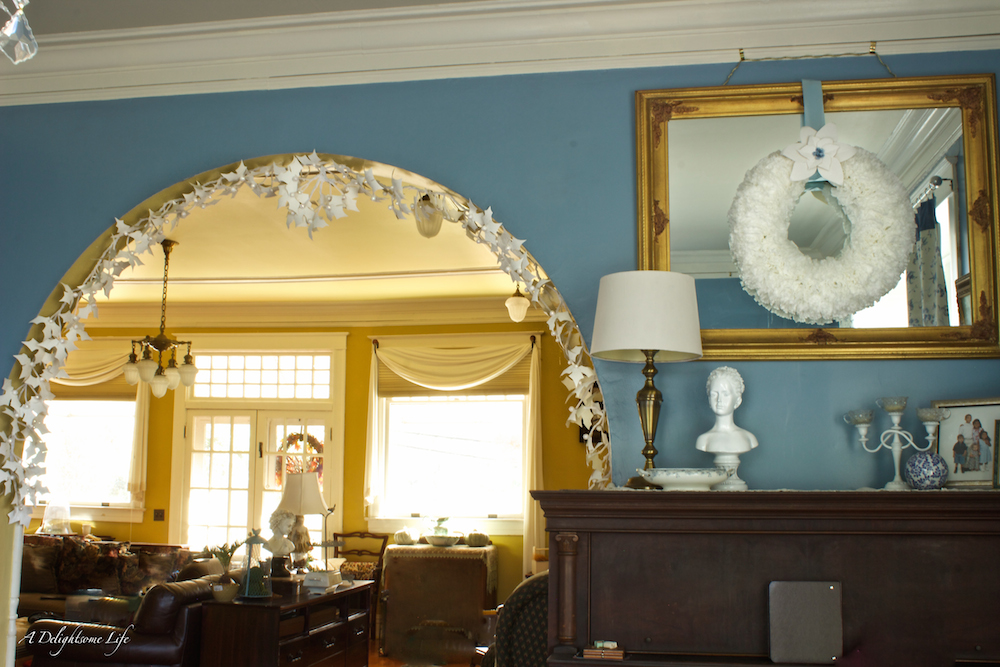
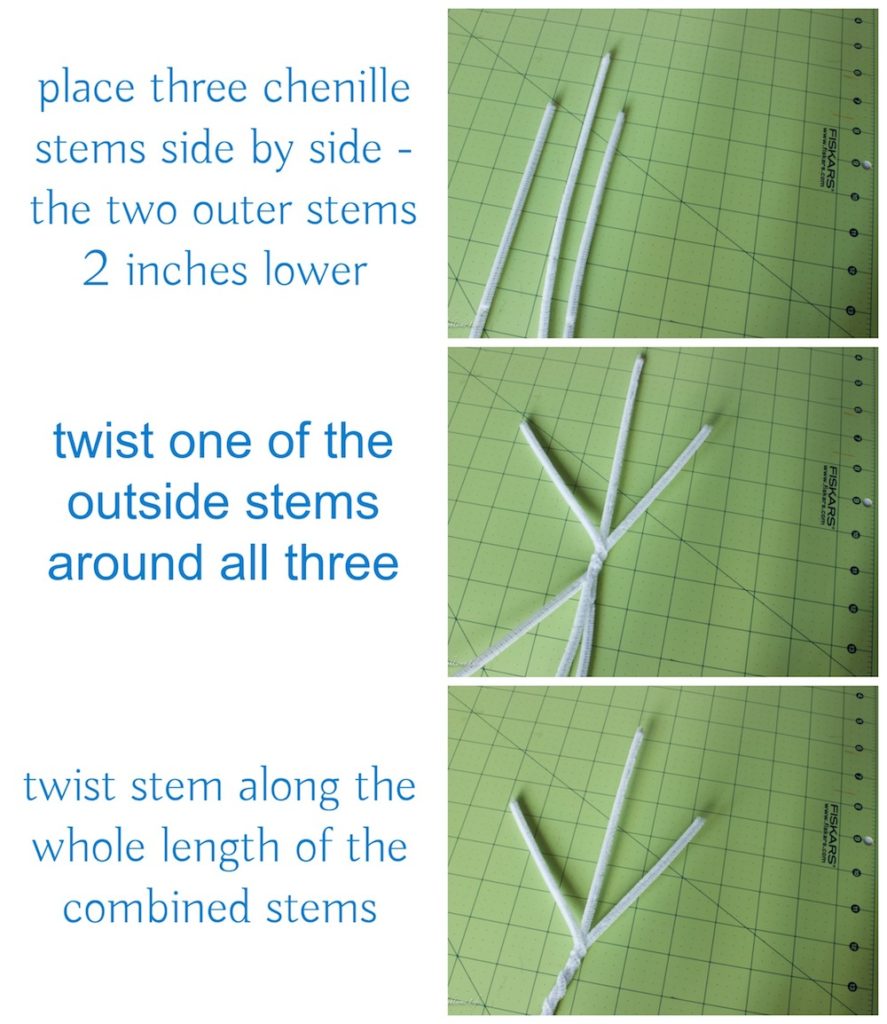
I used tiny Command hooks all along the archway to attach the garland – which I made in 4 to 5 foot sections – this made it easy to create and transport. I just had to twist the end of one behind the branch section of another (tutorial below). I made a cluster of branches for the center. The beauty of using the chenille stems was that it made the branches quite moldable – I arraged the leaves just how I wanted them.
There You Have It!
My Holly garland adds beauty to the room – alongside the Coffee Filter Wreath – I love how it frames the dining room. Now, to finish the winter wonderland Christmas decor – I can’t wait to show you the rest!
Textured Wallpaper Holly Garland Tutorial
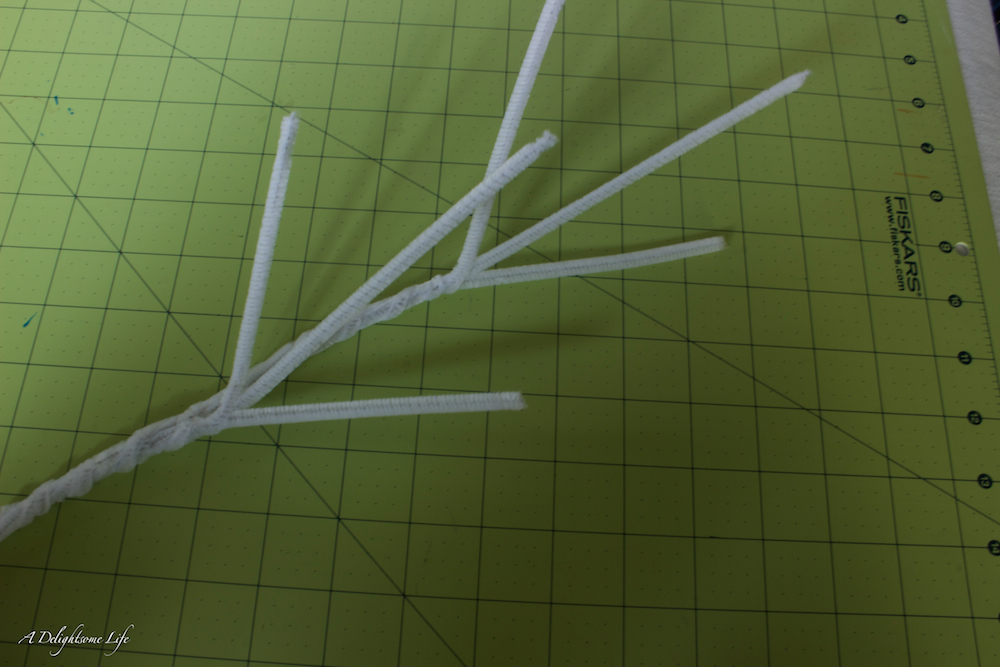 Continue to combine the three stemmed branches to the length you desire – I ended up combining three 4 to 5 foot lengths for the archway.
The Versatile Christmas Holly Leaf Garland
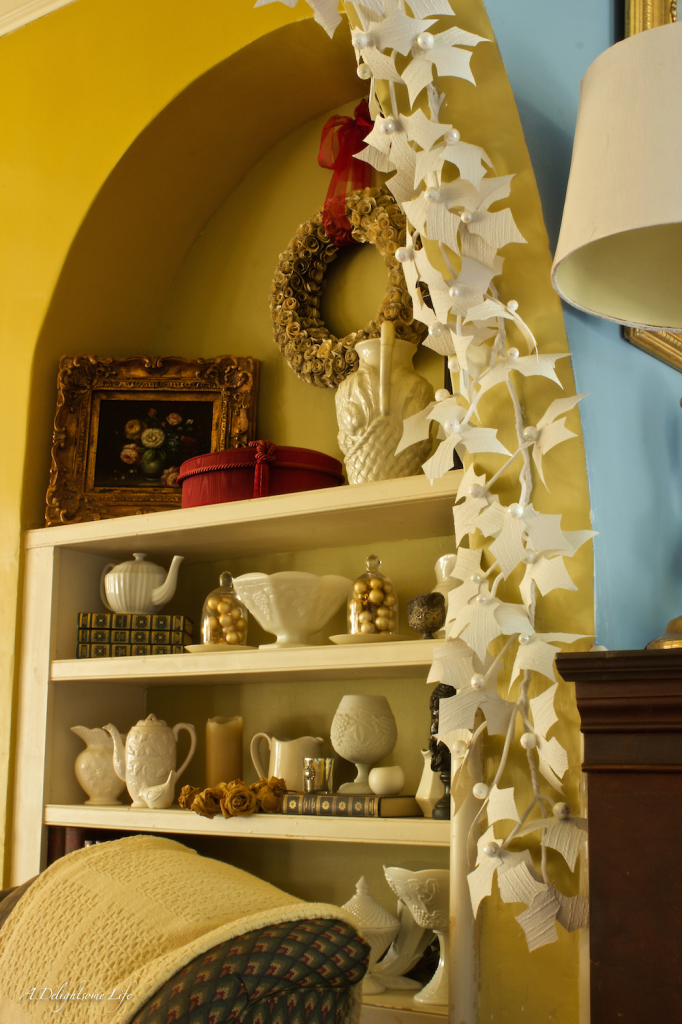 I am truly loving the look to this garland as it brings together the Christmas decor to each room – it adds beautiful whimsy to the white winter wonderland look I’m working on in the dining room.
I am sharing this post with these Delightsome blog parties:

