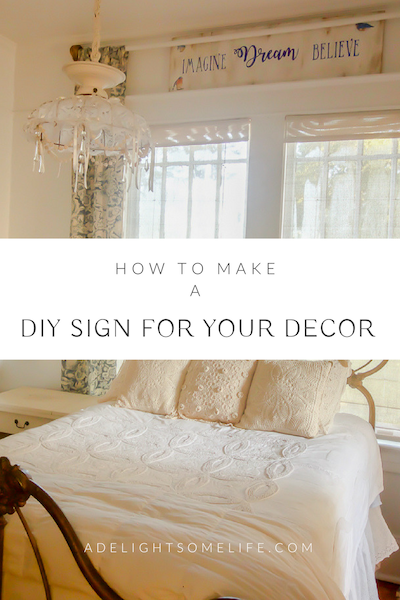
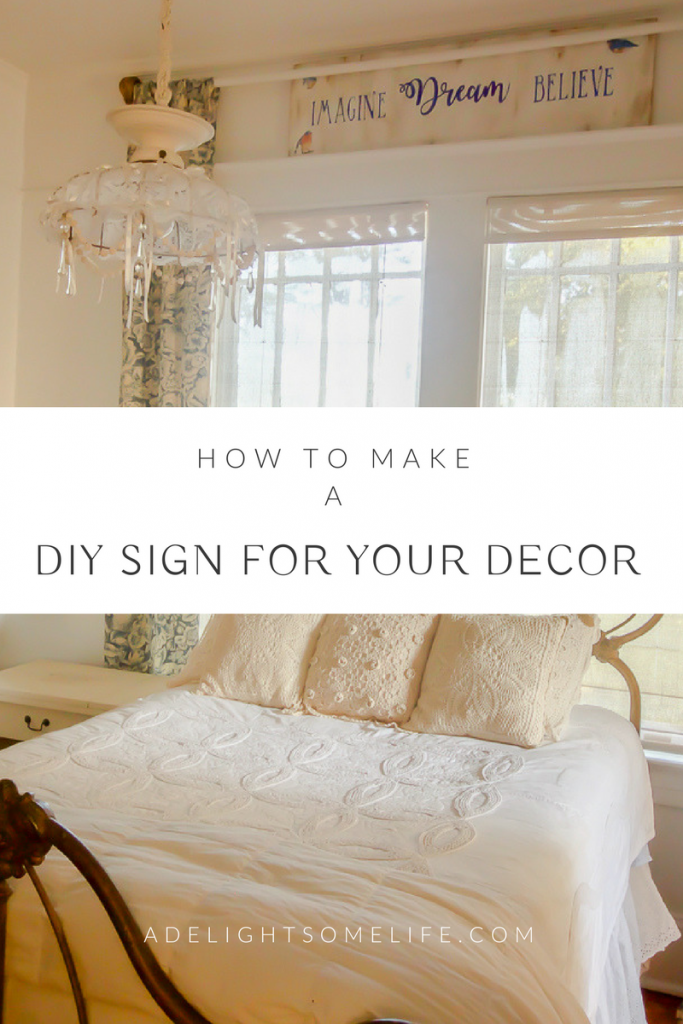
How to Make a DIY Sign for Your Decor
They are everywhere! Large framed signs on wood, chalkboard signs, and more. Adding a favorite or appropriate quote to a room adds personal, signature charm to a room’s decor. I’ll share the method I used to create the sign for the One Room Challenge guest bedroom – how to make a DIY sign for your decor.
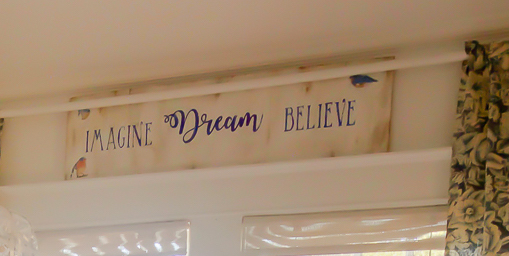
The Space Above the Window
I hung the curtains more for the addition of color, texture and pattern. I hung the curtains from the ceiling to draw the attention upward and to frame the window and the bed. The space above the window seemed blank. Initially, I imagined a rusty modern calligraphy sign. Then I thought of a handmade wood sign…
How to Make a DIY Sign for Your Decor:
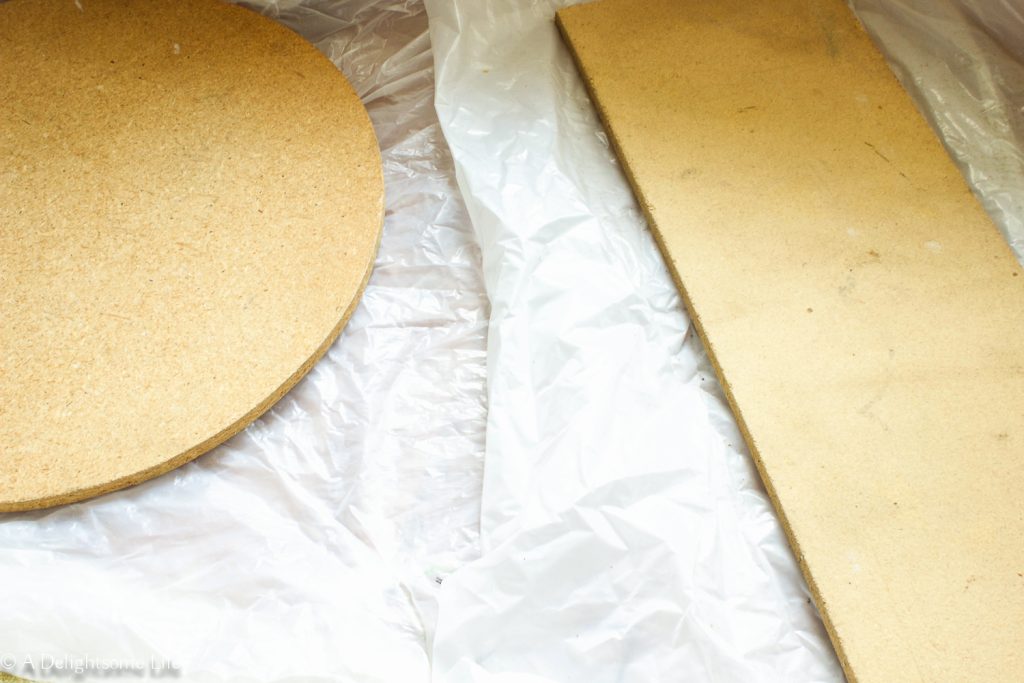
The First Step
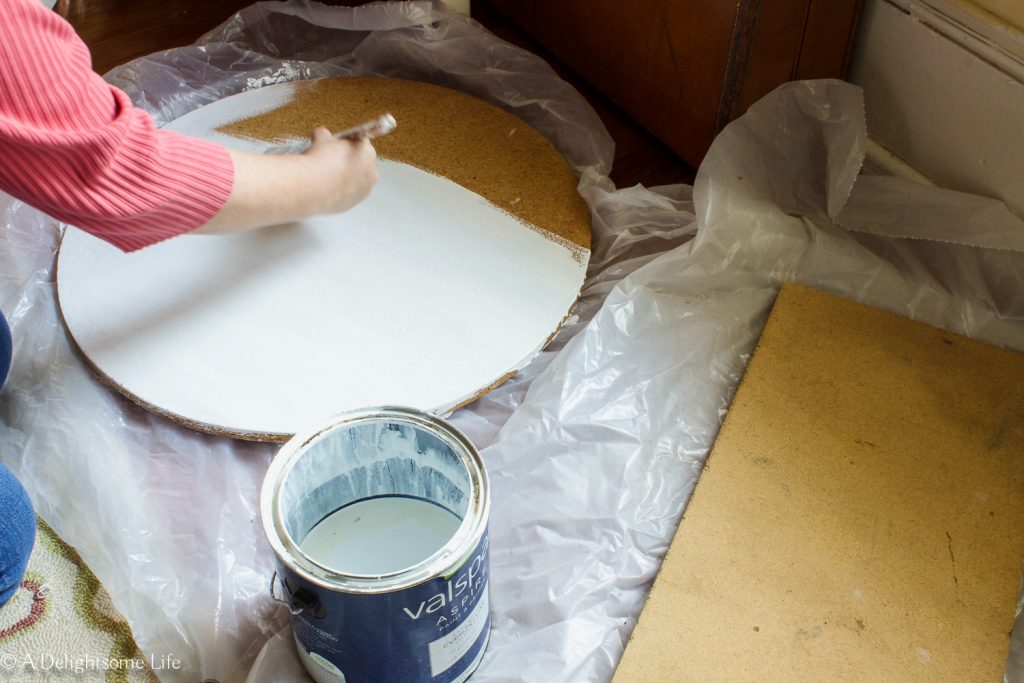
Decide on the length and height of the sign. For this sign it is 4 ft by 2 ft. This makes it big enough to fill the spot – but not too big. I used a scrap piece of wood, but you can use a variety of material. My demonstrations are made of pressed wood. The round is the top of a table and the rectangle – an old shelf.
The Second Step
Decide whether you’re going to paint the surface or leave it raw. Creating signs on wood can depend upon the overall look. If you want a very rustic look you can either simply paint your wood or even burn the words. I recently learned how to do this while attending a class at The Country Living Fair.
The Third Step
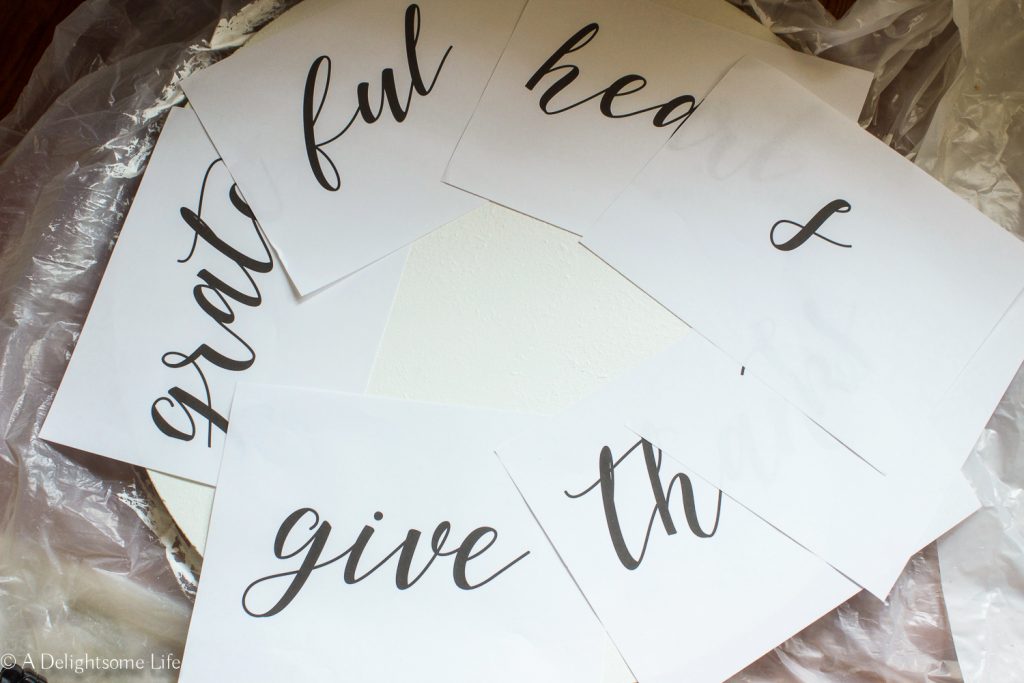
Decide upon the word, words or phrase you want to display on your sign. Once you’ve decided upon this you then decide upon the font. There are so very many options. If you decide to combine fonts like I did you can practice on a blank design using online graphic design tools such as Canva and PicMonkey. I searched for free modern calligraphy fonts for the word dream. I settled on watermelon. Once you decide upon the words and the font then you decide upon the size of the words. For this sign – the size was the largest for my system – 288. This may split your words – which you can carefully align and tape to your signs to transfer.
The Fourth Step
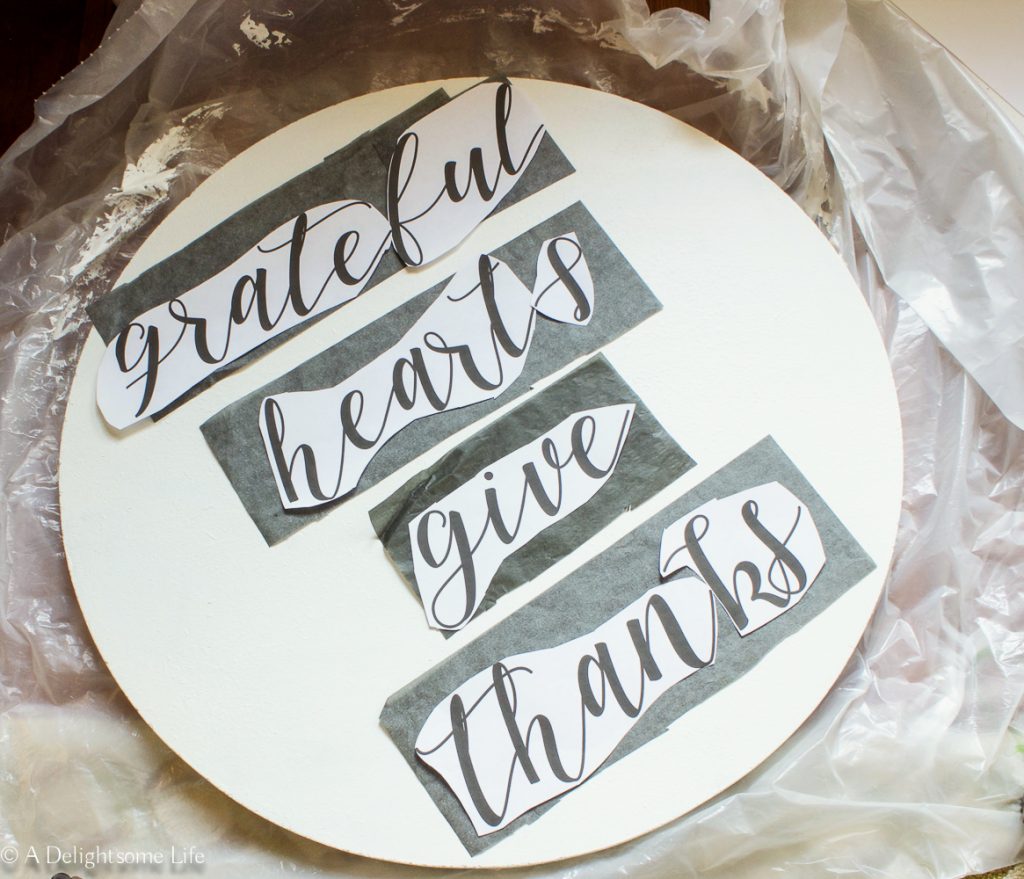
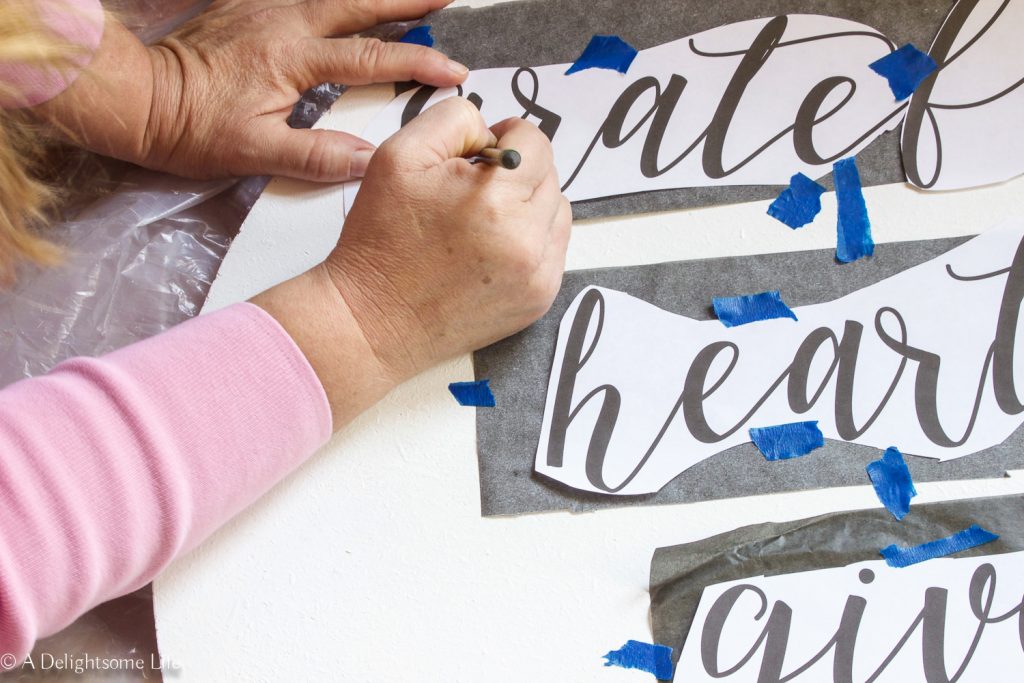
Transferring your design: For this project I went old-style. I used carbon paper and traced the words onto the board – once aligned where I wanted them to be. If you don’t have carbon, you can use pencil rubbings on the back of the page. I’ll share different transfer methods for more projects. Check your transfer to make sure you see it and that each word is complete. It may take some repeating – take your time and be as careful as you can.
The Fifth Step
You don’t have to paint the words on, but you can elect to do so. You can use just about any kind of paint if you do. I decided to use a blue Sharpie. The complementary color to the room’s decor is blue and this shade of blue worked perfectly.

Final Step
This step is optional. I decided to give some patina and graphics to the sign in the guest bedroom. Not all signs need this. I simply sanded the edges and added Amy Howard at Home antique wax here and there then waxed the whole sign with the clear wax. It’s done!
Let me know if you’ve ever tried this before or find an easier way to create signs by transfer. This is the fifth week of the One Room Challenge. There will be two more! Next week I’ll share more about the selection of the decorative items for the room to create the Prairie Cottage Style.
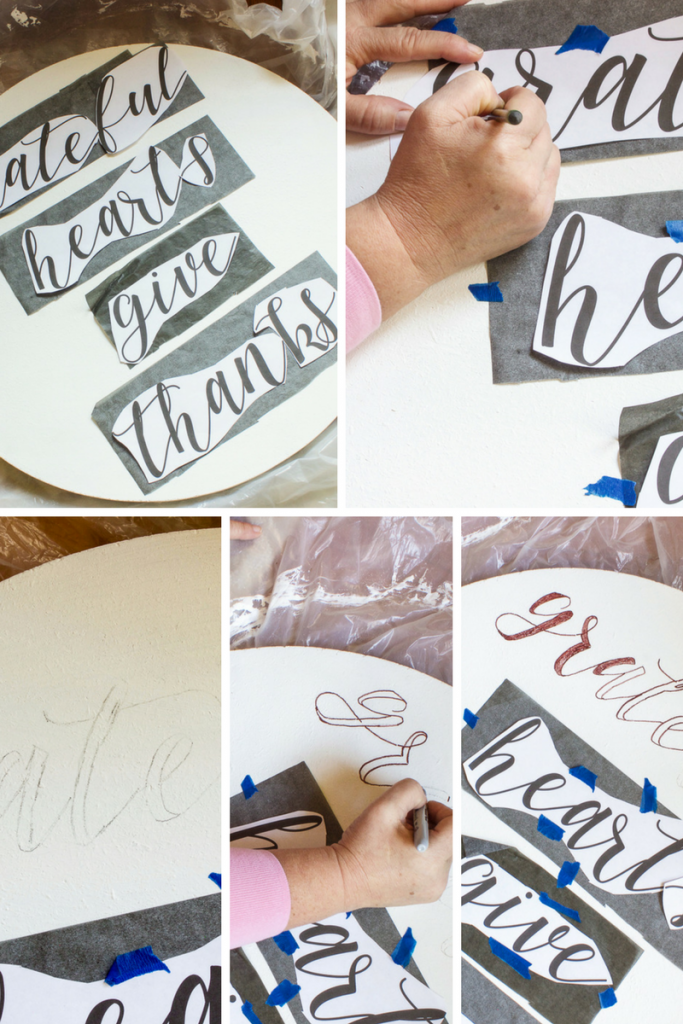 These signs will be a part of my Thanksgiving decor…coming soon!
Follow along on the progress of this room:
 visit the other One Room Participants here.
The Good, The Random, The Fun / Inspiration Monday / Made By You Mondays / What Did You Do This Weekend? / Really Crafty Link Party / That DIY Party / Craftastic Monday / Block Party / Mix It Up Monday / Inspire Me Monday / Project Inspire[d] / Mad Skills Tutorial Link Up
