
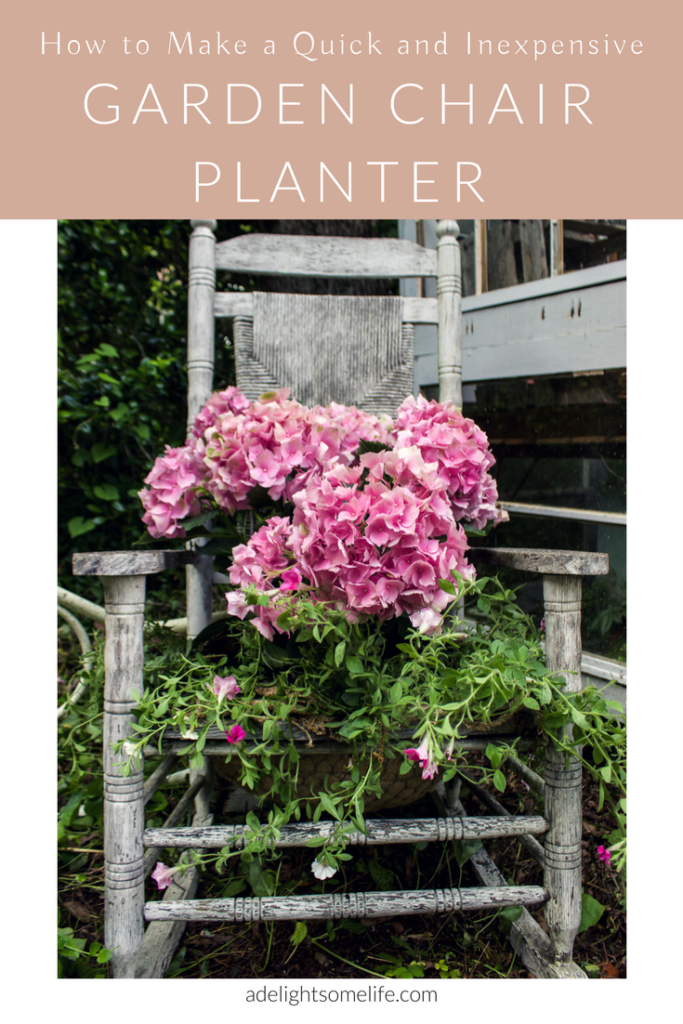
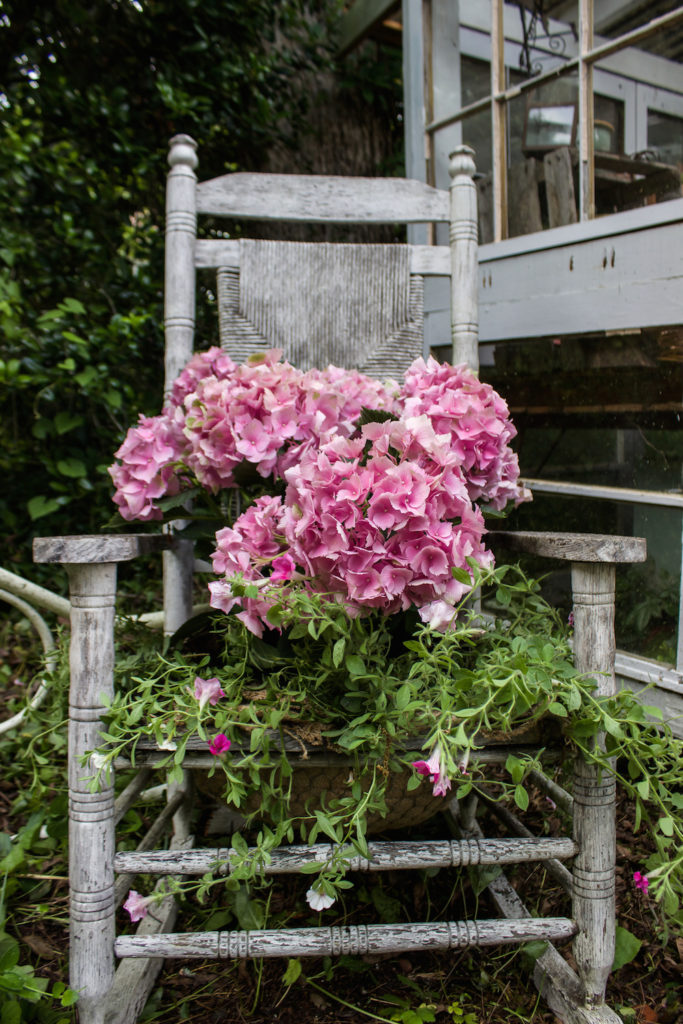
There it sits. An old, chippy chair, rocker, or even child’s chair. Most people would discard this treasure with stories to tell. But, you can give it one more thing to say and a beautiful new life. With such a forlorn patio rocker I will show how to make a quick and inexpensive chair planter.
How to Make a Quick and Inexpensive Chair Planter
You may already have a chair that is beyond repair for it’s natural use. Or you may love the look of chair planters. I hope this inspires you to go ahead and make one for yourself and or search for a neglected chair to bring new joy to your garden.
The Mother’s Day Gift
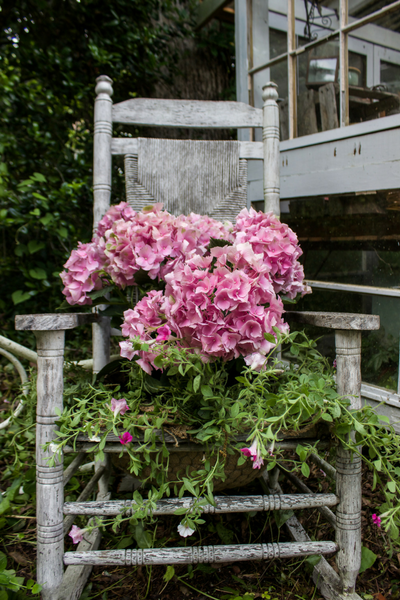
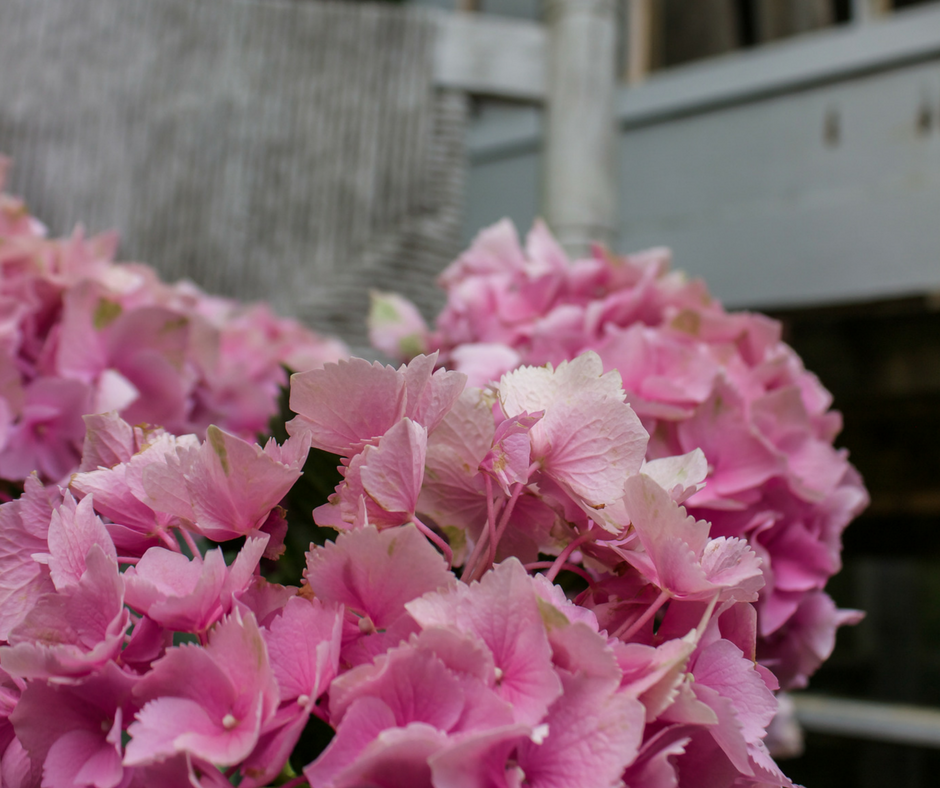
My husband and children know how much I love flowers. Most often for Mother’s day each will gift me with something beautiful to add to my garden. This year is no exception. I really was blessed with several beauties! This pink French Hydrangea came from my youngest daughter and her husband. I do have plans to add more Hydrangeas, but when I saw this potted lovely, I wanted to give it a special home this season. Perhaps in the Fall I’ll find a more permanent place for it.
Easy Chair Planter With Few Supplies – and Quick
Yes, I did time myself so that I could share just how quick this chair planter project is. I didn’t have all my supplies right at hand when I began. With that this project still took only 45 minutes. The results are going to last all season!
What You Need:
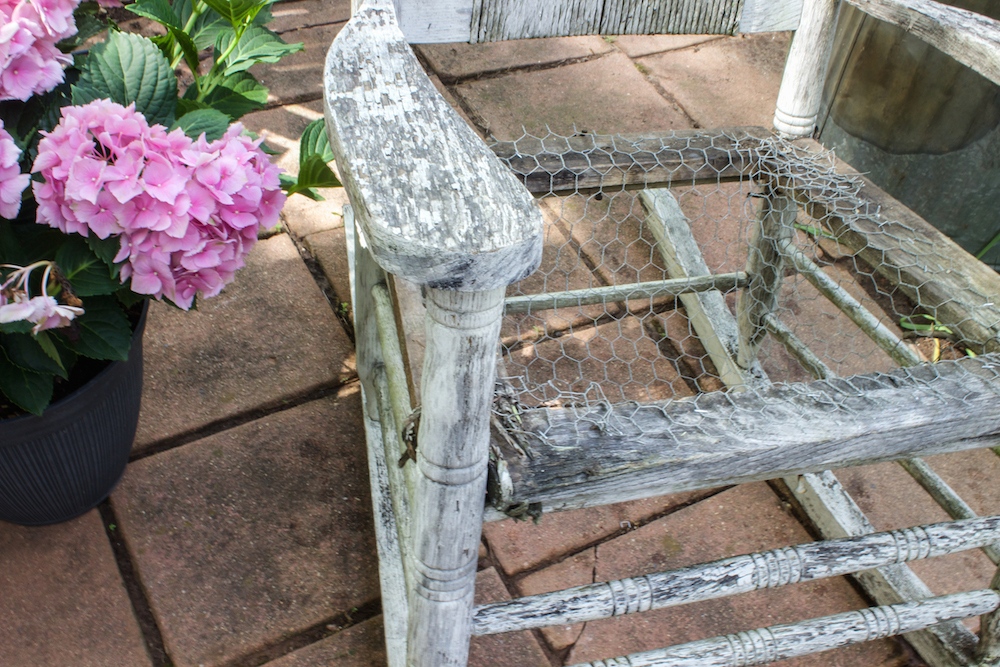
- Old Chair – preferably with hollow seat (or you can fix that yourself!
- Chicken Wire
- Wire Snippers
- Burlap Coffee Sack
- Staple Gun and Staples
- Plants
- Potting Soil
- Mulch
- Spray Poly Coat or Water Sealer
- Garden or Work Gloves
Step One:
Clean The chair. Now at the end of this post I’ll share links to other examples to give you an idea of just what you can do with this project. You don’t have to leave the chair worn and chippie like I did. I just loved the look. You can sand it down, give it a beautiful complementary color to your garden and flower or decoupage it! Use your imagination!
Step Two:
The Chicken Wire. I measured by sight the width of the back of the chair’s seat. I then folded the chicken wire in on itself along the sides and placed the chicken wire over the back of the seat. Then, I pushed the chicken wire down and draped it over the front. I then placed the potted plant into the opening atop the chicken wire. I did this to see just how much depth I wanted to give the chicken wire ‘basket’ I was going to create. Then removing the potted plant I began to unfold the sides and pressing along the sides of the chair’s seats. You’ll have to fold like an envelope creating a sort of triangle at the corners with the Chicken wire. Work your way all the way around the seat.
Begin securing the chicken wire with staples using your stable gun. I started along the back and worked each side then the front. When secure I used the wire cutters to snip the excess chicken wire. Give yourself about an inch or two give to secure the burlap sack. I then took a second look at my work and where I thought I needed more staples I added them. Remember this is going to be a bit heavy and you’ll want it to be secure.
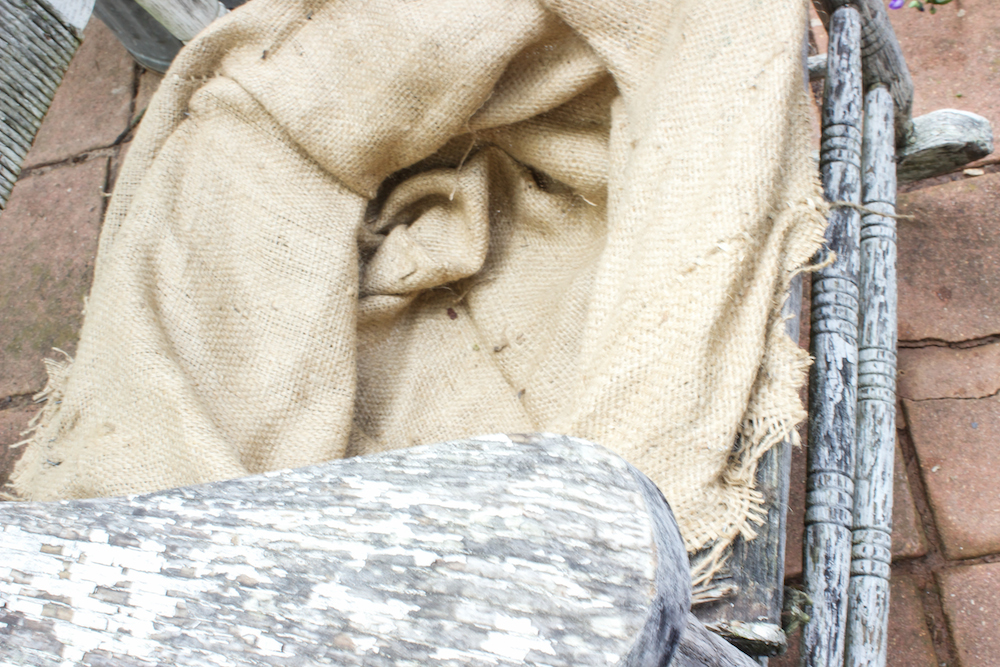
Step Three:
The Burlap Sack. The coffee sack is too narrow for the opening, but you can cut slits to expand the sack as you go. I folded the corners inside of the sack to round out the bottom. This point it’s important to have on gloves that protect your hands – with thick or leather fingers. Starting again from the back I secured the burlap with the snipped edges of the chicken wire. Careful they’re sharp! Fold the burlap over snuggly pressing the chicken wire back down to the seat. I wasn’t going for a perfect edge – this has a rustic look and the plant material will cover most of the edges. Once the burlap was secured and expanded to fit all way around I lightly pressed the bottom into the chicken wire basket creating an opening or you can say a bed for the soil.
Step Four:
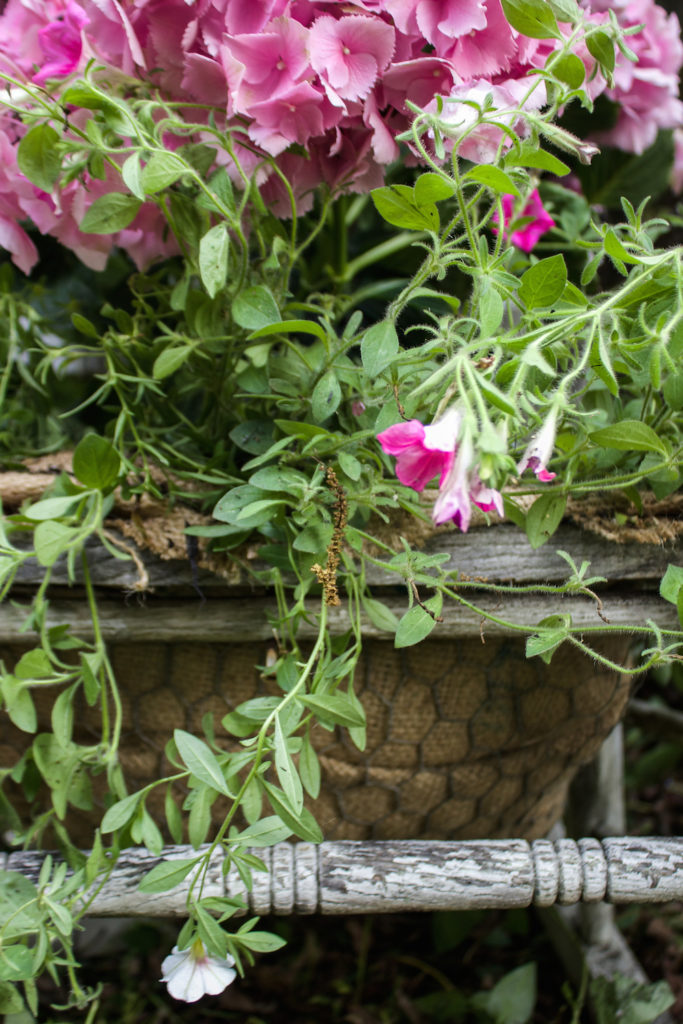
Add Potting Soil. I added just enough potting soil to create a bed of soil and some for the sides. The potted Hydrangea had quite a lot of soil already. Then I removed the Hydrangea from the pot. I loosened the soil from the bottom and along the sides to free the roots. I placed the Hydrangea in the chicken wire pot and added more soil as needed.
Making It Cute:
I wanted to have some flowers trailing along the bottom of the chair planter so I ‘borrowed‘ some Petunias from another planter. It needed some trimming already anyhow! Then after all the flowers were planted I added some bark mulch to keep the soil protected and hold in moisture. Potted plants need more watering than those already established in the garden.

Finding A Home!
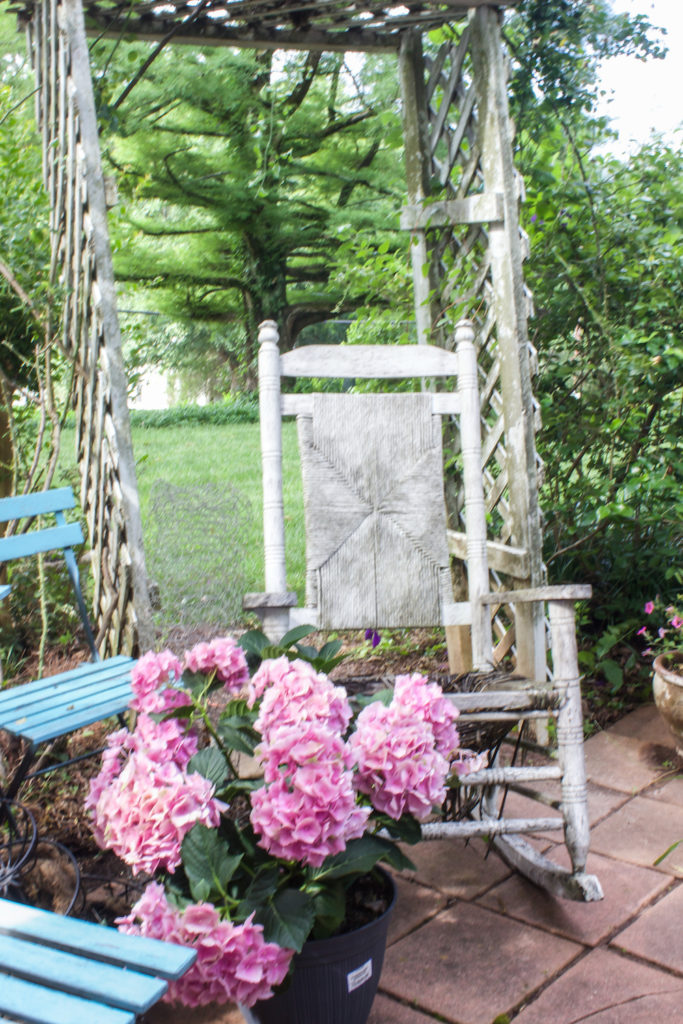
This is where I wish that I had started planting the chair where I wanted it to be. The chair with the potting soil and the plant was a bit heavy! It would have been easier for me to plant where it was going to bloom…there’s a quote like that isn’t it. But, here it sits. The clouds are gathering so I just made it. I’ll have to tackle the other Mother’s day gifts in a little while. I hope you give this a try. You see it is super easy and inexpensive and quick! Would you like more garden container inspiration? Check out this post on Container Gardens – a review of Southern Living’s book.
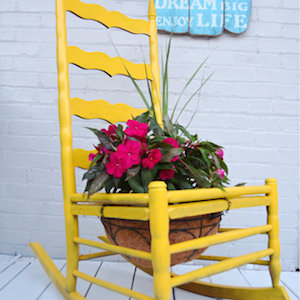
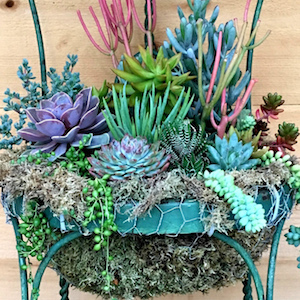
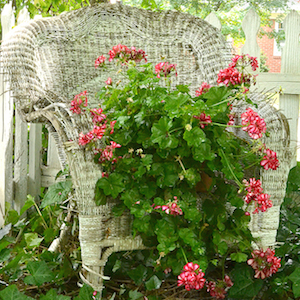
Here are Some Examples of Other Lovely Chair Planters: