Simple Transition into Autumn Decor
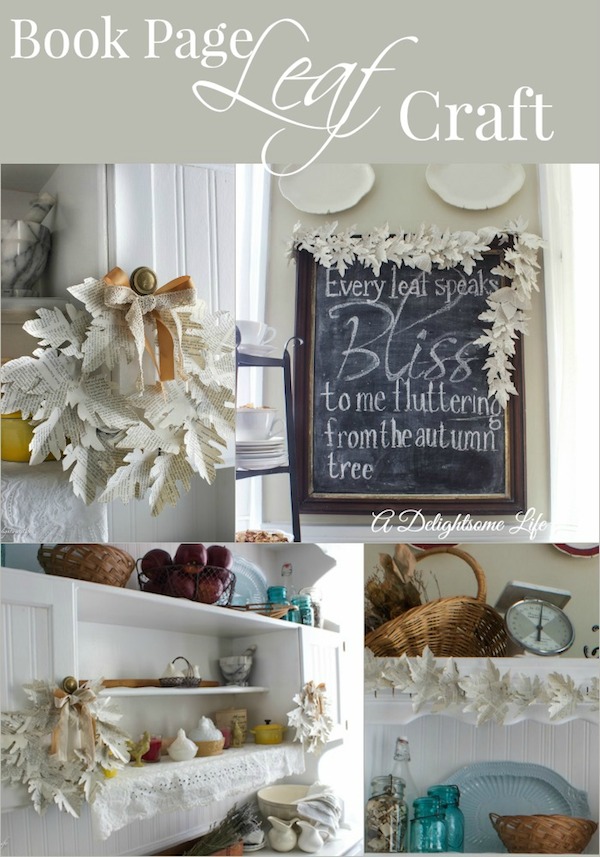 Book page leaves, especially those aged with patina, make beautiful, easy DIY home decor. While the weather has turned hot again and the calendar tells us summer has three more weeks to go, I am beginning to make simple transitions in our home toward fall decor. If you’re looking for beautiful, neutral Fall Decor ideas, try making your own Book Page Wreaths and Garlands – I have a DIY tutorial for you!
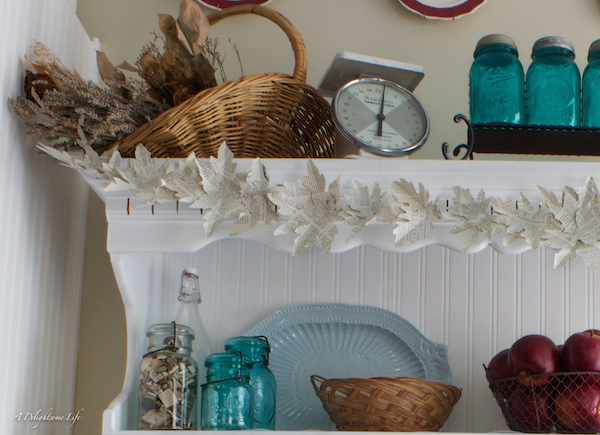
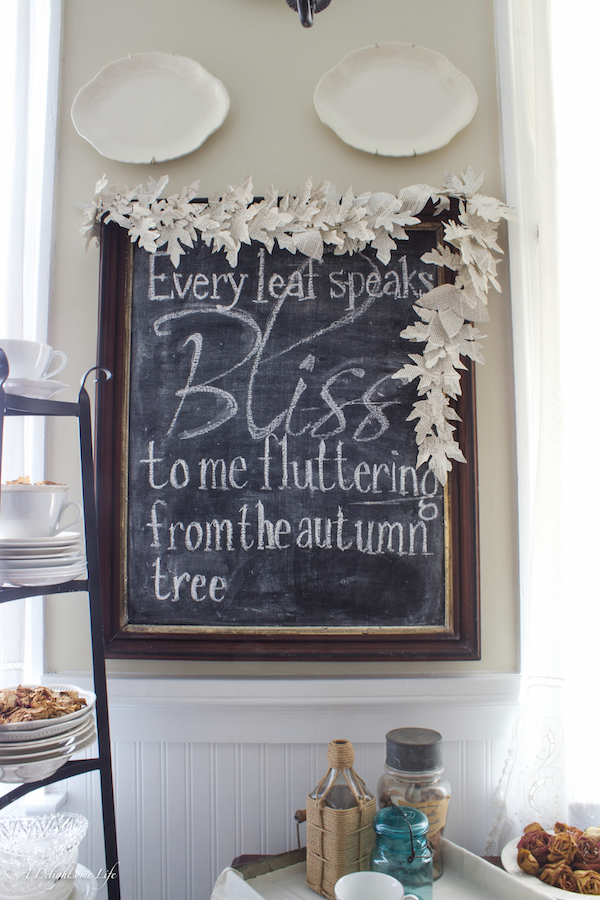
Book Page Leaf Garland
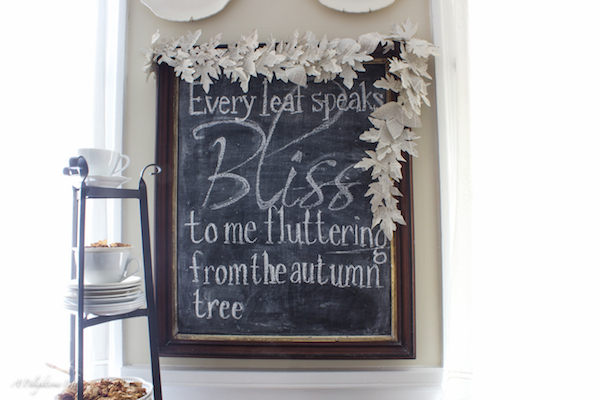 My first vision was to create a garland of book page leaves to swag over the chalkboard in my kitchen. I found this beautiful quote that I thought would be perfect for autumn and the leaf decor.
Mini Book Page Wreaths
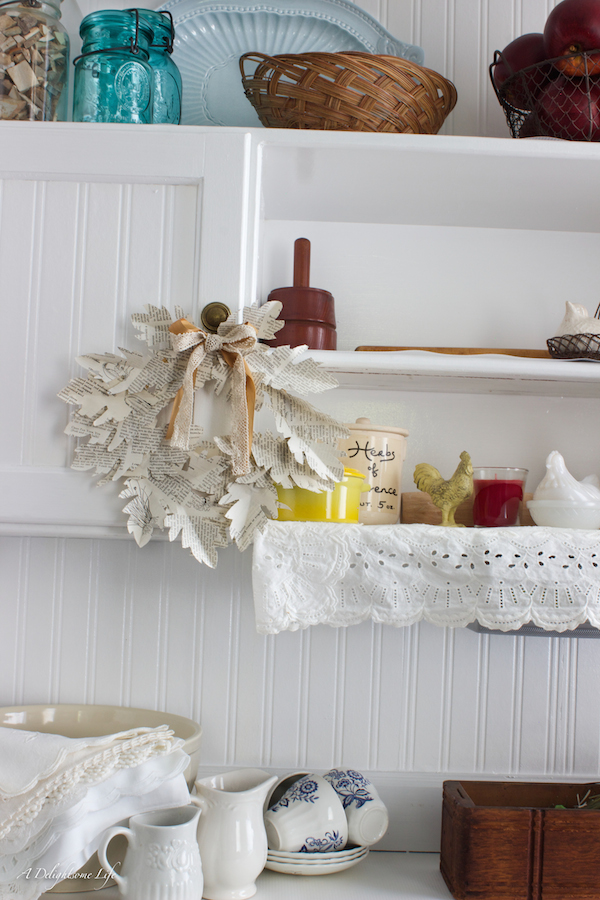
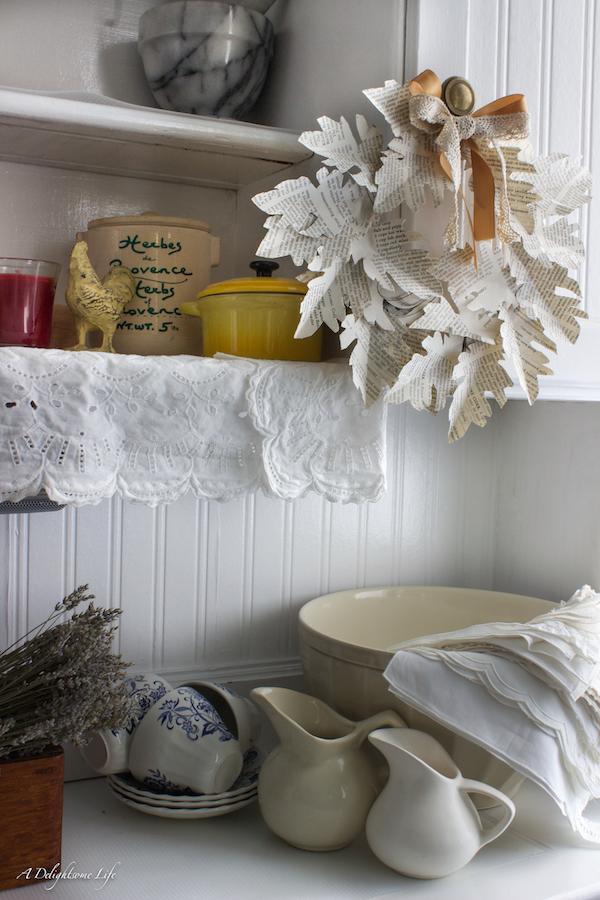
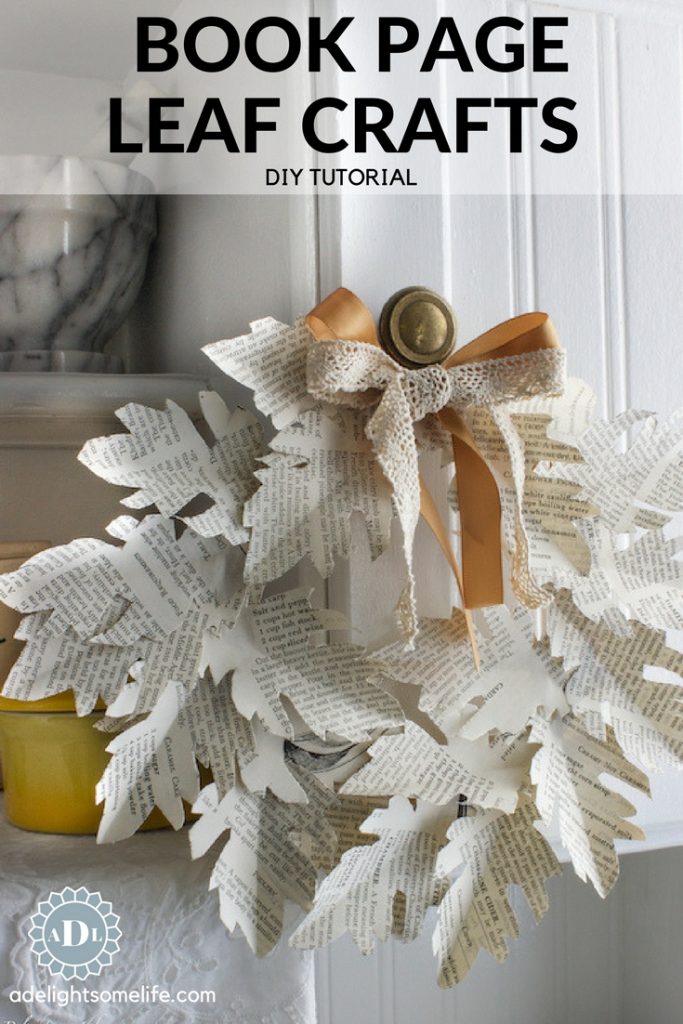
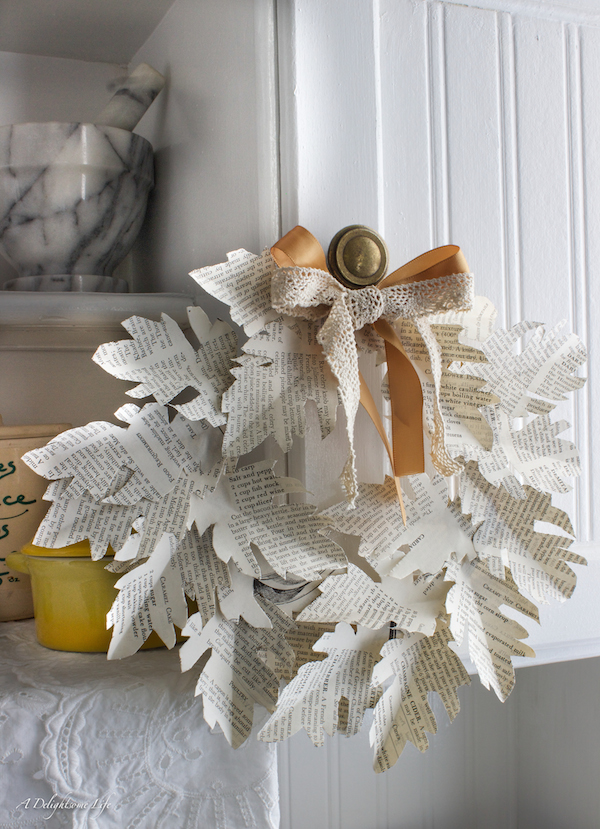 I wanted to add more book page leaf crafts in this corner of the kitchen, so I took two small embroidery hoops and glued the leaves around alternating layout. While they were drying, Dearest paused, considered them and asked, ‘are you expecting Ceasar?’ Ha, Ha! Oh, he’s so funny! Yes, that was funny, but then he saw where they were going and liked them.
Decorating the Hutch
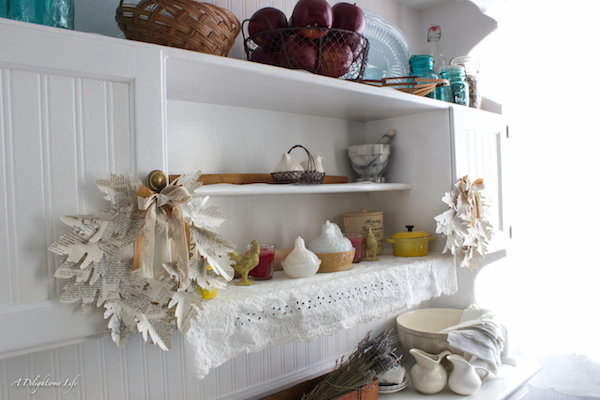 The tone of the aged book pages, which I took from an old 1945 Cooking Encyclopedia that was in bad shape, set me in motion to arrange decor in soft, muted colors. I love that occasionally there are illustrations and words that befit these leaves decorating the kitchen.
A Swag
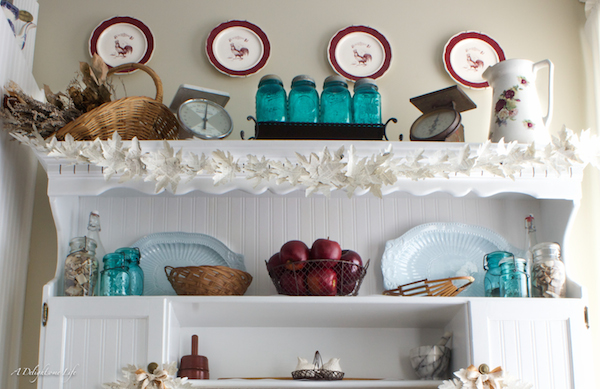 I cut out hundreds of these leaves, I’ll share with you the templates and how I created these book page leaf crafts. The colors I added to the muted tones were two that I love seeing together – aqua and red. I repeated the uted tones in the baskets, French rolling pins and the jars.
The Look Comes Together
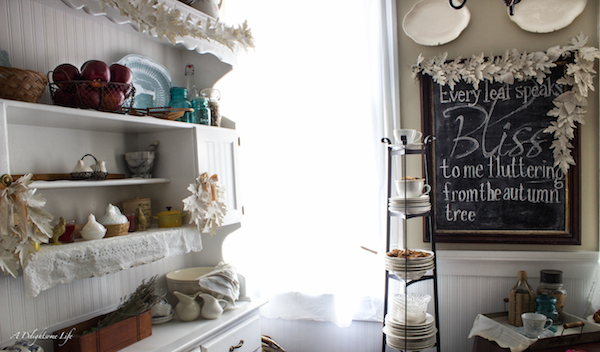 From the hutch to the desk, the book page leaf crafts add subtle beauty to decor of the corner of this kitchen.
Adding a Book Page Pumpkin
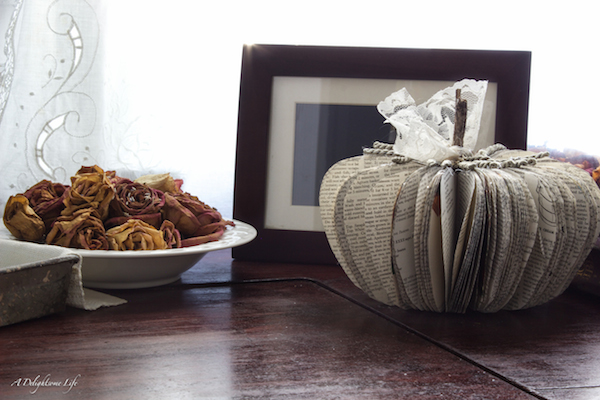 Another book page craft I’ve been wanting to try is the book page pumpkin. I love this look. Now, as I was making it, I discovered it is not as easy to have the leaves lay out evenly. It has to do with the spine of the book. The book I used had a sewn in spine which was pretty pliable. I also glued in a stick through the center rather than just on top – this helped case the center to be circular. I’m going to work on a few more of these before I share more. To top off the pumpkin I added tassle and lace leaves – more subtle coloring.
The Hutch
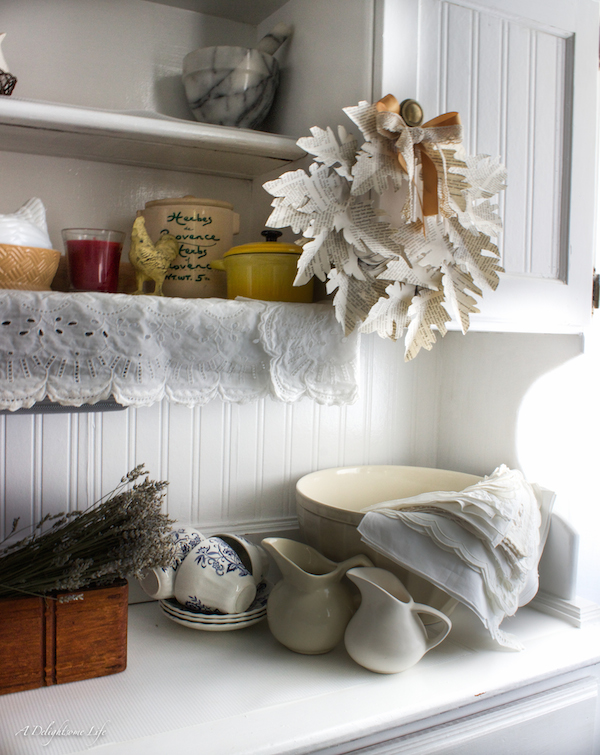 I could have made the leaves smaller for these wreaths, but I like the look – that’s an option you can consider if you want to make similar wreaths.
How To Make The Book Page Leaves
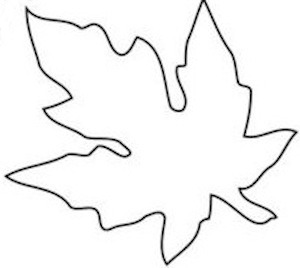
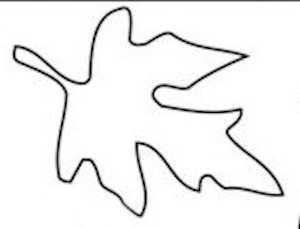
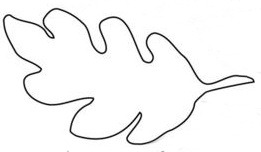
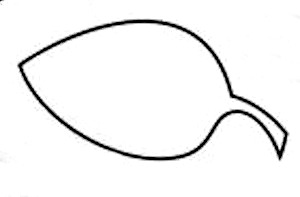
You can copy these templates. When I printed them they were about 300 pixels – You can adjust the size as you see fit – or use this Google Doc – print these onto card stock for templates.
Supplies:
- card stock,
- templates,
- Elmer’s Glue,
- Floral Wire,
- Hot Glue/Gun
Directions:
Trace these templates over book pages – You can group several pages at a time to cut out. Make several. To add the appearance of texture I folded the leaves in half lengthwise or with some of them folded the leaf edges – this gives dimension.
Group leaves. Using Elmer’s Glue I grouped these leaves in twos and threes with each leaf pointed at an angle to the other. I applied the glue to the base of the leaves. Allow to dry.
Using floral wire and hot glue. I ran a thin bead of hot glue along the floral wire to attach the leaf groupings beginning at the end of the wire. Place the leaf grouping atop the wire with glue – turn over and press from the paper side to make sure the glue adheres. Allow to set for a few seconds then proceed to the next set of leaves.
Run another bead of hot glue approximately 1 1/2 inches long near the edge of the previously glued leaf grouping. Place the second grouping over that and repeat adhering procedure – you’ll want the leaf groupings to overlap somewhat. Continue along the length of the wire (pre-cut to the length you wish it to finish as)
For a swag
(similar to one on framed chalkboard) You’ll want the bottom edge that dangles to have a single leaf at tip. I added a two leaf grouping above that and graduated to a three leaf grouping moving upward. At the point where the swag began to drape at top right corner of frame I added the leaf groupings closer making it thicker to give more dimension in that curve.
For a wreath –
I began by alternating leaves at the top outward and inward. I then moved to the center of the bottom of the embroidery hoop gluing the leaves facing inward on left and right and began the layering -outward and inward working my way up both sides so that the layers overlapped over each other.
swag
You can either use small tacks/nails to attach your swags and garlands or create a loop with the foral wire attaching behind leaf groupings at ends where you want them to hang; you can use two sided tape or a dab of hot glue.
Have fun with it! Book pages make beautiful DIY home decor. You can add color with ink pads to the edges or with spray paint, glitter etc…I like the tones of the aged book pages as they are. I have many more leaves and plans to make more pumpkins…I’ll share just how I use them with you soon!
Pin This!
More DIY Crafts You Might Like!
