

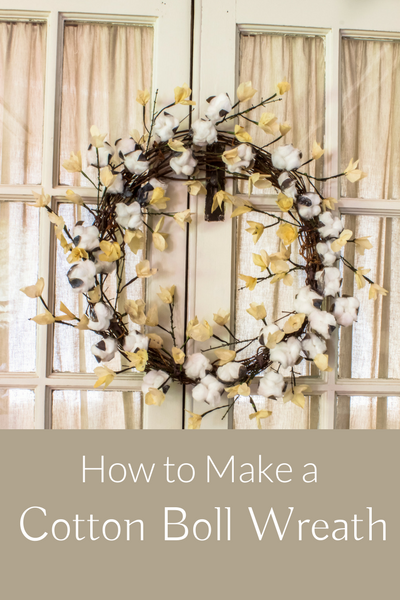

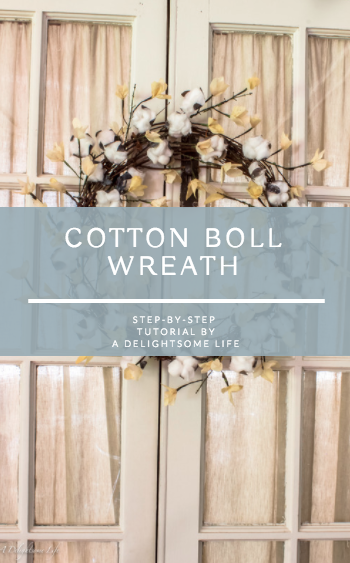
Cotton Boll Wreath
The crisp cool air of autumn is a just few weeks away. I love this time of the year! I love autumn and spring. Here in the South it is the best, beautiful time – with a little bit of a reprieve from the heat and humidity. I so love to decorate for the seasons too. I’m so excited to try out a craft I’ve been dreaming about for some time – making a faux Cotton Boll Wreath.
I’m currently transitioning from Summer to Autumn decor. Making the transition for me has been also combining a bit of cleaning. Summertime is such a wonderfully busy time – in a good way. With all the activities and travels, things can just be left around. Grandmother would say, ‘clutter begets clutter’. Now with that being taken care of I’m looking at the beautiful decor from summer. The seashells of summer decor are already stored away for next year. The blues and the whites – which make me think so much of summer will transition to muted colors . This is also the time I add orange to my decor!

This is the in-between time. It’s not quite officially fall, but I am ready for something a little different. Something that can help bridge from summer decor to autumn decor. This Cotton Boll Wreath is a perfect craft for this time of the year.
One of the beautiful things about this time of the year is that it is harvest time. We have abundance in summer fruits and vegetables, but also other crops. Cotton bolls are so lovely, so rustic and reminiscent of farm life. I have been wanting to make my own cotton boll wreath, a faux one.
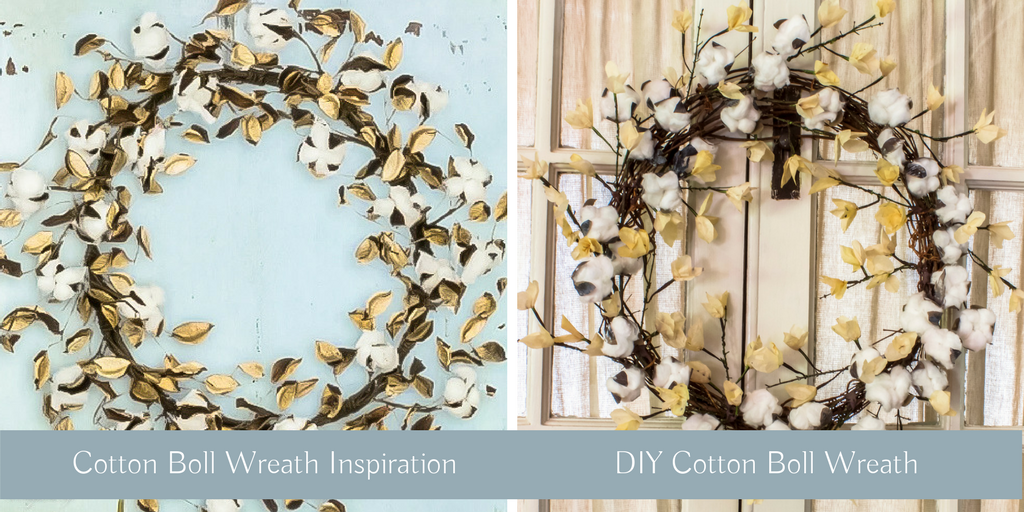
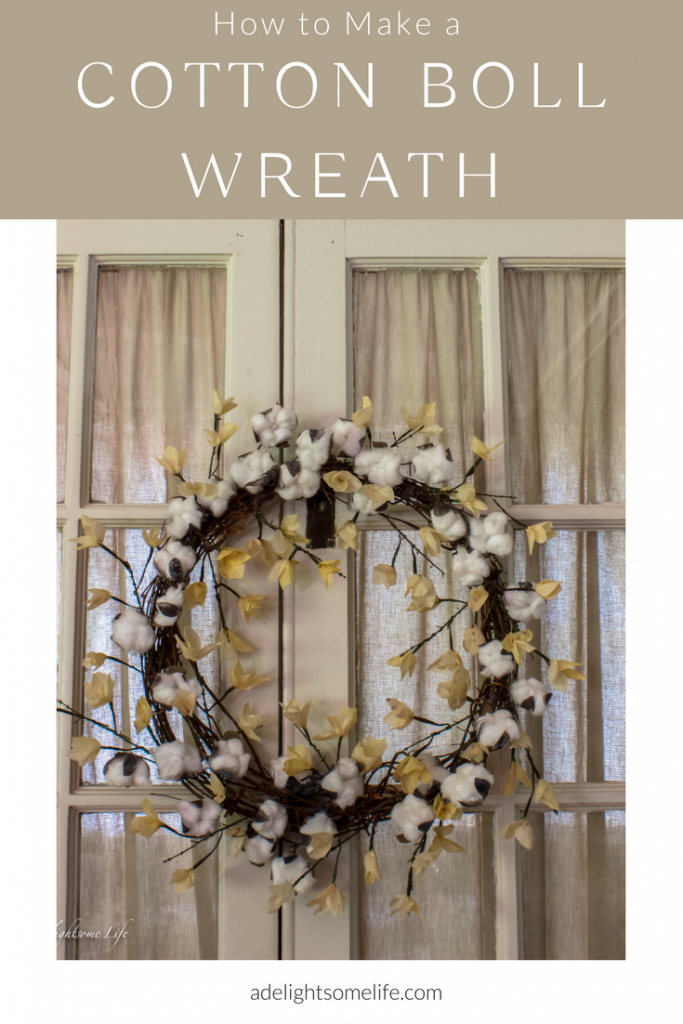
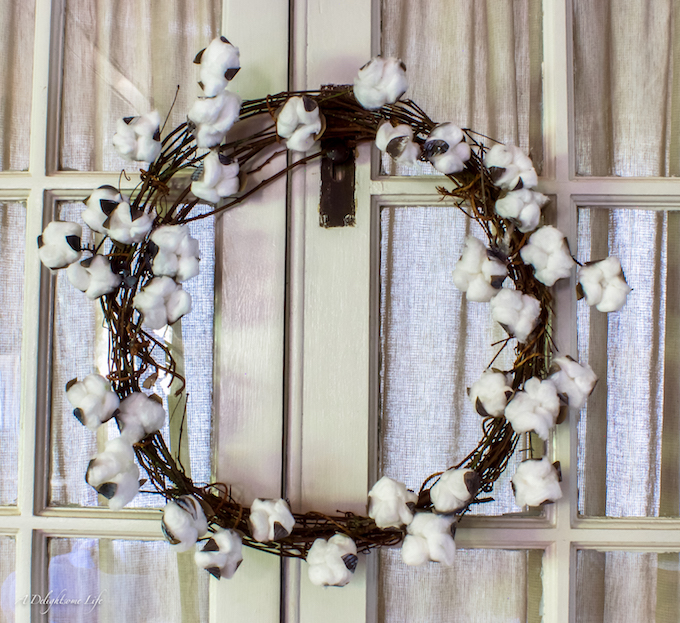
I have collected a number of ideas for inspiration as to how I wanted my wreath to look like. I ended up with a wreath that I loved a look of. It has a was light, airy and perfect for a rustic, cottage-farmhouse look.
Are you ready for fall? If not quite, maybe you’ll consider trying this for yourself in a few weeks. I know a lot of other Bloggers have begun to bring out their Autumn decor; to share some of their wonderful ideas…there’s so much inspiration – I do hope you like this one!
How to Make a Rustic Farmhouse Cotton Boll Wreath
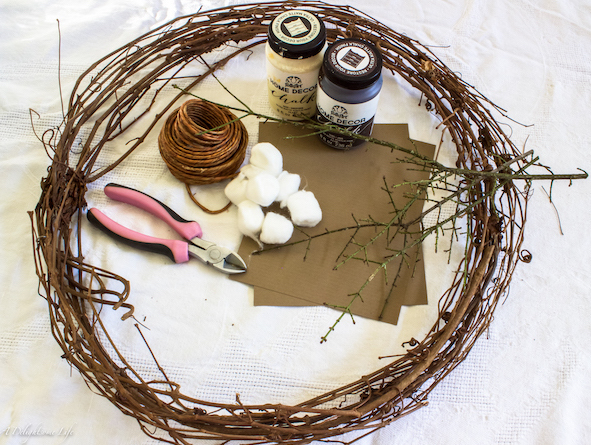
What you will need:
- grapevine wreath*
- branches
- cotton balls
- brown card stock paper
- chalk paint (I used Folkart Java and Sheepskin)
- scissors
- hot glue gun and hot glue sticks
- natural wire
- floral wire
- coffee filters
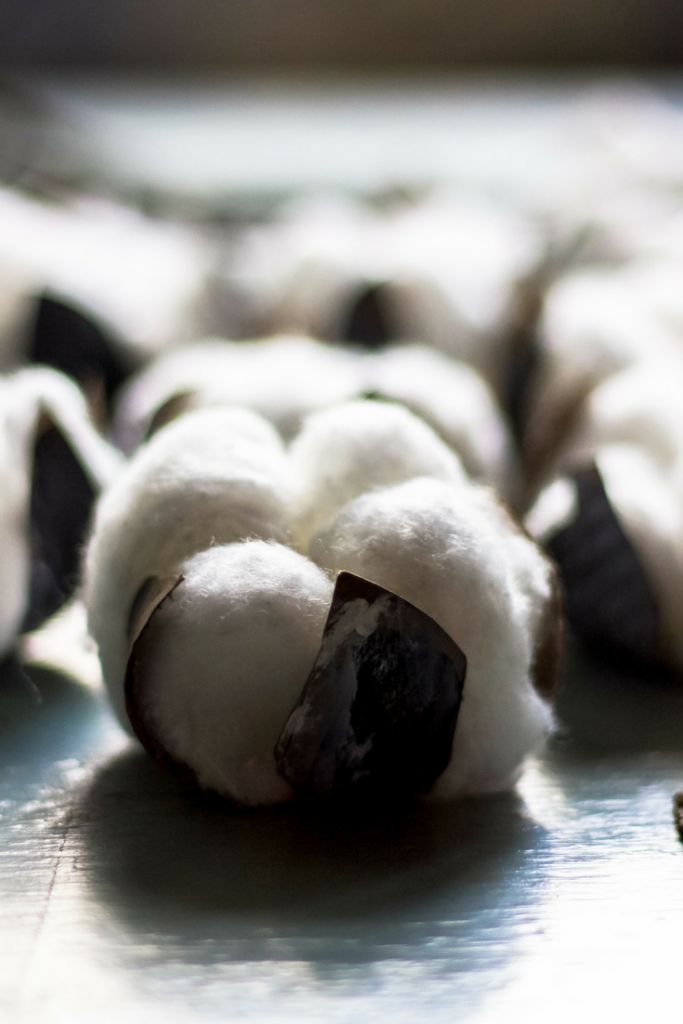
Here’s what I looked at in designing this craft. Cotton bolls are quite pretty when green and when fully ‘ripe’ and opened. The cotton boll begins as a lovely white flower. The buds called squares appear two months after planting. Then the flower opens. The blossom then changes from creamy white to pink then dark red. After only three days the flower falls off leaving a green pod – known as the cotton boll. The white fibers grow from the newly formed seeds. These fibers continue to puff in the warm sunlight finally bursting the pod to look like ‘white cotton candy’. Cotton is amazing! It’s so wonderful and beautiful!
- The pods turn dark brown and curl
- the cotton bolls are in sets of four
- some petal/leaf remains near the bud stem
I then designed the pod using brown card stock that I’ve had on hand for years. I’ve been looking for a craft for these babies!

The brown, though didn’t resemble the coloration of the pods. It looks more like cardboard. So, I looked at my paint and decided on two shades of chalk paint.
- Folkart Java
- Folkart Sheepskin
I began to work in an Assembly Fashion:
I drew out a pattern for the pods (PDF below). I made a template and traced as many as I could fit onto one paper. Then I painted first with the dark brown paint focusing the darkest color on the center (almost like an X) Then I’d clean my brush and lightly dry-brush the Sheepskin color around the edges and lightly over the dark brown. I worked from one page to another. The paint overlaps the drawn template. I could see some of the form. I cut as close to what I could see. This resulted in some variation in the shapes of the pods – the size, though remained the same. After a few you’ll get used to it! This is not an exact science. I found the process very forgiving.
Once I had the pods cut out. I took my scissors from the dull side I began to ‘curl the pods toward the center with the painted color outside. CAREFULLY, let me repeat CAREFULLY! I tore a few pods by not paying attention to the side and by ‘curling’ too hard. It will curl and once all four sides are curled or close to curl you can cup them more in your hand by putting the pod with the base on the palm of your hand and closing your fingers over the pod petals – not squeezing – just cupping.
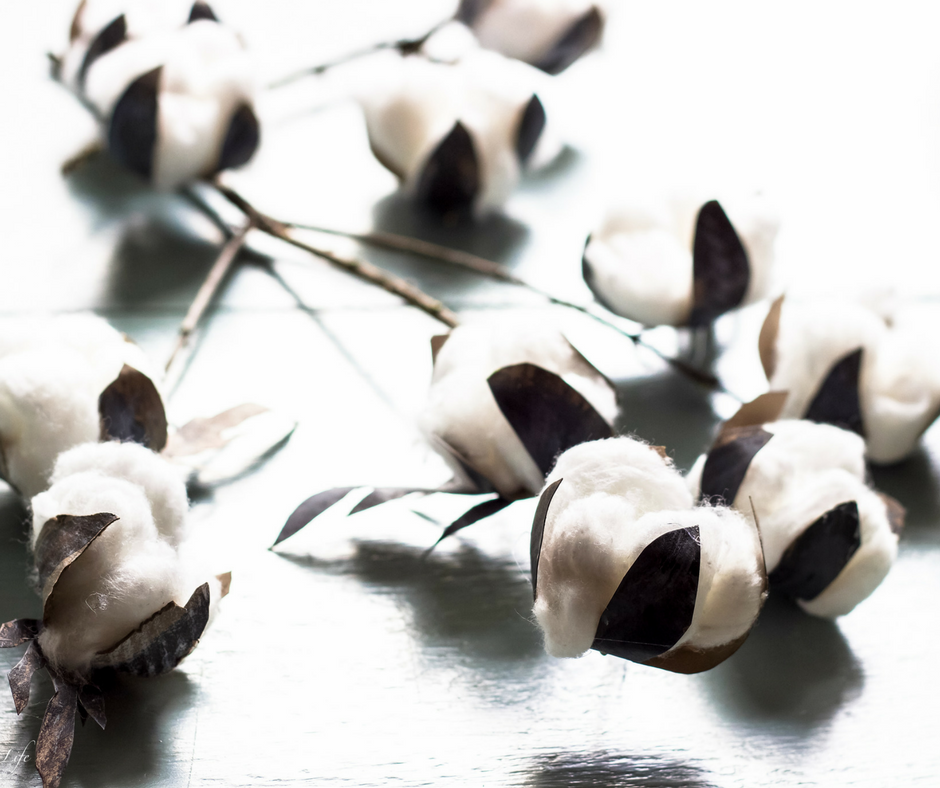
After all the pods were made I took the cotton balls and divided each one into two. They separate quite easily if you pull along the grain of where the ball is wound. You’ll see. I set out sets of four ‘bolls’.
With the hot glue gun and glue put a dab of hot glue in the inside center of the pod and halfway up each pod petal. Place the four cotton ball bolls into pod and cup one more time – set aside. Continue with all bolls and pods.
Now Assembling the Cotton Bolls on the Branches
I sadly had a bush that died this year. I have yet to dig it up. The branches now have become a perfect resource for crafts! I selected branches and visualized where I wanted the cotton bolls to be placed. I snipped off all other branches. One by one I added a dab of hot glue to the underside base of the boll. I placed the boll on the branch near the branch attempting to imitate the growth pattern of cotton bolls. Turning over I lightly blew on the glue so that it would begin to dry. When it was dry enough to support the boll I would add the next, repeat the process and add the next. I tried to have them mostly focused on the outside of the branch and adding bolls in odd numbers – three or five. Set aside resting on the bolls until the glue is fully dried.
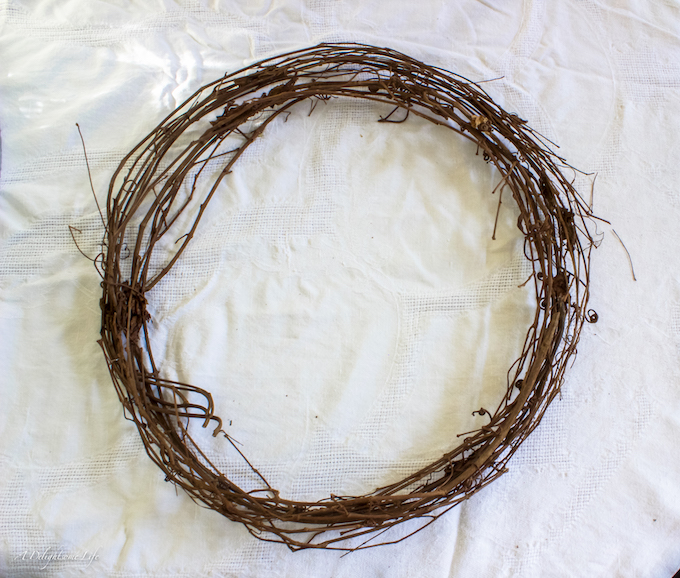
The Grapevine Wreath
The example I wanted to emulate had the cotton boll branches on a very thin vine wreath form. I took one that you’d find at most craft stores – with lots of vine wrapped together and began to deconstruct it. I wanted to focus on using the outer vines. I began by snipping off the parts of the vine that were binding the wreath. Once they were off I began to pull away the outer edge. This works for the most part. The basics of this wreath is this is a bunch of vines wound together. So once I got fully around the circle I had to further cut away the outer part from the center. Adding the cotton boll branches with the natural wire will secure the vines. This is a VERY messy process. Lots of dried leaves will separate and small bits of vine will fall. Just letting you know!
Assembling the Cotton Boll Branches to the Grapevine Wreath
I would lay the branch on the wreath and a section of natural wire. I secured the natural wire on the back side – then holding both the wreath and branch in one hand I would wind the natural wire from the center of the branch spiraling to the bottom. You want a ‘loose’ look so having the top flared out and unsecured a bit creates that look. Then overlap slightly branch by branch at the bottom end of the previous branch – adding to the wreath form and attaching with the natural wire. Work your way all the way around. Hang it up and see if you’re achieving the ‘look’ you want. You can take away a branch or add a branch here and there depending on if one side is fuller than another.

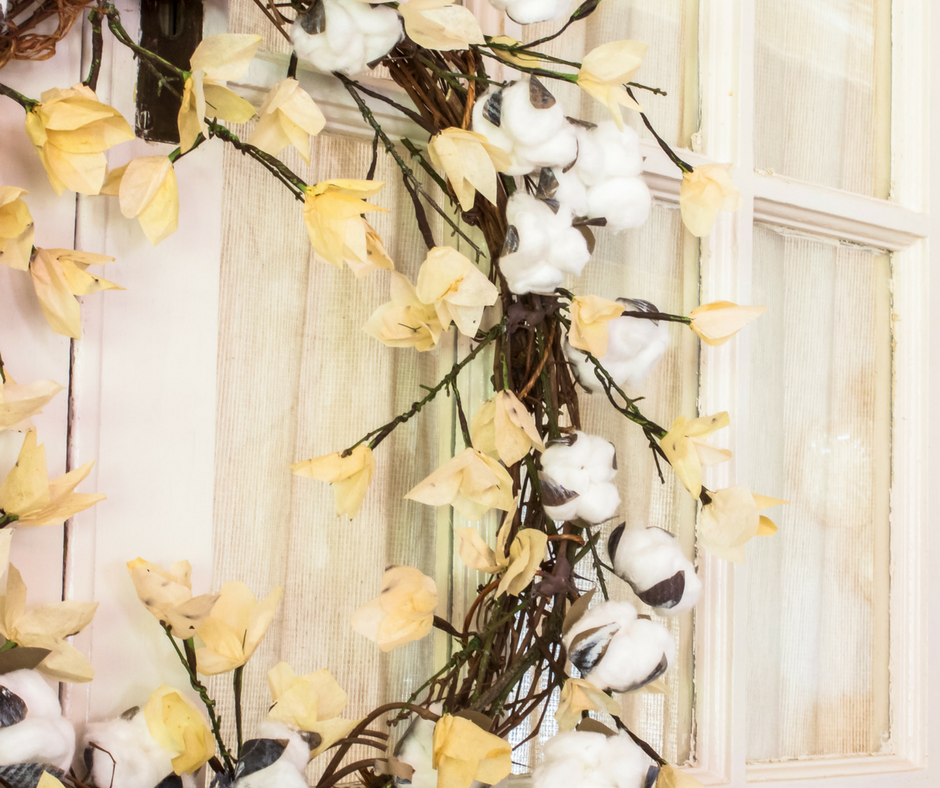
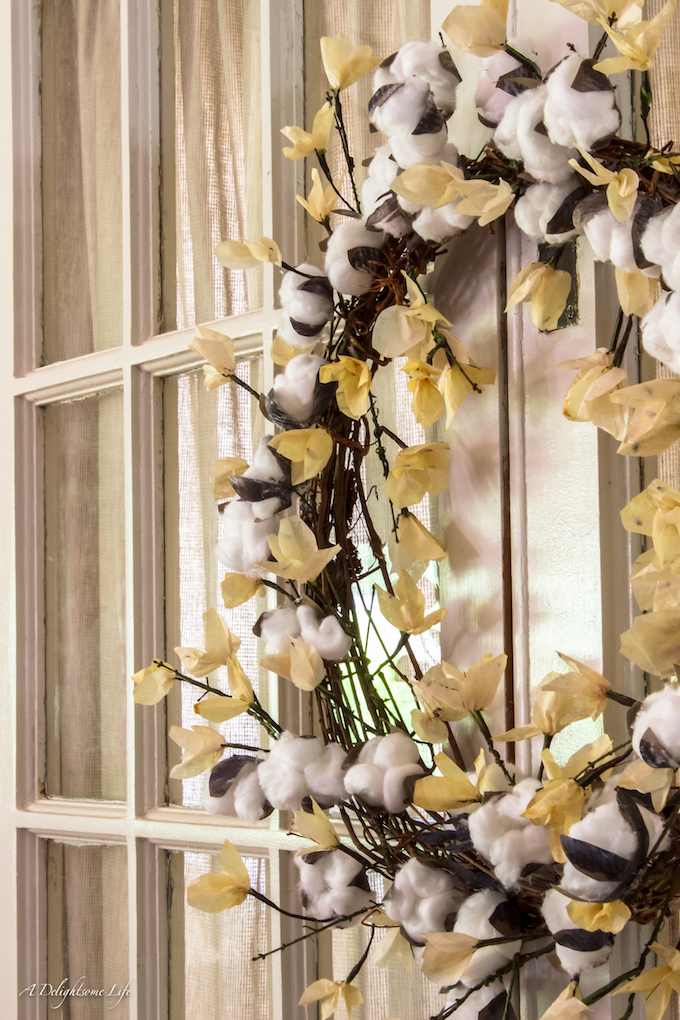
Creating the Small Pods
The example I used not only had the cotton boll branches round the wreath but also airy pods here and there. I first tried to peel the card stock – that didn’t work! So, I then thought of coffee filters. These pods are open and airy. Dying the coffee filters would be the easiest way. I used a gallon packet of tea and a shook on a couple teaspoons of dried curry – both add a rustic color – the tea a brown and the curry yellow. I didn’t stir this concoction – I wanted variation in color.
Now the Pods are Added to the Wreath
Here’s a PDF EBook on How to make a Cotton Boll Wreath
I’m quite pleased as to how this wreath turned out! I hope you like it too! I’d love for you to give the tutorial a try. If you like the look but you’re not interested in trying to make one of your own, you can find the inspiration wreath At Antique Farm House Harvest Home Sale.

affiliate link – not a sponsored post. If you purchase from Antique Farm House I get a small commission
I’m sharing this post with Wow Us Wednesday


