

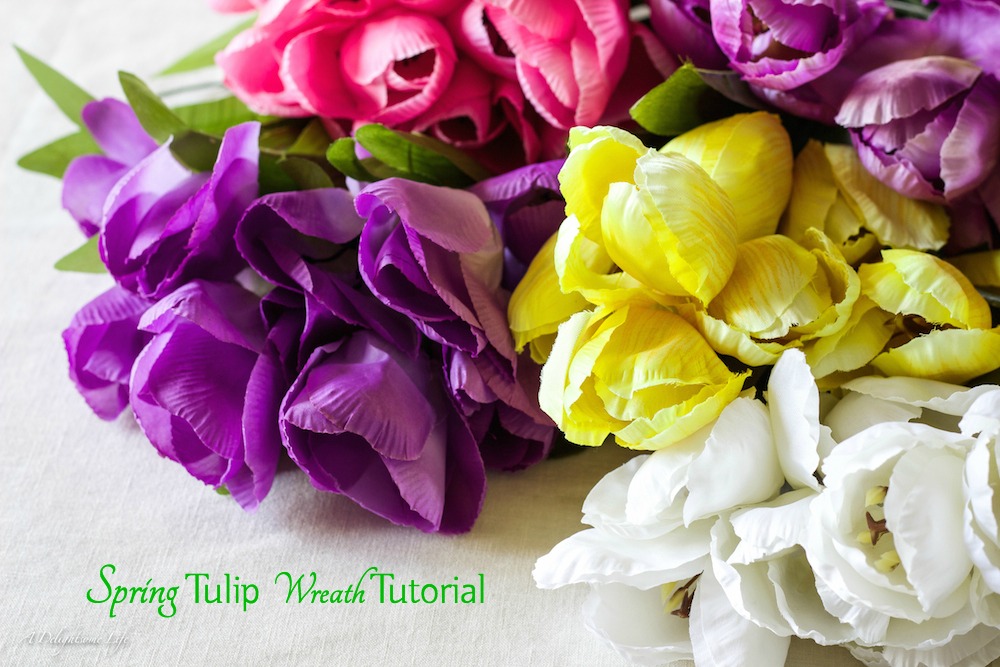


Reflecting Spring’s Beautiful Colors
It’s time to decorate the front porch! We’ve had a lot of rainy weather which has dampened my ability to decorate the front porch. I spent some time cleaning a couple weeks back, now it’s time to decorate – with the front door by making a Spring Tulip Wreath.
Spring Tulip Wreath Tutorial
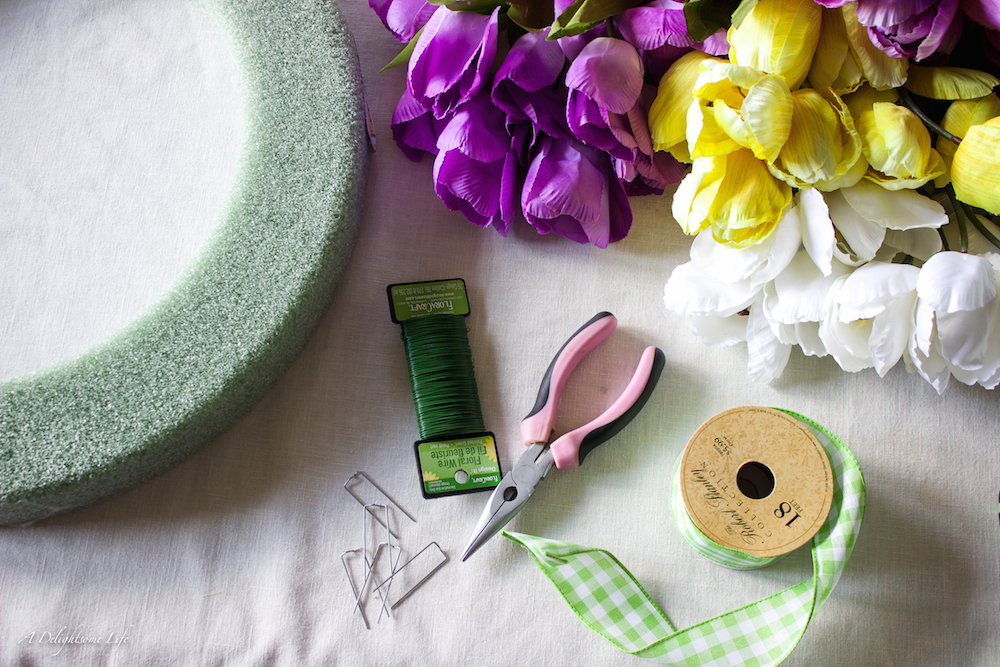
The Supplies You Will Need
1 Green Styrofoam Wreath
12 Bouquets Silk Flowers – colors of your choice
Floral Wire
Floral Pins
Wire Cutters
Wired Ribbon
Step 1
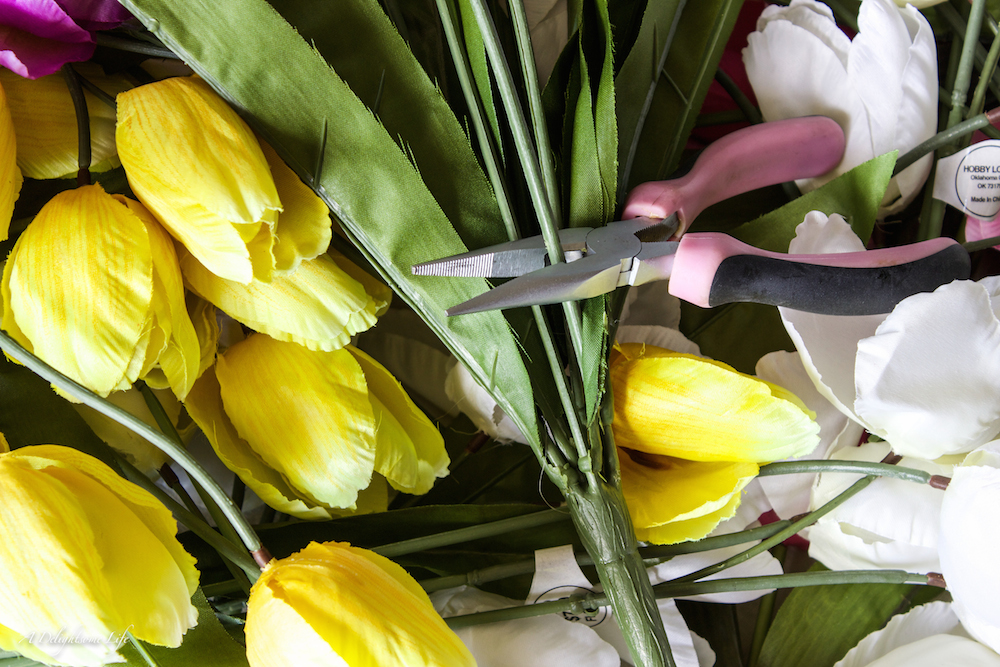 Separate each silk tulip by cutting the stem from the bouquet bunch. Set the flowers aside by color.

Step 2
 Make the ‘bunches’ of tulips by combining two each of the colors – a total of eight tulips per bunch. Gather these bunches together with the floral wire cut in four to six inch length. The key is to randomly place the tulips by color so as to not have the same arrangement for each bunch of tulips. Wind the floral wire round the bunches securing the bouquet firmly. Set aside. You will end up with eighteen bunches of tulips.

Step 3
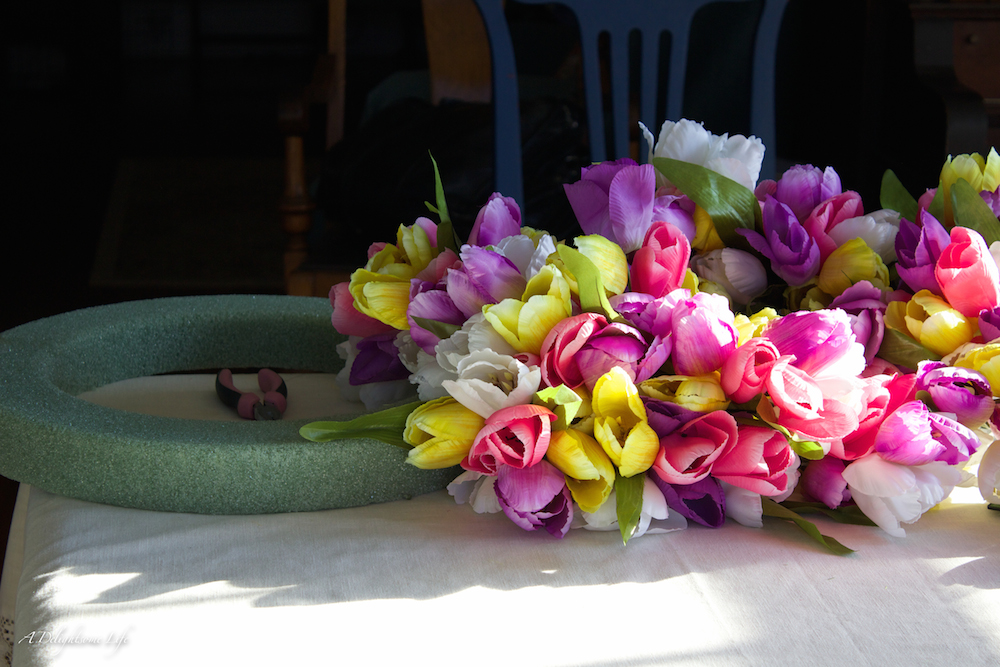 Trim the ends of the bunch of tulips so that when you place them on the wreath form, the ends don’t stick out.
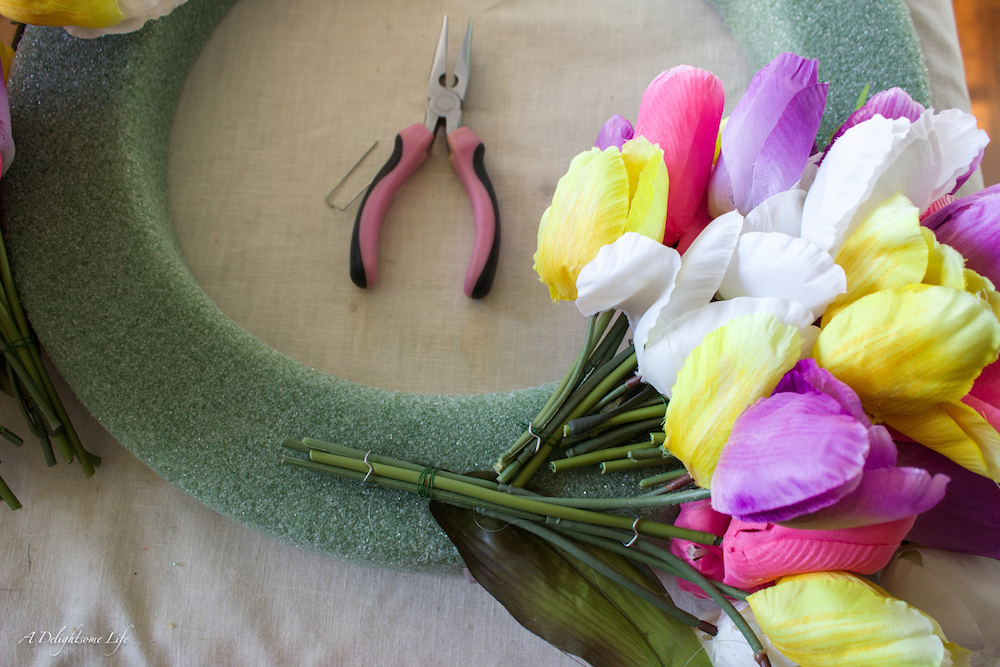 You will need to place the bunches on the wreath form, securing them with the wire floral pins – more than one per bunch. Each bunch will be placed alternating side to side and spaced just below the other. Avoid the temptation to bunch too closely. You will have nine bunches per side of the wreath form.
Your Tulip Wreath
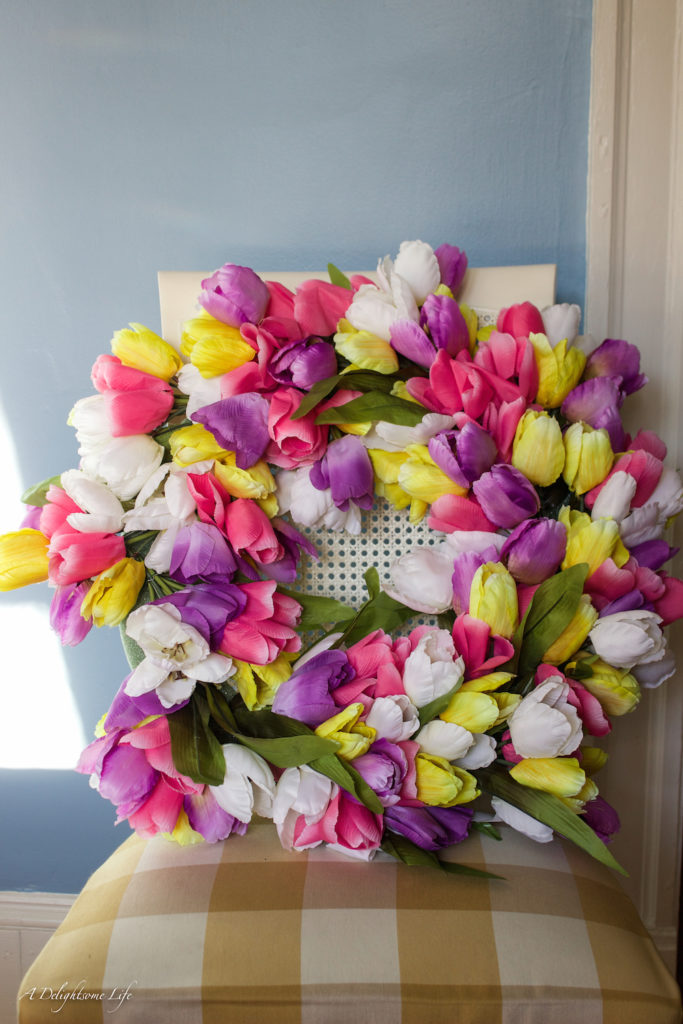
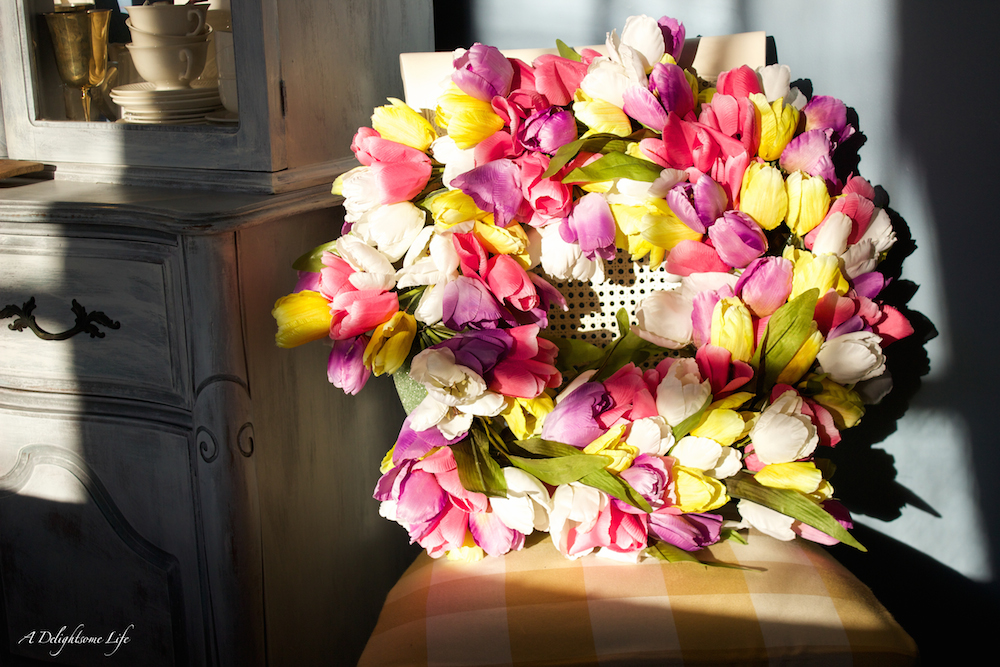 Once you’ve completed your wreath make sure each bunch is secure by tugging gently. Set it up to also make sure you are pleased with the arrangement. I’ve left a small spot on the left – see picture – for the placement of the bow.
Step 4
 I made a full bow for this wreath – you can add as many loops to your bow as you wish. Now, it’s ready to decorate your door or a wall in your home!
 I hope you give this a try and add the beautiful colors of Spring to your home’s decor!


