Adding to the New Look to Our Master bedroom
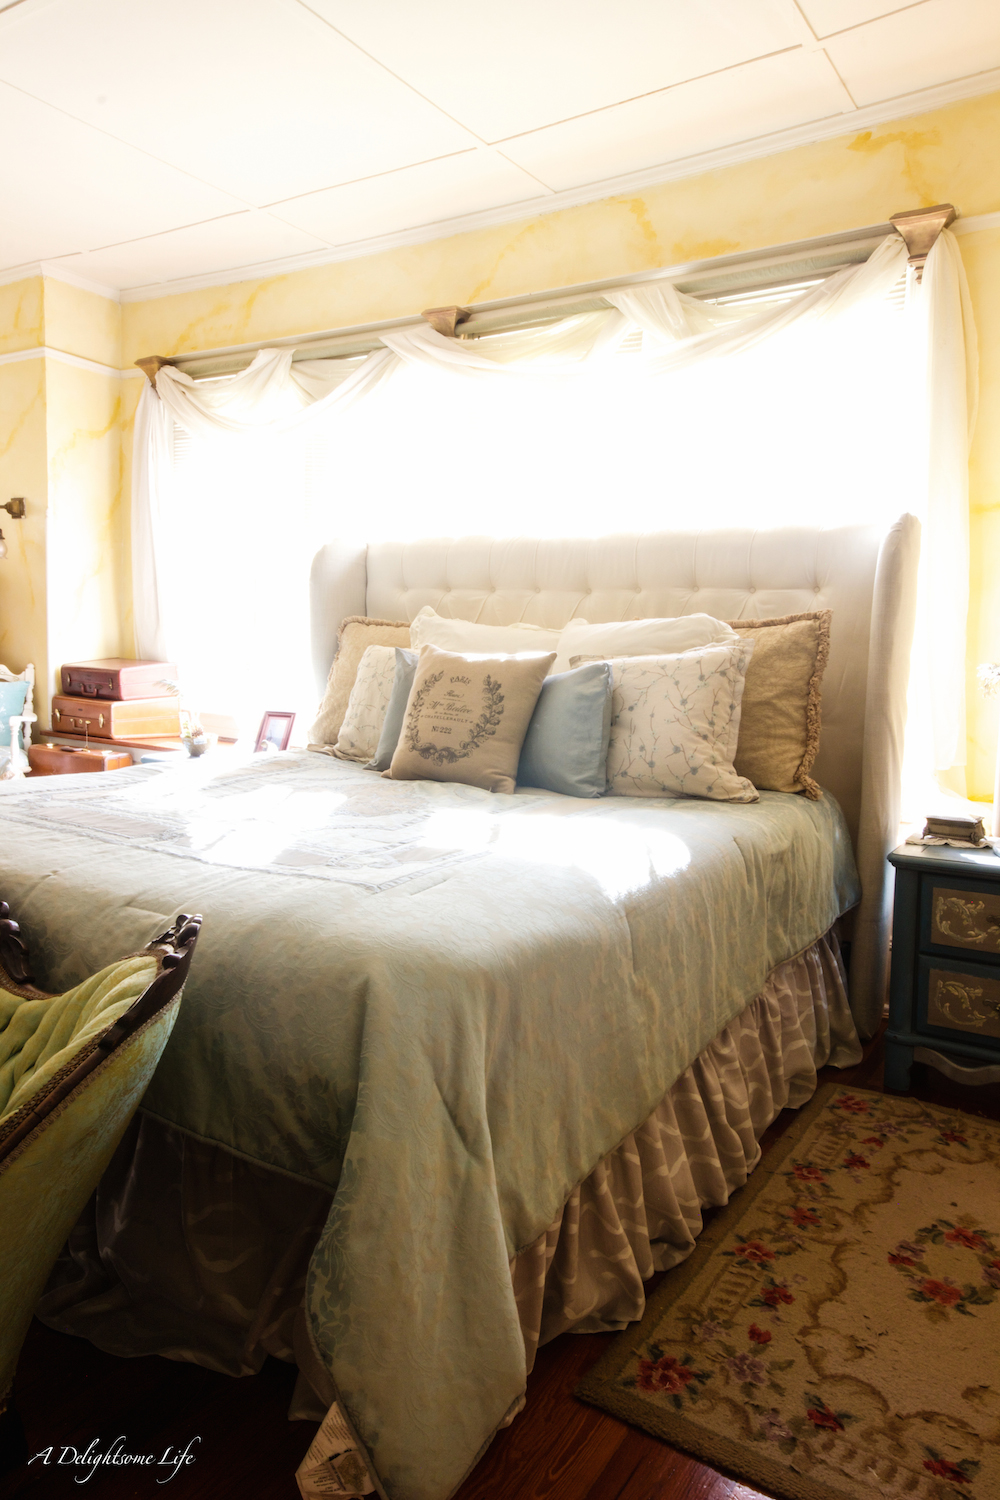
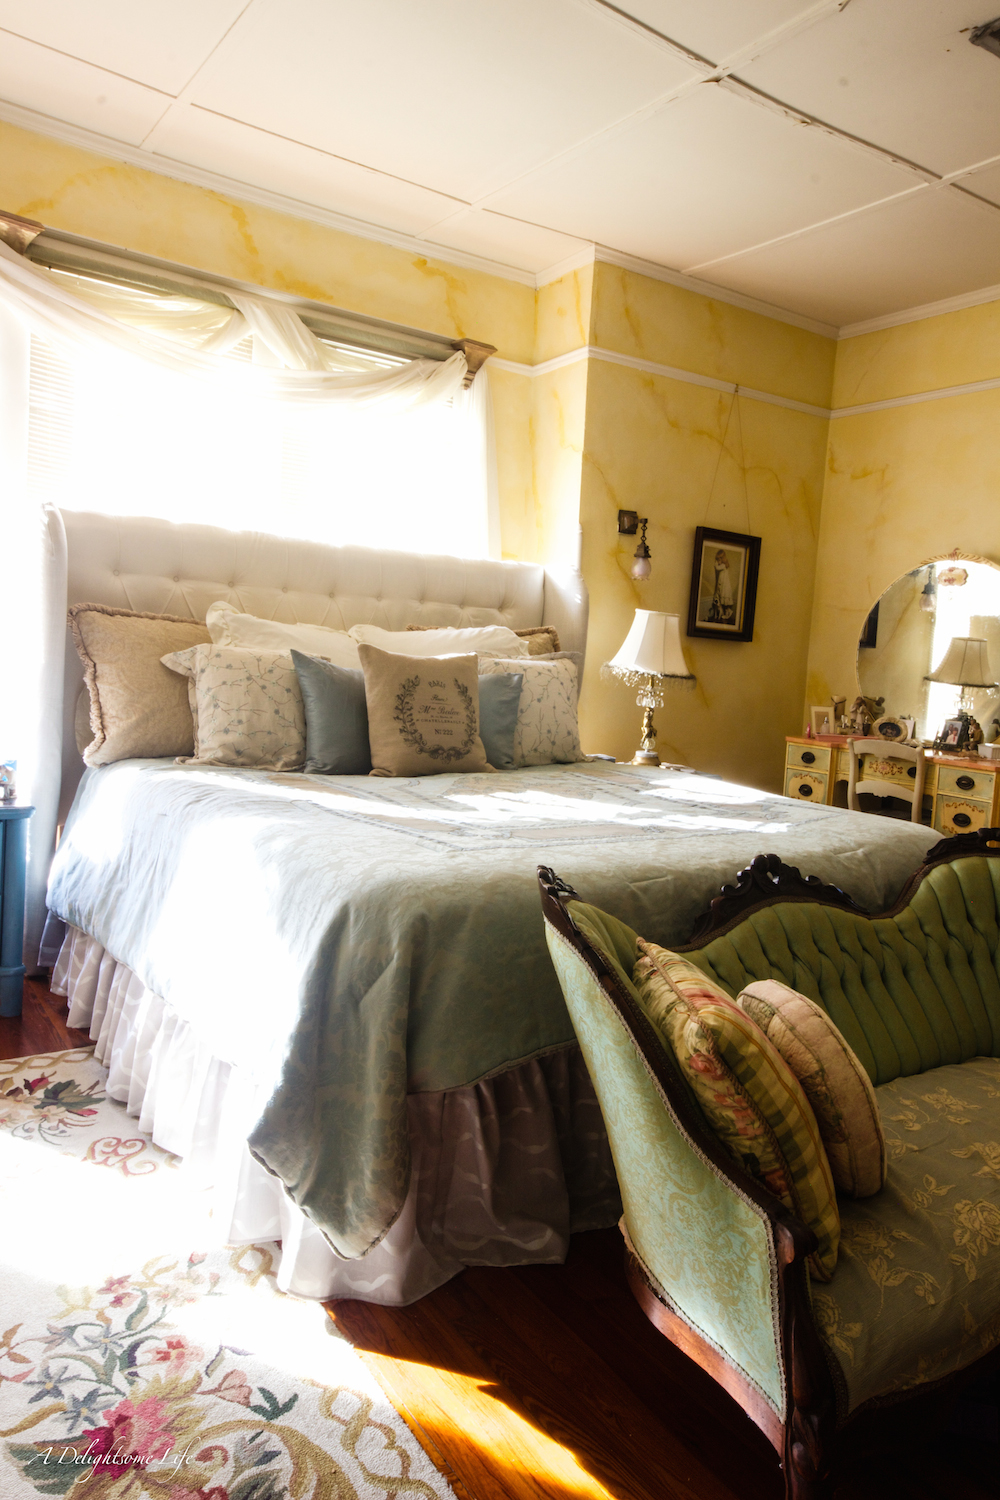
Now that we’ve made the big change to our master bedroom simply by changing the look of our bed from four-poster bed to diamond-tufted upholstered headboard, I thought the look was not quite finished. I began to consider making a DIY custom bed skirt.
DIY Custom Bed Skirt
The bed skirt we had been using was a lovely, satin fabric that simply covered the bottom. I love the full look of ruffles and began to shop around for a replacement. After searching several online sites I found very pretty, ruffly bed skirts, but I wasn’t satisfied with the fabric style. The fabrics were mostly solid colored. Also, the price was more than I wanted to pay. I then thought, I could make my own DIY custom bed skirt.
What I’d need to make a Custom Bedskirt
Back to research. This time, I needed to know just how much fabric I’d need to make my own DIY bed skirt. There are two measurements you’ll need. First, vertical, from the mattress bottom to the floor. My measurement was 17 inches. So, I’d need fabric width at least 25 inches. I’d need enough for seam allowance at the bottom and enough for the gathering of the fabric and to attach to lighter fabric between mattress and box spring. The next measurement I needed was just how much fabric to create the ruffles.
- Twin – 6.5 to 8 yards
- Full – 7 to 9 yards
- Queen – 10 to 12 yards
- King – 12 to 14 yards
That’s a lot of fabric. I do shop at a discount warehouse for the majority of my fabric. If I purchased the fabric retail, this could become cost prohibitive! Another solution?
Drapery panels
While shopping at TJ Maxx I noticed some pretty, patterned drapery panels. I considered them and wondered if I could make the bed skirt with them. I looked at their measurement. These were 46 inches in width and 96 inches in length. I would need just over two panels. Each panel set was on sale, so with the material and thread needed to create the ruffled/shirring I would not only come out with a custom bed skirt, but one that would be much less expensive. The beauty of this solution is that you’ll already have the finished bottom seam!
Material Needed – King Sized Bed skirt
- 2 Sets of Drapery Panels
- shirring tape 12 to 14 yards
- upholstery thread
- used king sized bed skirt
- 4 to 5 inch grosgrain or twill tape
How to Make DIY Custom Bed Skirt
- Determine just how much fabric you need
- Find drapery panels with fabric and pattern you like – determine how many you’ll need to finish your project
- Measure and cut the fabric panel with pinking shears
- Pin the shirring tape to the cut edge of the fabric and sew straight lines alongside top and bottom of the shirring tape (the tape is completely covered beneath by the panel fabric).
- Once the shirring tape is sewn on, gently pull the thicker strings all along the length until you’ve created your desired ruffles.
- Sew along the newly ruffled edge of the tape to secure your ruffles.
- Take the used king size bed skirt – you want the center panel to make your new bed skirt. You can either attach the new ruffled fabric over the previous skirt or cut the skirt fabric and sew the new bed skirt to the panel.
- Sew along the top ruffled shirring tape at both edges with either the grosgrain ribbon or twill tape to give a finished edge.
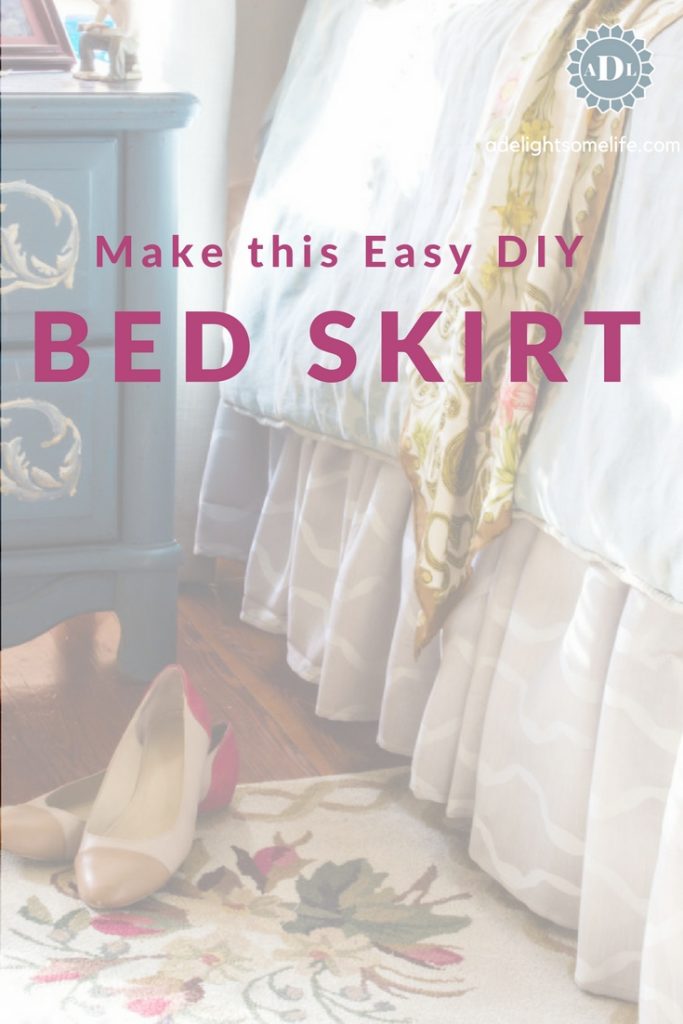
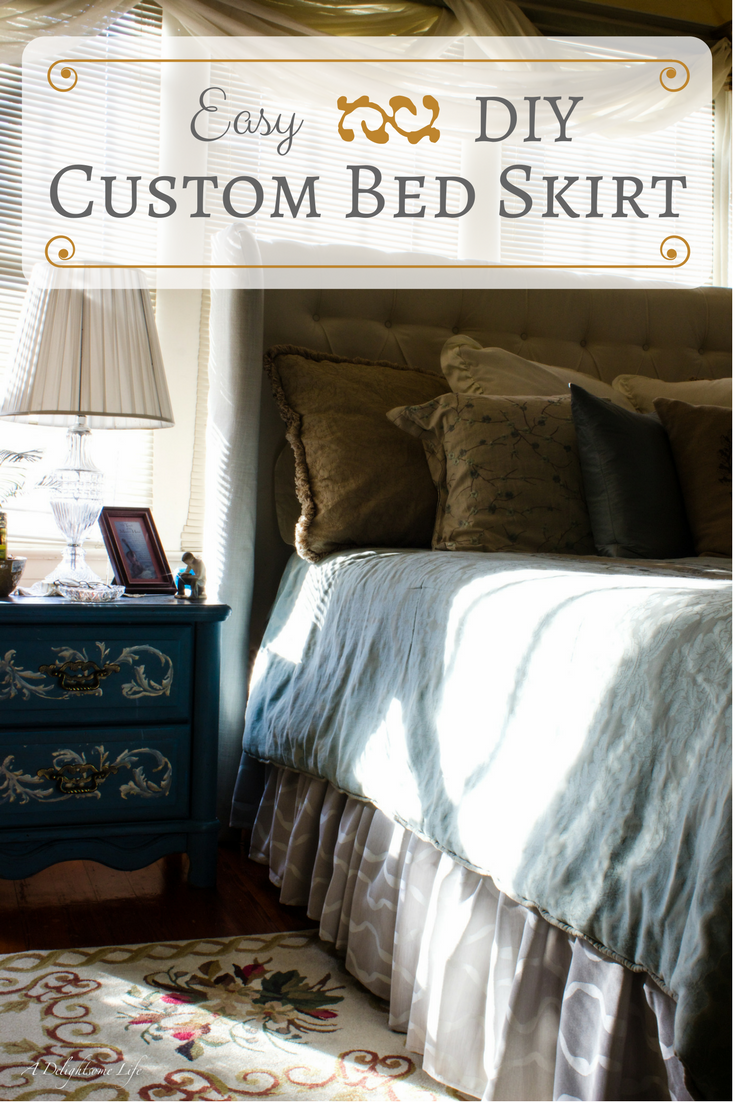
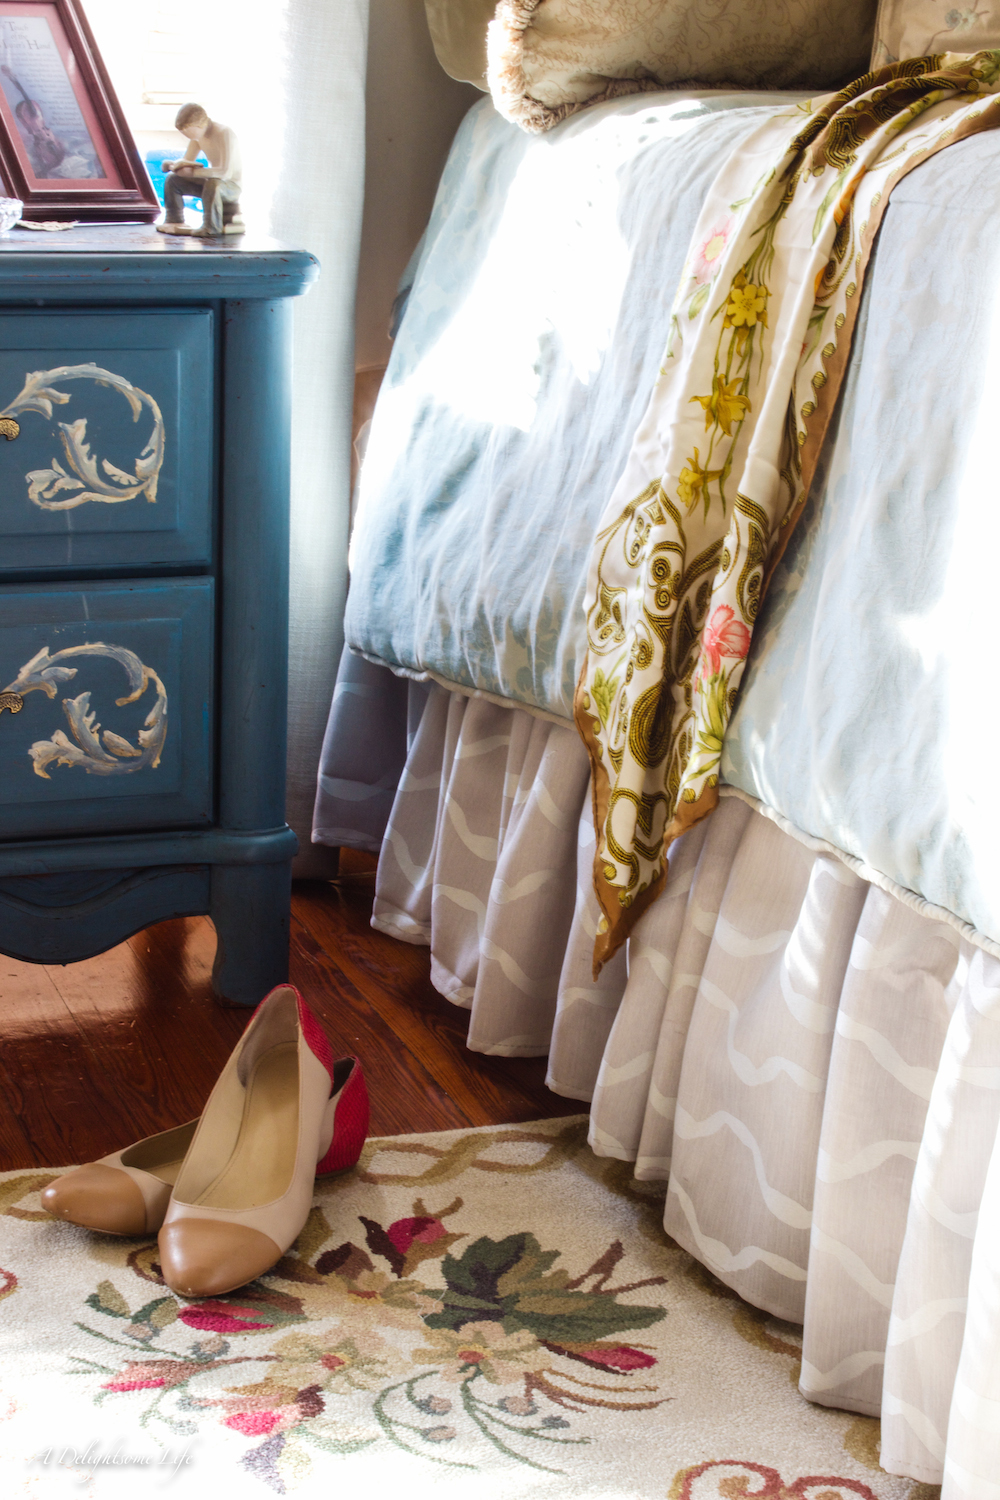
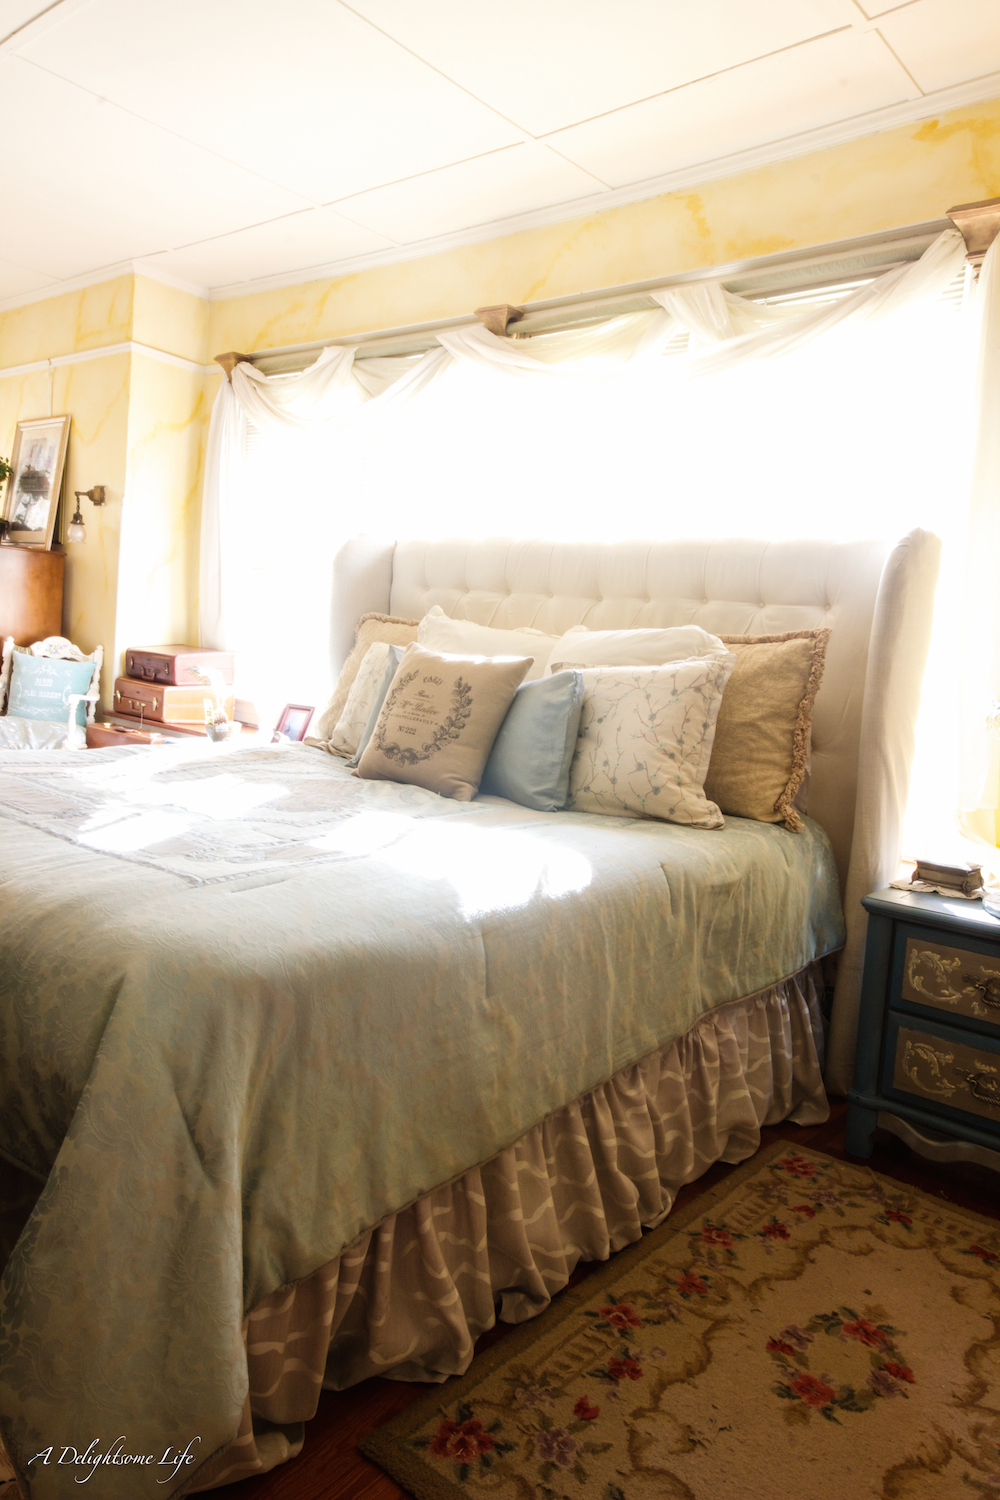
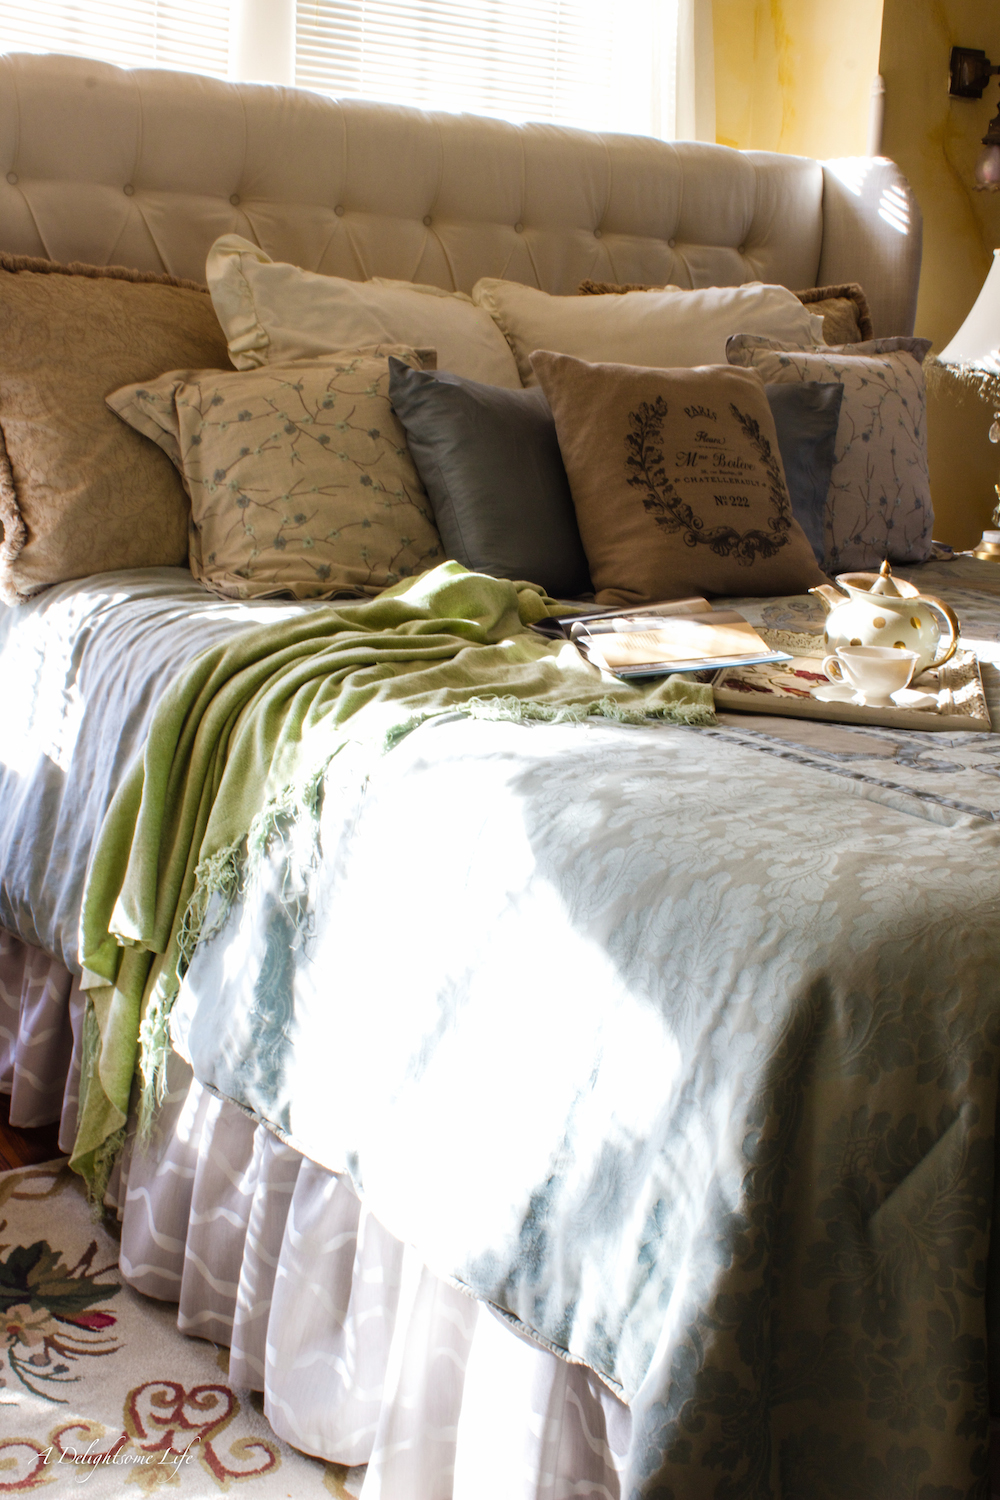
Now you have your own, DIY custom bed skirt. I love this design and the neutral color. It will transition well from season to season as I change out comforters, duvets, coverlets and or bedspreads. I have enough left over fabric to make pillow slipcovers if I wish!
PIN THIS!
