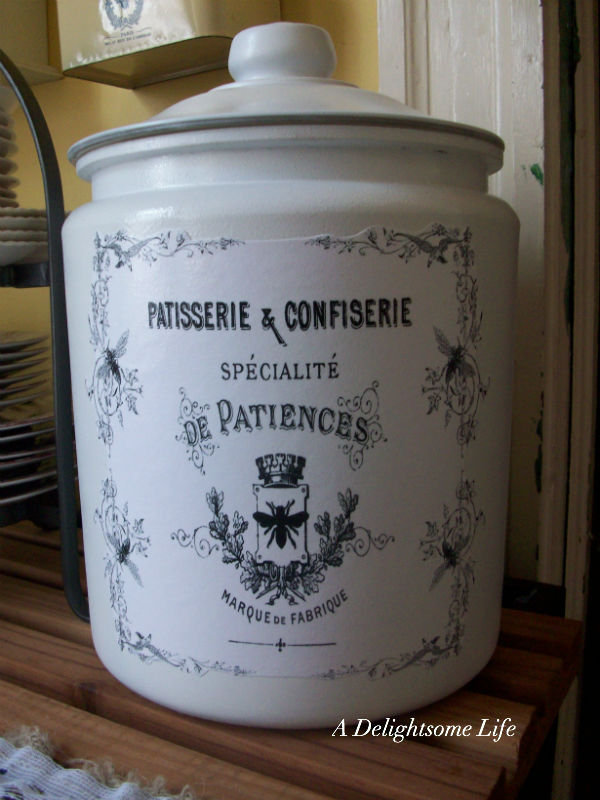
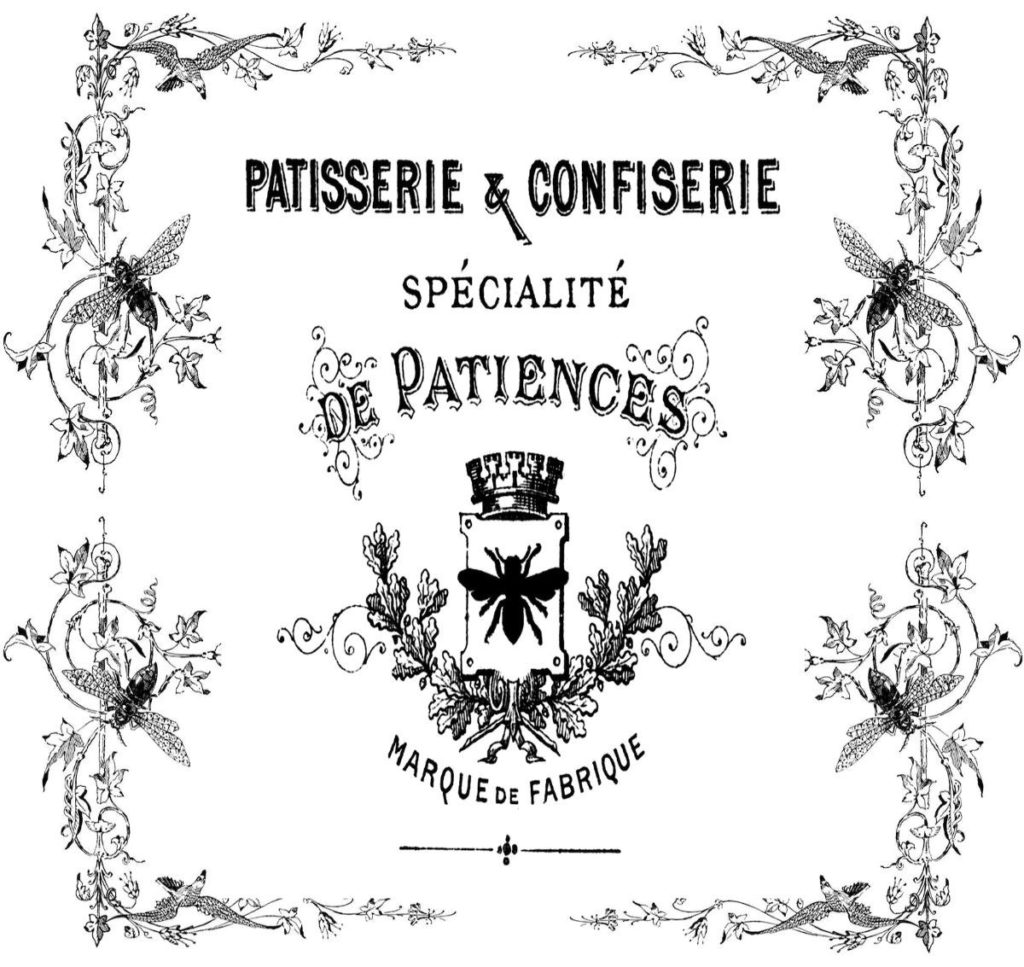
I have had so many positive responses to this project that I thought I’d make a step-by-step tutorial to how I made the complete Framed Bee Graphic. I used online photo editing that you too can use.
You can find these graphics on our Dear Friend, The Graphics Fairy’s blog.
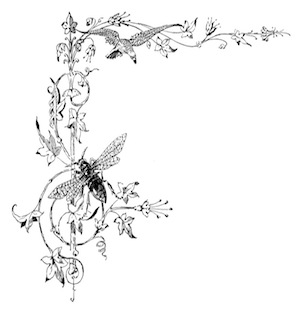
French Patisserie Bee Sign Vintage Bracket Graphic – Scrolls and Bejewelled Bees
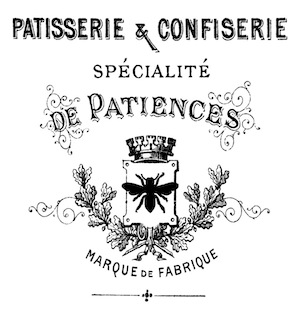
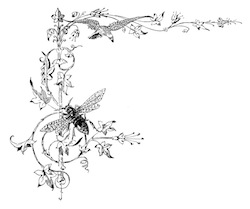
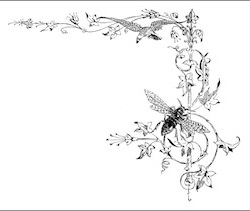
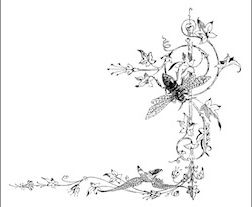
I have resized these images to 300 pixels wide and 315 high for the post. You can go to the links to get the original sizes to do your project. Save these images to your computer. The finished image I made was 1200 pixels wide and 1133 high. So, I to make the images fit, I resized them on my computer- the brackets were resized to 800w x 669h (1/2 the original size); the patisserie image was resized to 957w x 1005h.
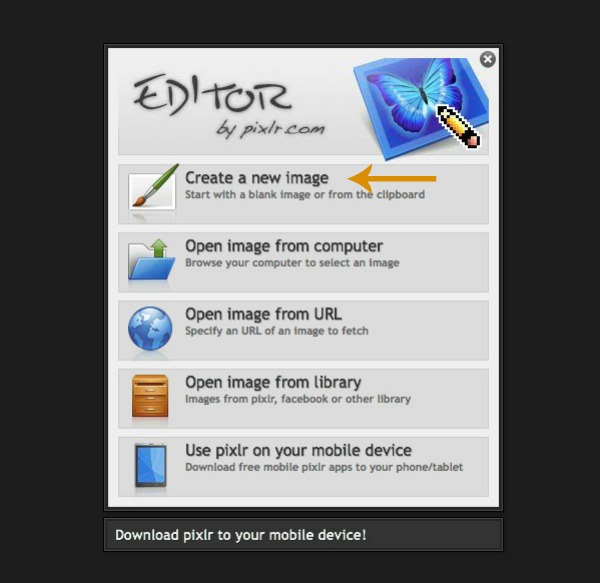
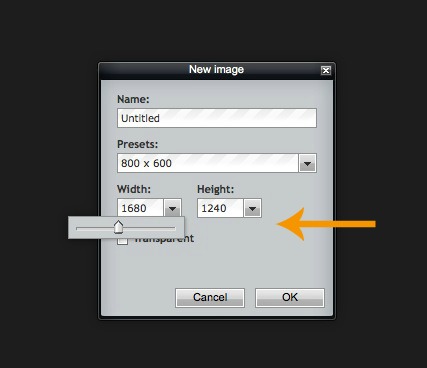
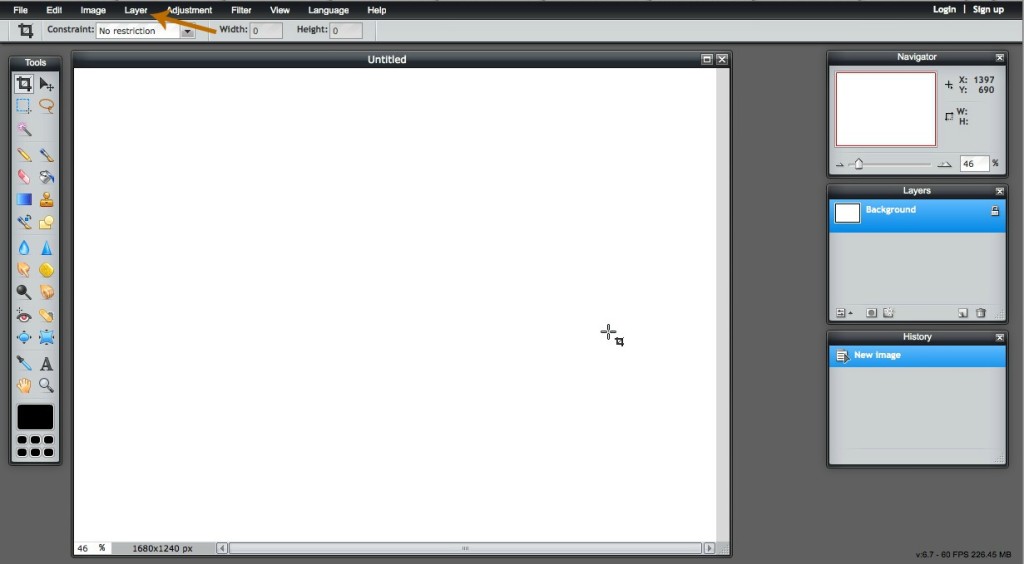
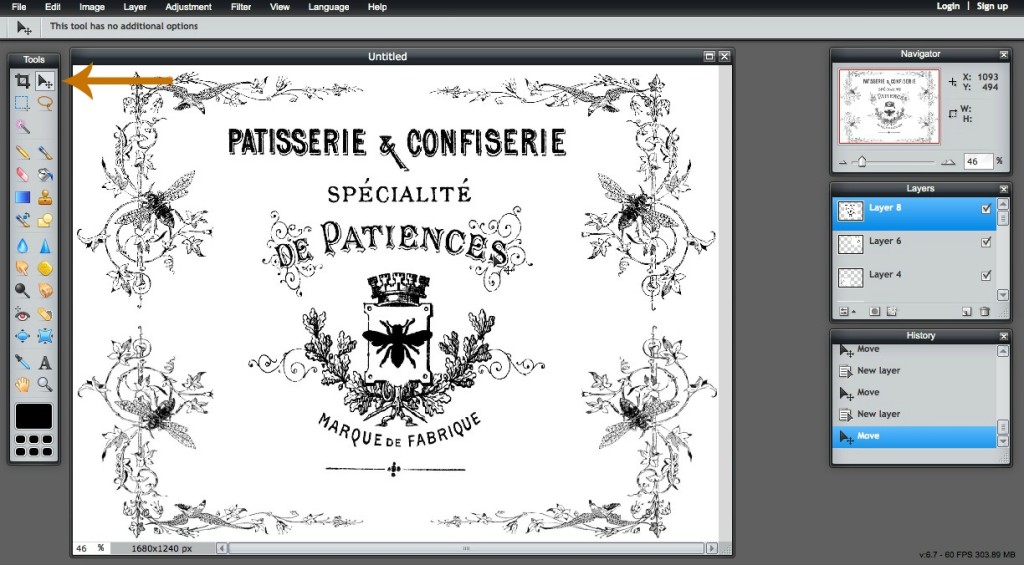
To make this project I used Pixlr Editor. The first thing you do is click on Create a New Image.
Set the image size to 1680wide x 1240high.
Before adding the bracket image, I created three additional images. I first duplicated the original image then flipped it horizontal to create the right. Then, I duplicated the second image and flipped the image vertically, creating the bottom right corner. Then, I duplicated the third image flipping this image horizontally to create the bottom right corner. Saving each image individually.
Image 1 Image 2
Image 3 Image 4
When you create the image you will be using the ‘layer’ feature on Pixlr.
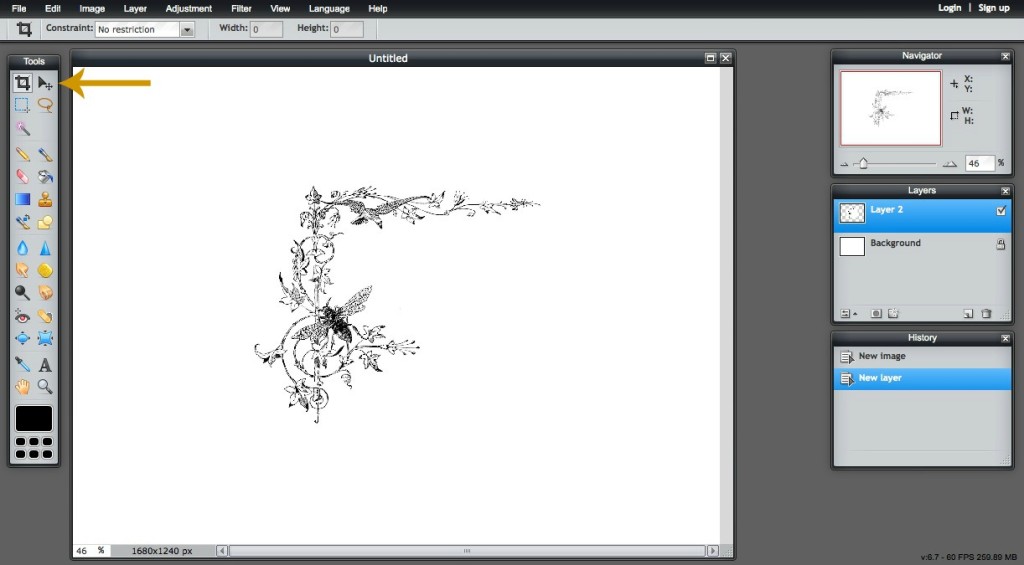
Choose the “open image as layer” option from the drop down menu on ‘layer‘. Upload the first bracket image that is the top left corner of the frame.
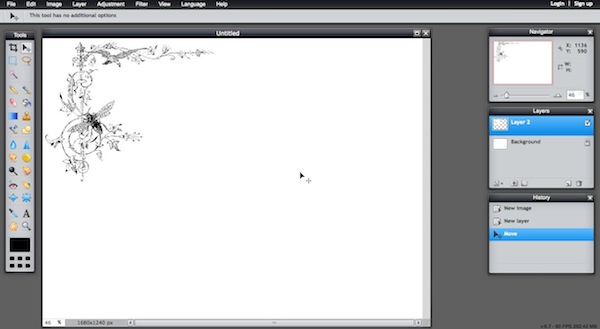
The uploaded image will not be where you want, so using the ‘move tool’ shown above with the orange arrow, move the first image to the top right corner of the ‘blank image’.
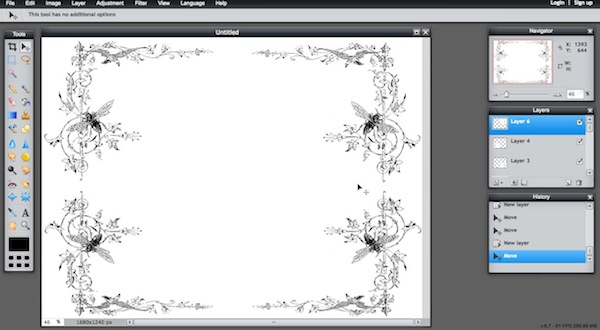
Repeat this process with the three remaining images, moving them to their appropriate corner. You’ll have the first part of this image complete, you’re nearly there. These steps have been the most involved part of the process.
The final layering is the Bee Patisserie label added to the center of this frame graphic. Some of this image will cover the bracket – that’s o.k. You can make it slightly smaller to allow the full bracket image to be revealed. You can see from the image above compared with the finished image to see what is covered, you’ll see it is not very much at all.
Last step, resize the image on Pixlr to 1200w x 1133h to fit the large jar. You can make additional copies of this image to any size you desire from this point. Save your project – your new Bejewelled Bee Pattisserie Label is complete!
I am sharing this post with these Delightsome blog parties:
Masterpiece Monday at, http://boogieboardcottage.blogspot.com
Make it Pretty Monday at, http://thededicatedhouse.blogspot.com
You’re Gonna Love it Tuesday at, http://kathewithane.blogspot.com
Feathered Nest Friday @ French Country Cottage
Show and Tell Friday @ My Romantic Home
Masterpiece Monday @ Boogieboard Cottage
Wow us Wednesday @ Saavy Southern Style
Home Sweet Home @ The Charm of Home
Seasonal Sundays @ The Tablescaper
Home @ Rose Chintz Cottage
Open House @ Bernideens Teatime Blog
Shabbilicious Friday @ Shabby Art Boutique
