DIY Tufted-Upholstered Headboard
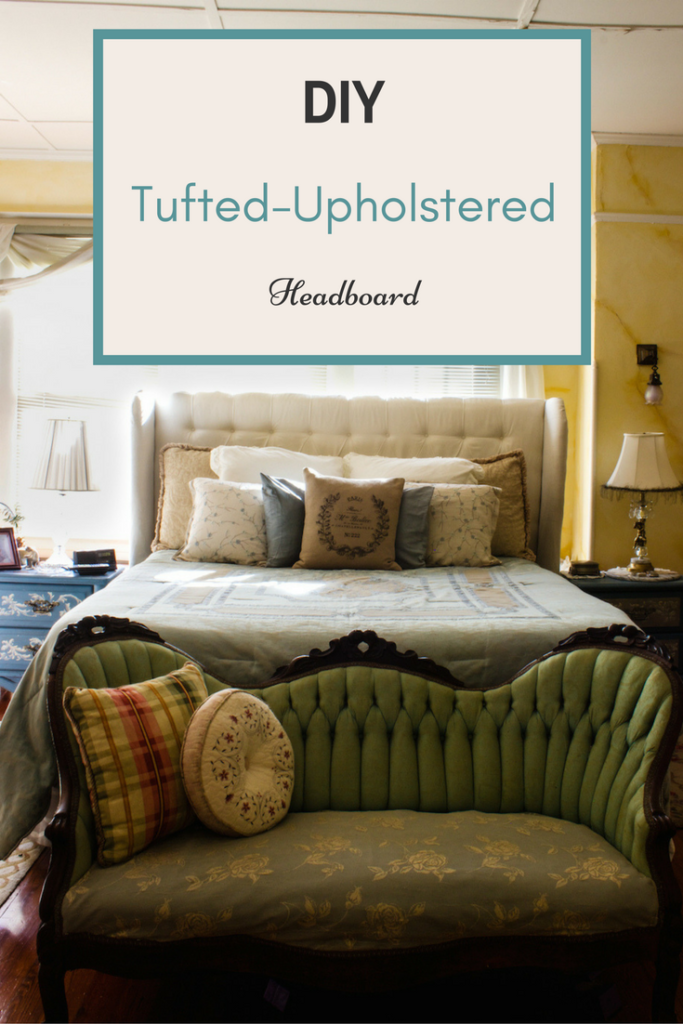
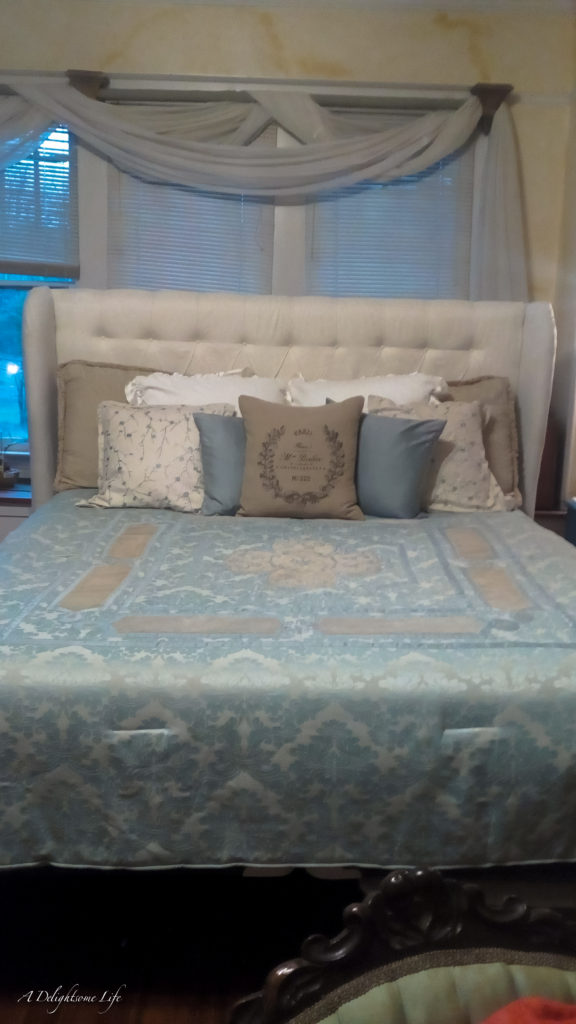
This is a big project, in so many ways! Dearest and I had the same bed suite for a number of years. I had painted the dresser and the nightstands a while back. I also painted the king-sized four poster bed. For a while I toyed with the notion to remove the four posters and to just use the headboard. Then I saw some beautiful upholstered headboards. The vision to create our own upholstered headboard began to float in my imagination. The impetus came when we changed mattresses – the old one wasn’t good for Dearest’s back. It took the two of us working together, but we finally built our DIY tufted-upholstered headboard. Here’s how.(this post contains affiliate links)
Putting the Vision on Paper
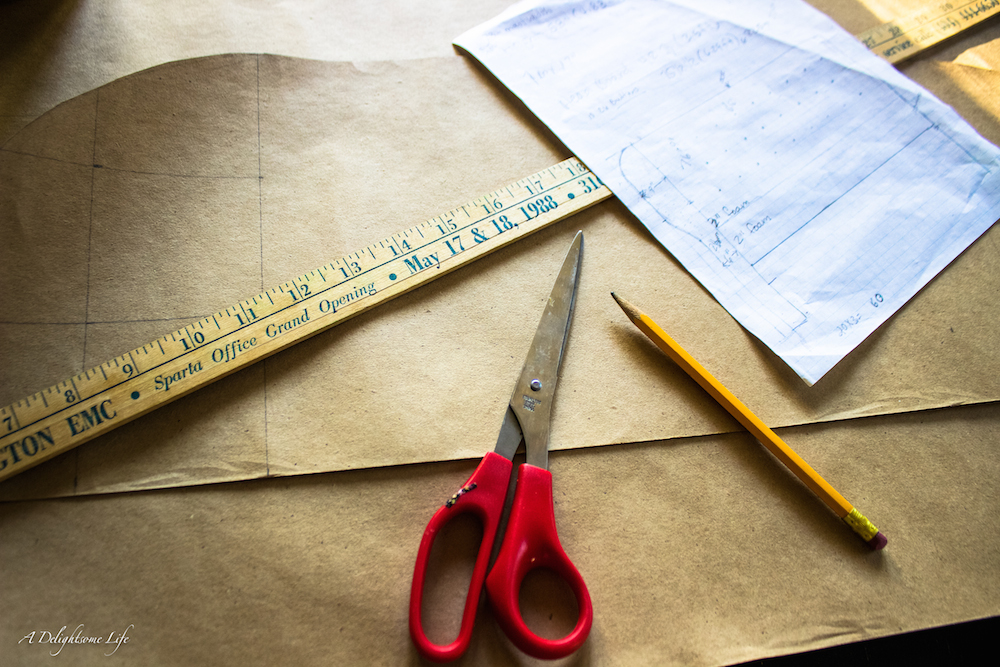
Graph paper. I determined the height I wanted the headboard. My criteria was that there should be enough tufted upholstered headboard to show above the decorative pillows. So, I measured above the European sized pillows and determined that the height should be 60 inches. The width of the bed exceeded the bed frame because I wanted to add wings to the headboard. I love the coziness of a wingback chair and I saw a few examples of what I hoped to recreate.
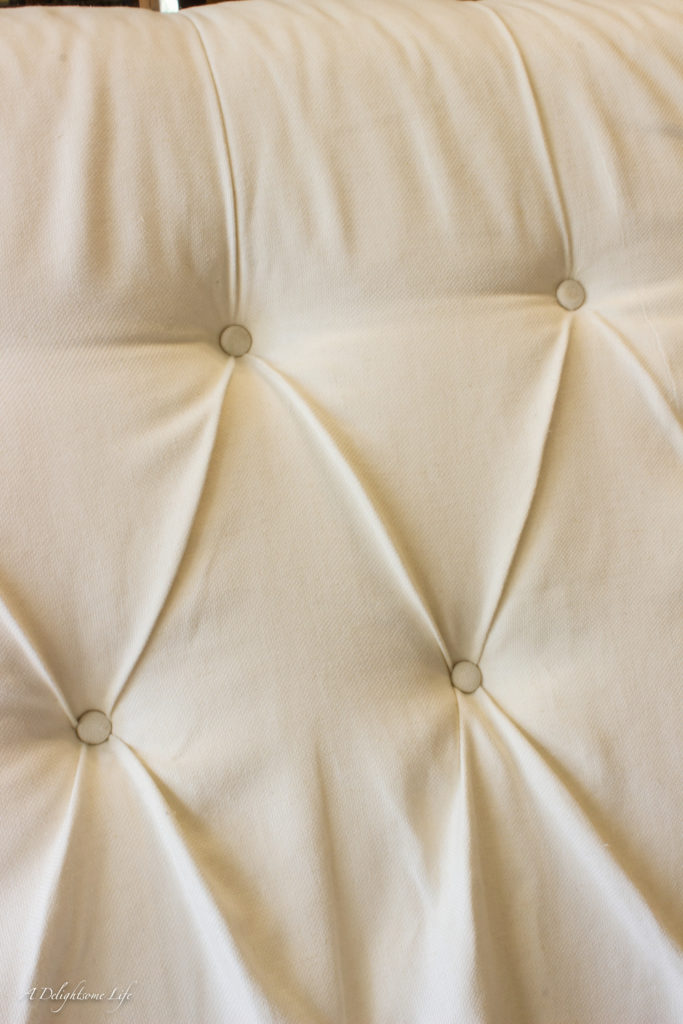
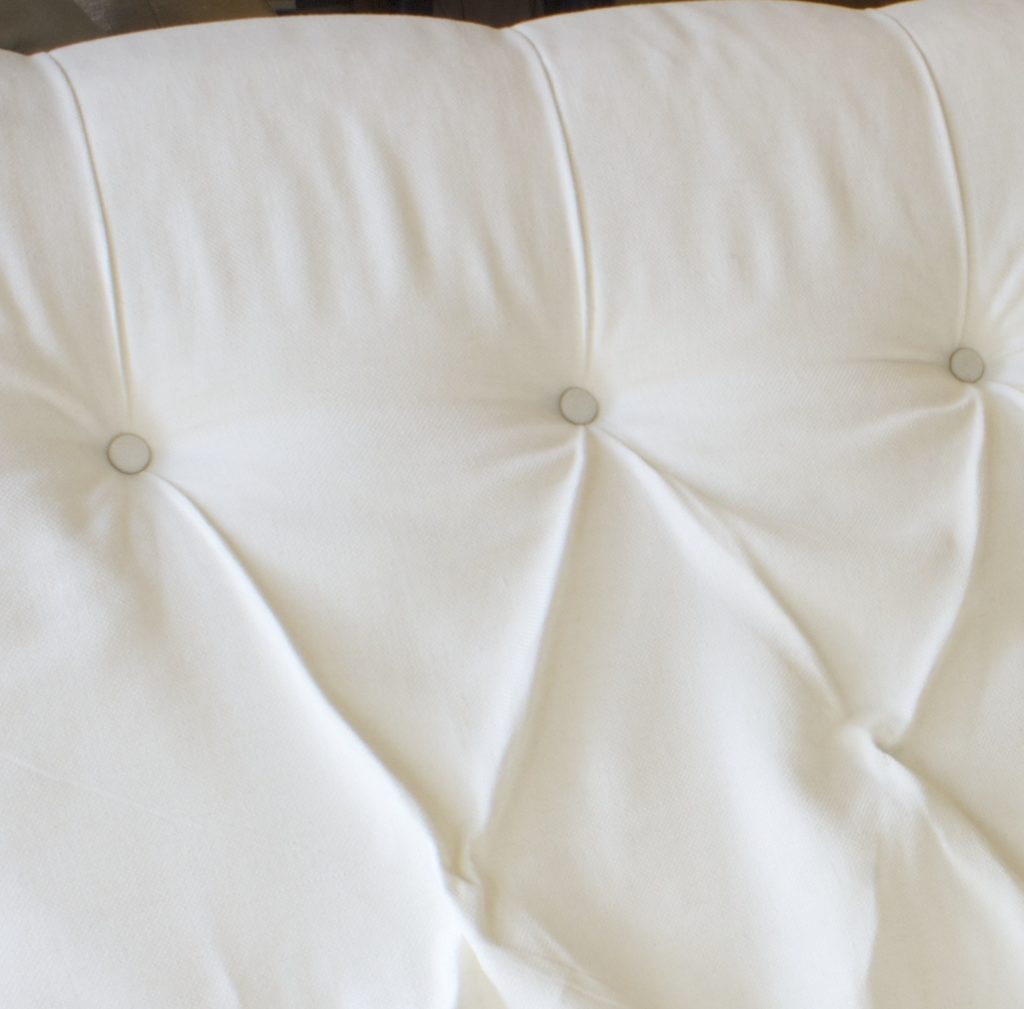
Diamond Tufting Detail
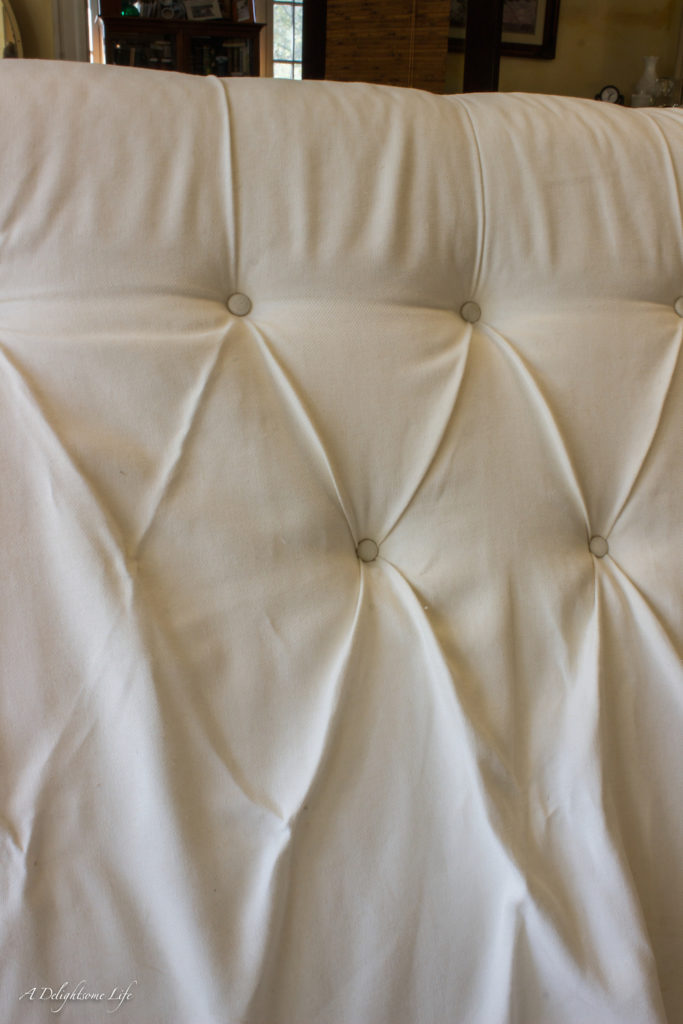
Now that I knew the dimensions I could lay out the pattern for the diamond tufting. I determined the first buttons would begin 10 inches down from the top and the buttons would be spaced eight inches apart. that allowed for three rows of buttons – nine at the top; eight in the center and nine on the bottom row.
The Wings
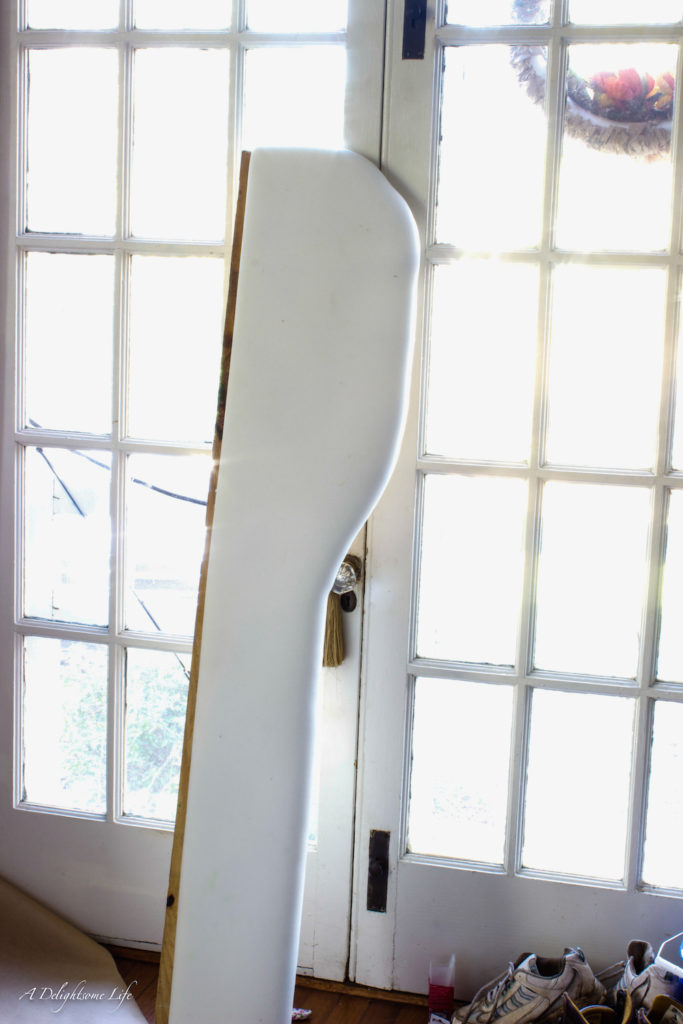
The wings would not only add to the style, but would also add to the stability of the headboard in that they would add support to the posts we’d add hidden in the back to stand the headboard. I decided the wings would curve with the widest point being nine inches going down to six inches to the floor.
The Material
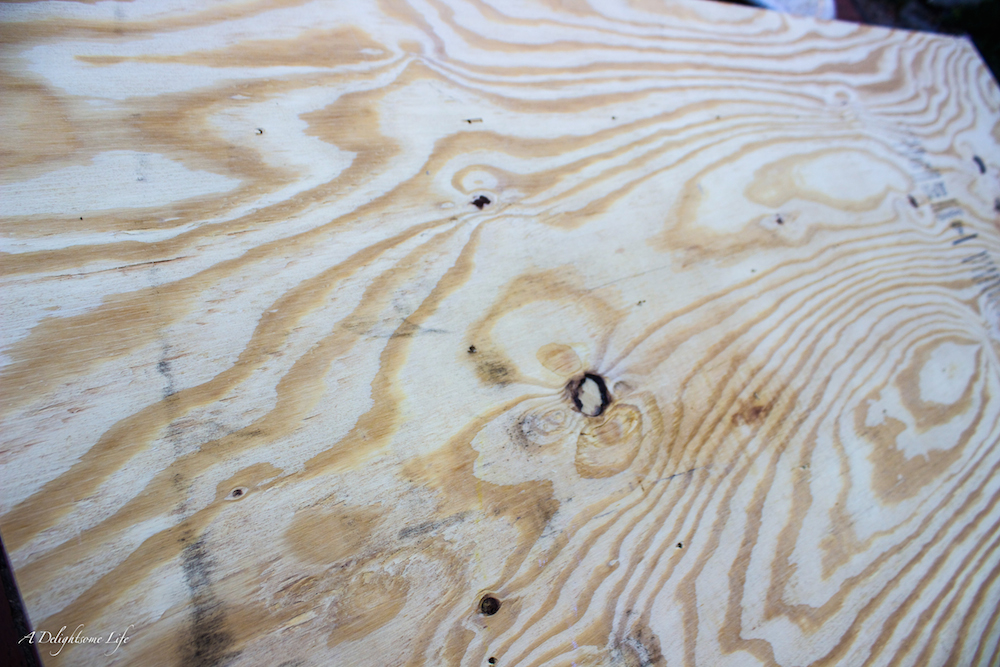
To create this headboard I decided to use plywood. I selected a standard grade plywood that had as few knot holes as possible. Staff at the hardware stores, such as Lowes can help you with your selection. The depth of the plywood was about 1 1/2 inches to 2 inches. The wings were made of similar grade wood. To support the bed we used three 2 x 4 posts cut. The two on the outside were 6 inches shorter than the height of the bed and the third – in the middle – just met at the line of the lowest row of buttons.
- Our measurements – 82.5″ long; 42.5″ high
Additional Hardware:
- Staple gun
- Staples
- Hex Bolts – two for each post
- L-Brackets – three per side to connect and secure the wings
- Screws – additional support
- Upholstery tacks – for the back to give it a finished look
- Drill with drill bit
- Hammer
- Screw Driver
- Scissors
- Sewing Machine
- Long upholstery-tufting needed – the two-sided one is best
- Two Saw Horses
- Circular or Reciprocating Saw
Software:
- Your choice of fabric – one that has enough weight to it, but not too stiff. I had some lovely cream linen fabric. The fabric needs to be at least 2 feet longer than the width of the headboard and 1 foot higher than the top to bottom measurements. This will give you enough fabric for tufting – enough fabric to completely cover both sides of the wings and 2 to 3 inches in the back
- Upholstery foam – I used both 2 inch and one inch foam combined. It allowed for me to graduate the ends to curve the design.
- Quilt Batting – large enough for a queen sized quilt – heavy duty
- Spray Adhesive
- Button Making Kit – enough buttons for your project – plus a few more (26)
- Extra buttons for the back – same number as front
- Upholstery thread
- Stitch Witchery
- Additional fabric for giving the headboard a finished back
- waxed upholstery thread
- grosgrain ribbon
- Hot glue gun and glue sticks
Step-by-Step Instructions
This is a medium to hard project. Overall it is not too difficult, but it does work best when there are two people working together.
- Cut the plywood to size
- Mark the places for the button tufting – measure carefully
- Drill holes big enough for needle to go through – we did 3/4 inch with drill bit
- Measure 2 inch foam to about an inch and one half shorter than each side. Adhere the 2-inch foam to the plywood – following directions of the spray adhesive.
- Cut the one-inch foam to the same size as the two inch foam. Adhere with spray adhesive to the 2 inch foam. Allow to dry and to set.
- Cover the whole headboard with quilting batting attaching and stapling to the backside with staple gun. Pull taut. You’ll want the top and the sides of the foam to curve.
- Cut your upholstery fabric to size (see note above). Lay the fabric over the foamed plywood making sure your sides and top have enough fabric overage to attach behind and to accommodate the tufting.
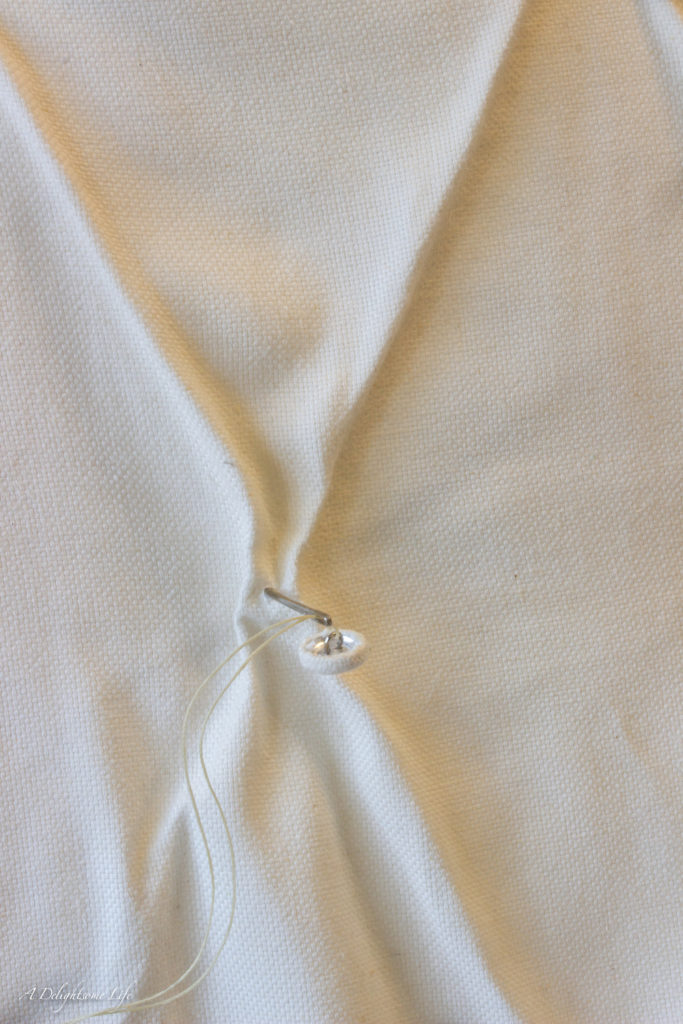
- Make your buttons. This is not a very easy task. I purchased the button hole kit. I added a drop of glue to the inside of the upholstered button before attaching the back of the button. So that the whole would have more security together. Finish all buttons before beginning to tuft the headboard.
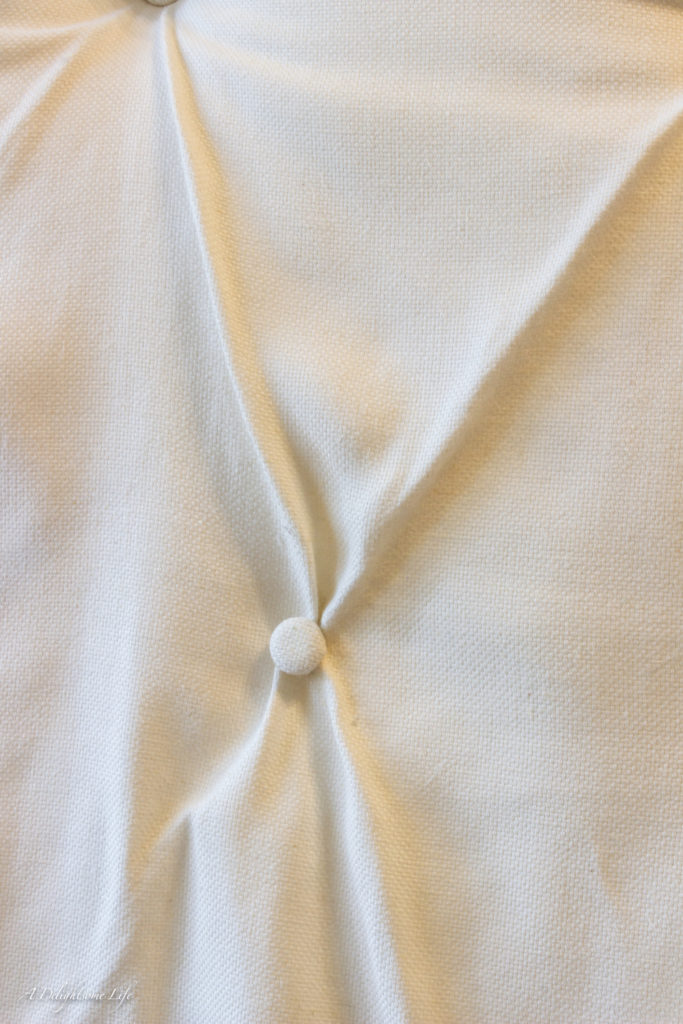
- Begin to attach buttons. Start in the middle of the top row. The best needle is the one where you can poke through the hole; through the foam and to thread through the button then pull back through. You’ll want both ends of the waxed upholstery thread to come through the loop of the button to the back of the headboard. Here’s where it’s good to have two people. We had the headboard on a table. You can use two saw horses to support the headboard. I threaded the button on the front of the headboard then attached a button to the two ends of the waxed thread on the back. Dearest pushed the upholstered buttons down and I tied a knot at the button securing the buttons and giving the headboard the beginning of the tufted look. Continue with all nine buttons for the top.
Top Tufting Fold
Before moving onto the next row I too the fabric at the top of the headboard and folded a crease stapling that crease over the backside securing firmly. I did this for all top buttons
Tufting Folds
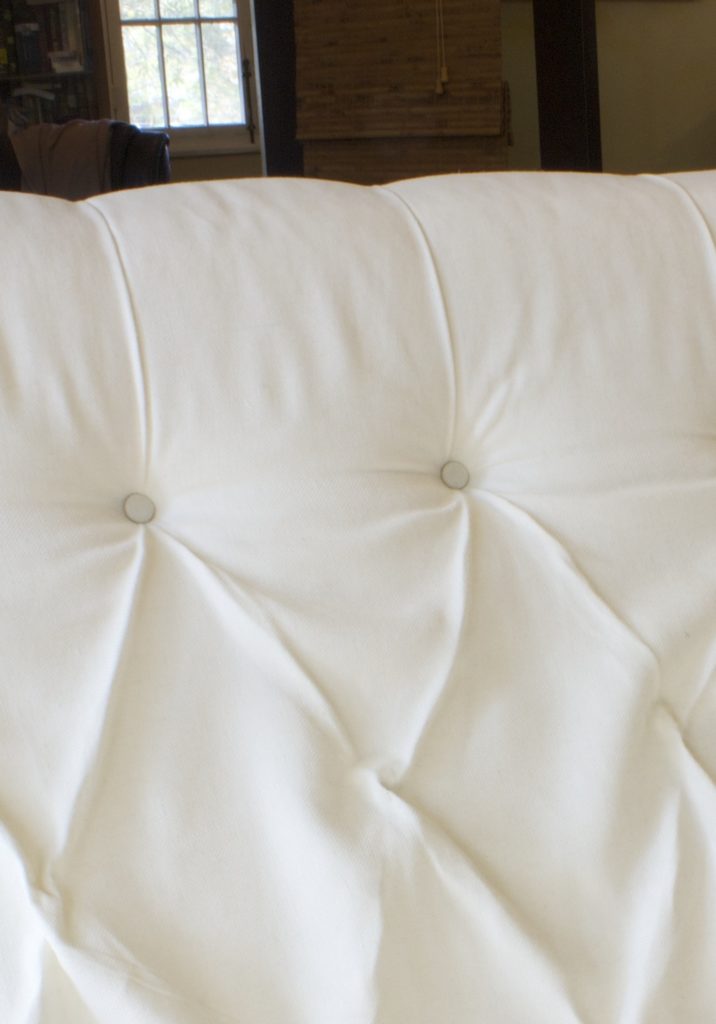
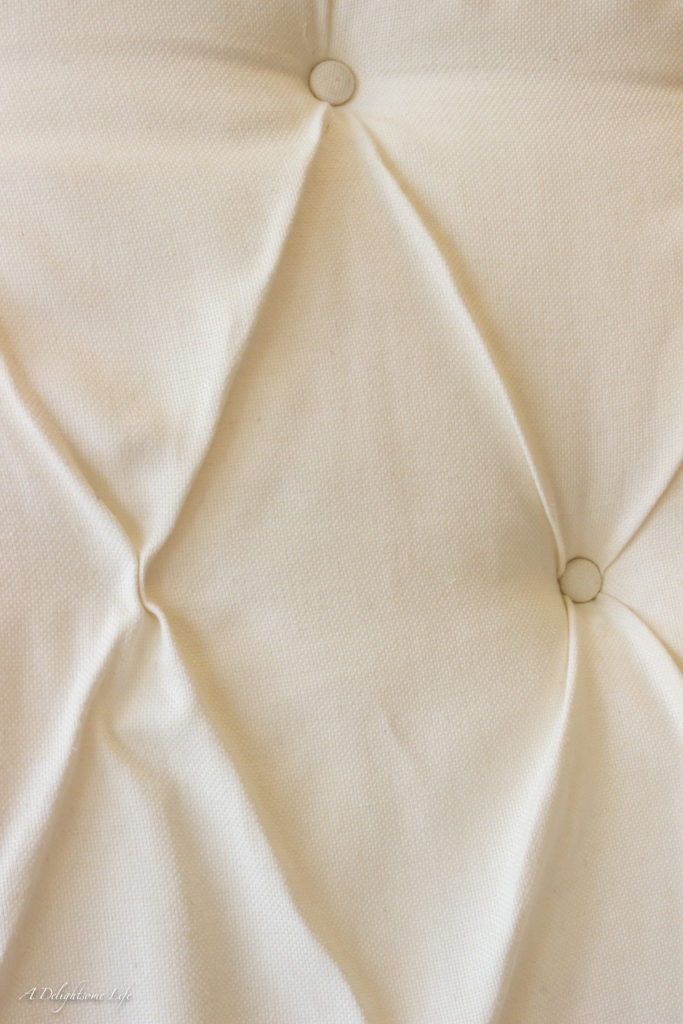
It’s important at this point to remember to consistently fold all tufting in the same direction. From the bottom of the first buttons I created two folds facing one another. This makes the top of the diamond tuft.
Second Row of Buttons
You can lightly thread through the second row of buttons. The most important thing to remember is before you push the upholstered buttons down that the folds are going the direction you want them to. The middle row will have a top and a bottom fold. (See picture)
I pre-folded the material where I knew the button would go (I folded inward). I hand creased these folds. When pulling the button taut check the folds to make sure you have enough fabric – usually about 1/4 inch. When all folds are in place press the button down and secure on the back side. (Here’s where two working together is best). You will see the top two sides of the diamond tuft begin to form.
Third Row of Buttons
The third row of buttons will be similar to the top row. They’ll just be in reverse. Paying attention to the direction of the fabric folds – From the inward fold of the middle row of buttons draw from that fold to the location of the third row of buttons. Holding the fold for each button secure the fold with the button. You’ll be drawing from the two buttons above to complete the bottom of the diamond tuft. I worked from center outward. I really don’t think it matters where you begin attaching the buttons.
Extra Step
The folds of the fabric I chose didn’t ‘lay’ like I’d like. dearest suggested ironing the folds to emphasize the diamond tuft. This was a good idea in that I wanted to remove any remaining wrinkles. The best way to do this is with a spray bottle filled with water dampen the fabric. Allow it to set for a few minutes. Set your iron to the correct fabric setting then first smooth the section you want to iron with your hand. Iron that section until the folds are creased and the wrinkles removed. Continue on over the remainder of the headboard.
Secure the sides and tops of the upholstered headboard fabric
Now that the buttons are in place you can begin the secure the sides and top of the fabric to the headboard stapling with the staple gun. You want these to be enough to draw the fabric taut and to not be where you’ll attach the L-brackets.
Covering Winged Sides
With brown craft paper I drew a template for the winged sides. I traced this pattern onto the plywood and Dearest cut out the winged sides. I took 1 inch foam and wrapped it around the plywood – completely covering the outside of the wing. The side that would attach to the upholstered headboard I left about an inch space for the wood. Again, I secured the foam with the spray adhesive. I measured the fabric to completely cover the wing. Turned the fabric inside out and pinned the top curve. I sewed that section to where it just barely started to come down the front. Turn the fabric right-side out and then cover the whole of the wing with fabric. I wrapped enough of the fabric around the back to staple with a staple gun. Where the sides graduate from nine inches to six the fabric was a bit loose. If you don’t want that – increase the width of the bottom of the sides to seven or seven and one half inches. I also added enough fabric on the bottom to fold over so that raw wood would not be touching the floor. Staple the fabric fold to the bottom of the winged side.
Attaching Winged Sides
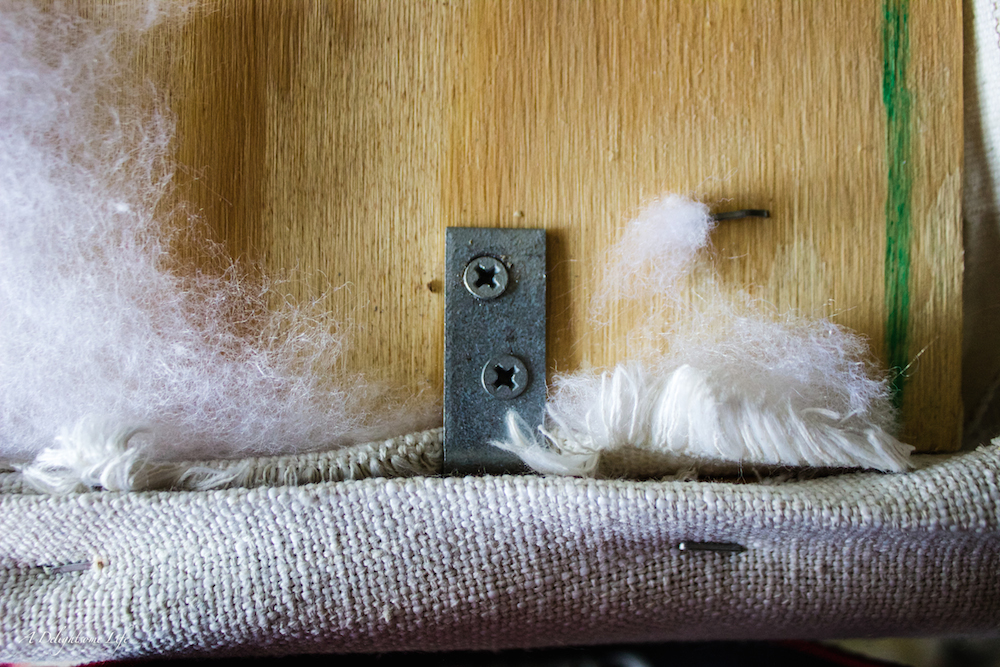
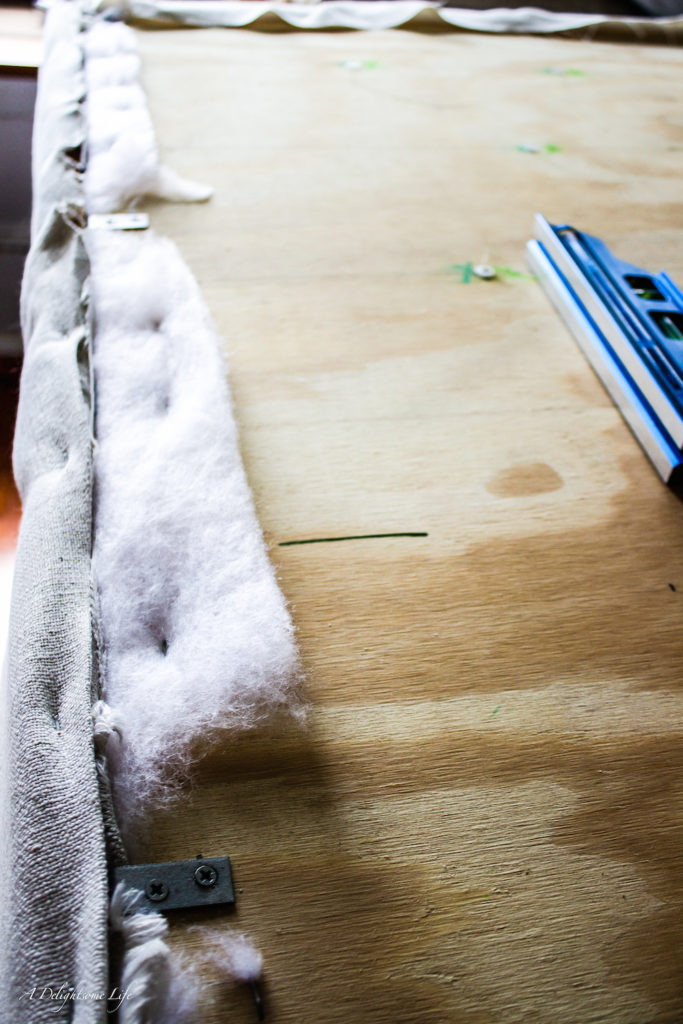
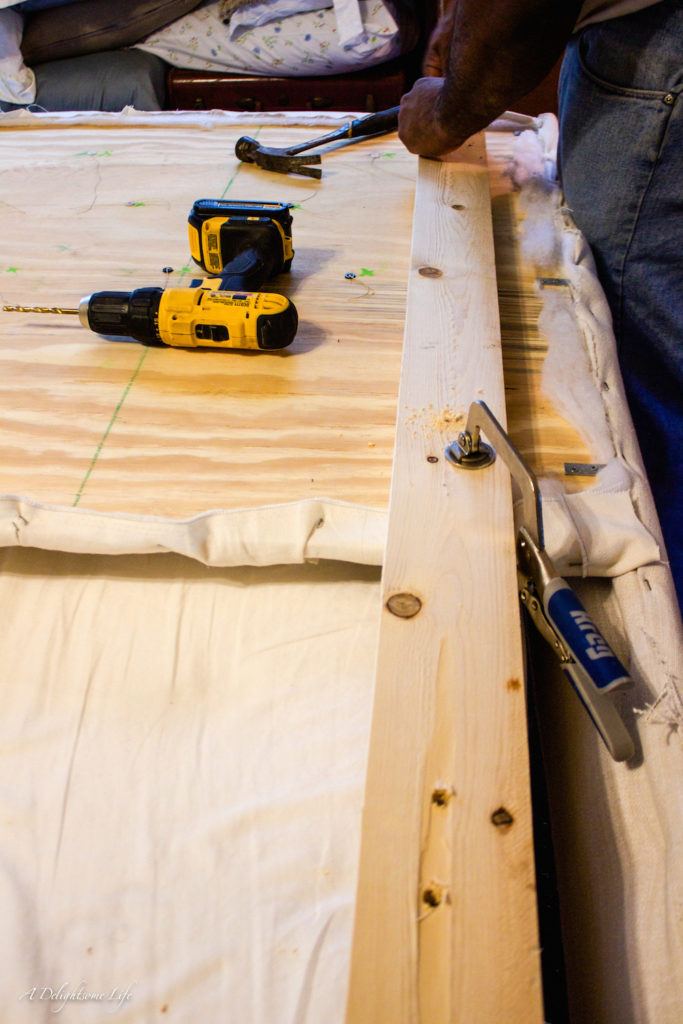
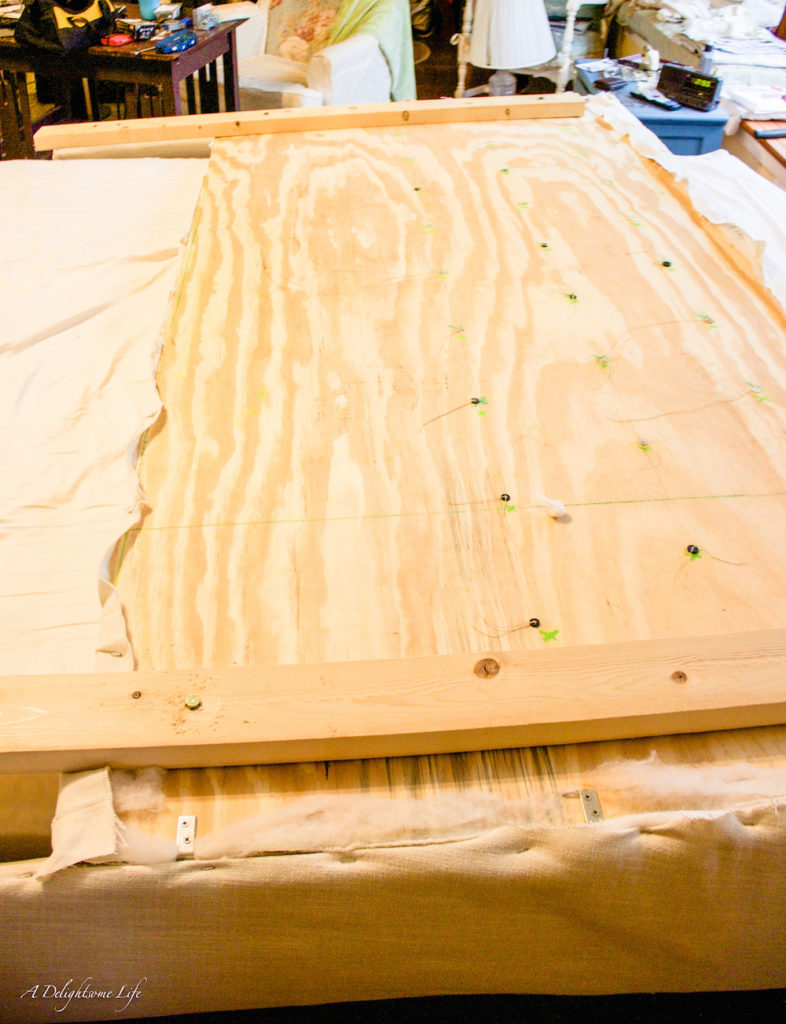
We attached three L-brackets at each side – one near top, one at middle and near the bottom of the headboard to the winged sides. You’ll drill the screws to the L-brackets through the plywood. You’ll need to remove fabric and batting where the screws of the L-brackets will be – or they’ll twist in the drill bit.
Attaching Supports
Turn the upholstered bed over atop your bed’s mattress. Measure where the bed frame brackets will connect. Drill holes big enough to put hex bolts through. Attach supports with hex bolts. Dearest elected these as their large and give extra support. Measure and place the supports where the holes for the hex bolts will match the brackets on the bed frame. Once the supports are secure you can add the finish to the back.
Finished back
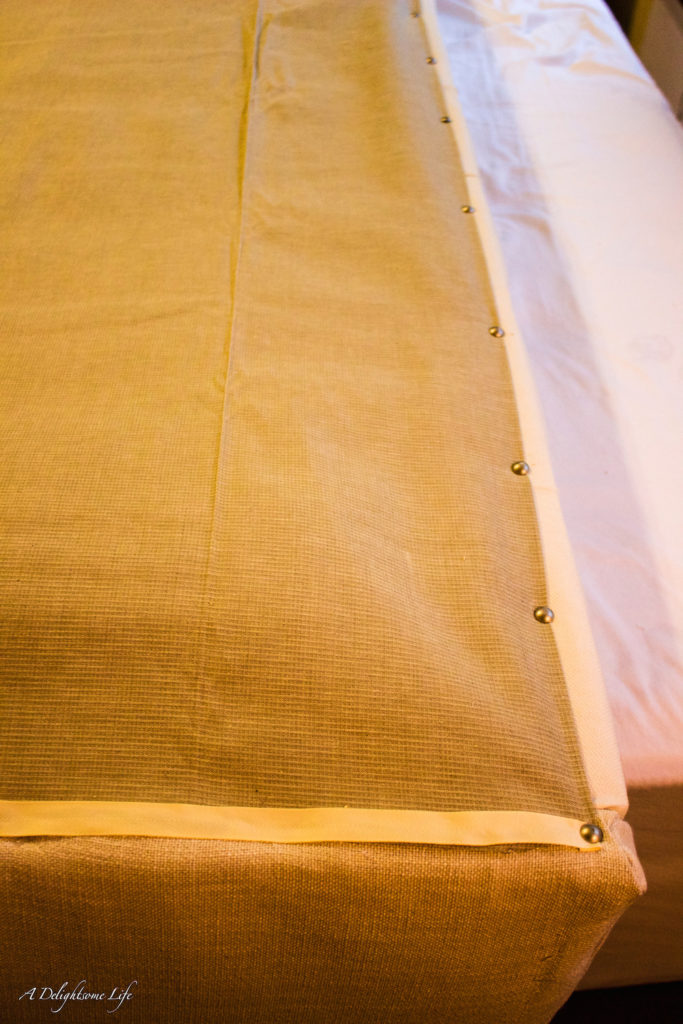
Our headboard will not be against a wall so I wanted the raw wood to be covered. Actually, no matter what, I’d want the raw wood to be covered. I measured enough fabric to cover the back with a little extra to fold over. I attached the sides of the fabric on the back with hot glue. I covered the edge of the fabric with grosgrain ribbon. At the top, I folded over, and attached the fabric with upholstery tacks.
Attaching Finished Tufted-Upholstered Headboard
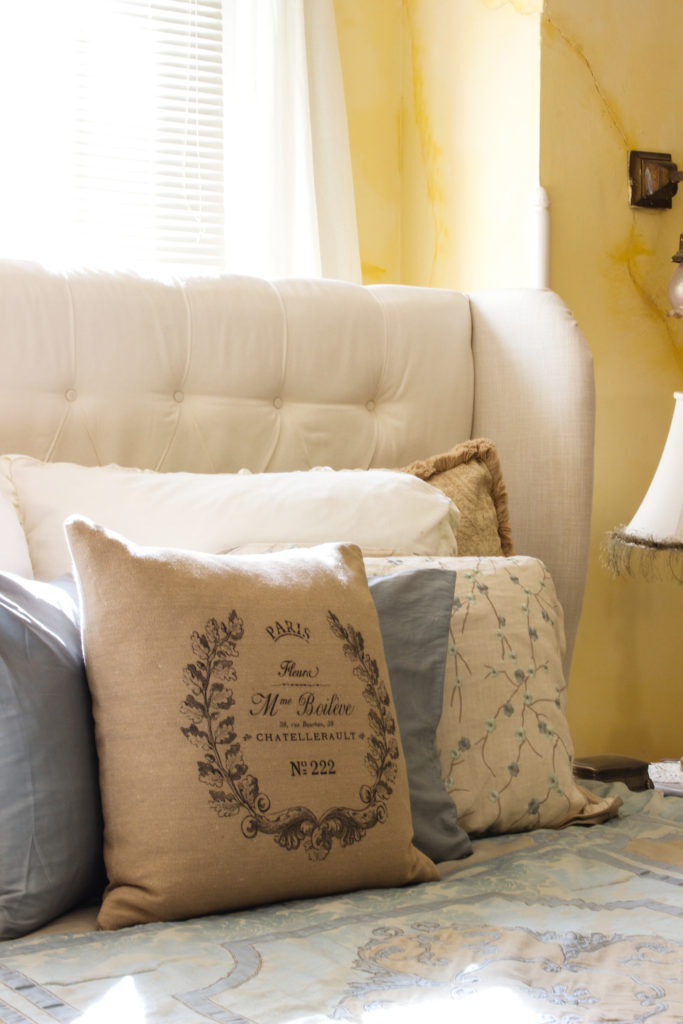
Dearest and I carefully lifted and turned over the finished headboard. We carried it around to the back, lined it up and secured the headboard with hex bolts. The hard part was done and boy! Were we thrilled with the results. This took us some time. I had some logistical measures to work out, but in the end the vision became a reality. We now have a whole new look to our bed and to our bedroom. Dearest said ‘it’s so big!’ Yes, yes it is, but so is our bedroom and it provides a soft back to lean on and protection from the draft of the windows at the window seat. I know I’ll love decorating our bed and enjoy our new tufted-upholstered headboard for quite some time.
DIY Tufted Headboard – Ebook!
You can see more of this bed in the post – Master Bedroom Winter Decor.
