How to Style A Hutch
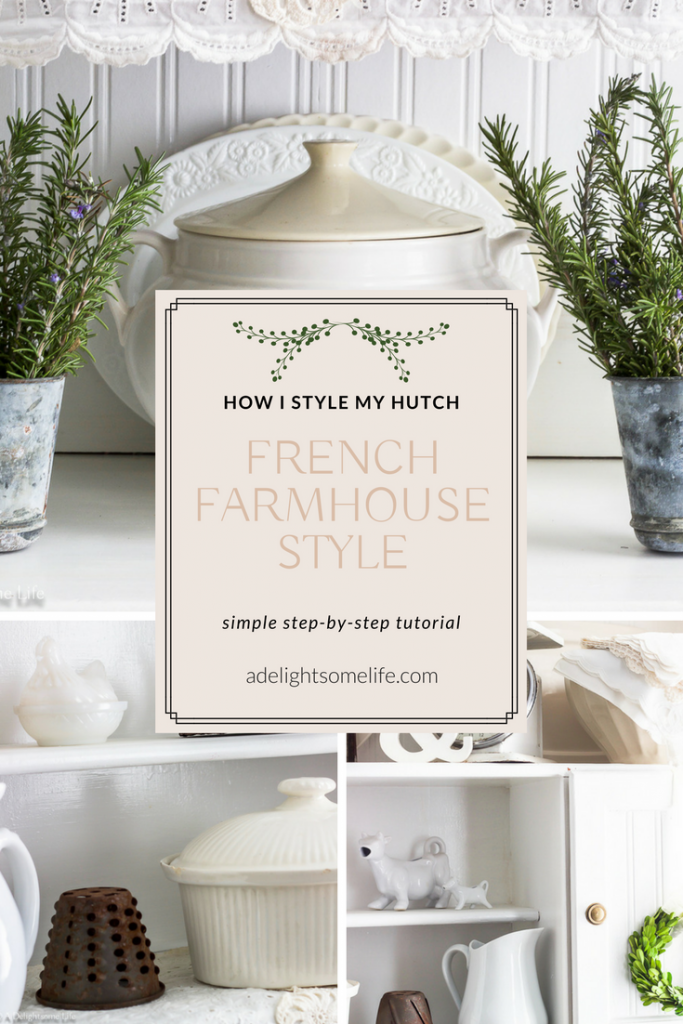
With French Farmhouse Flair
So, you have this hutch or china cabinet and you have collections of beautiful things that you want to display…but, you’re not exactly sure just where to start…Whether you have a china cabinet with glass doors or an open hutch like mine in the kitchen how you display your items will add charm to your room’s decor.
I am going to take you step-by-step in the process of how I style my kitchen’s open hutch – with a French Farmhouse flair. I love collecting French decor and especially French Farmhouse…my best resource is Sunday Brocantes – she opens her shop each month on the first day of the month (or the nearest day – check her site for time and date). These are hand-picked items by Cat and some are things she’s created! You’ll have to act fast if you wish to purchase anything, they go very, very fast! Read about her shop and how it works before you dive in!
The blank slate…
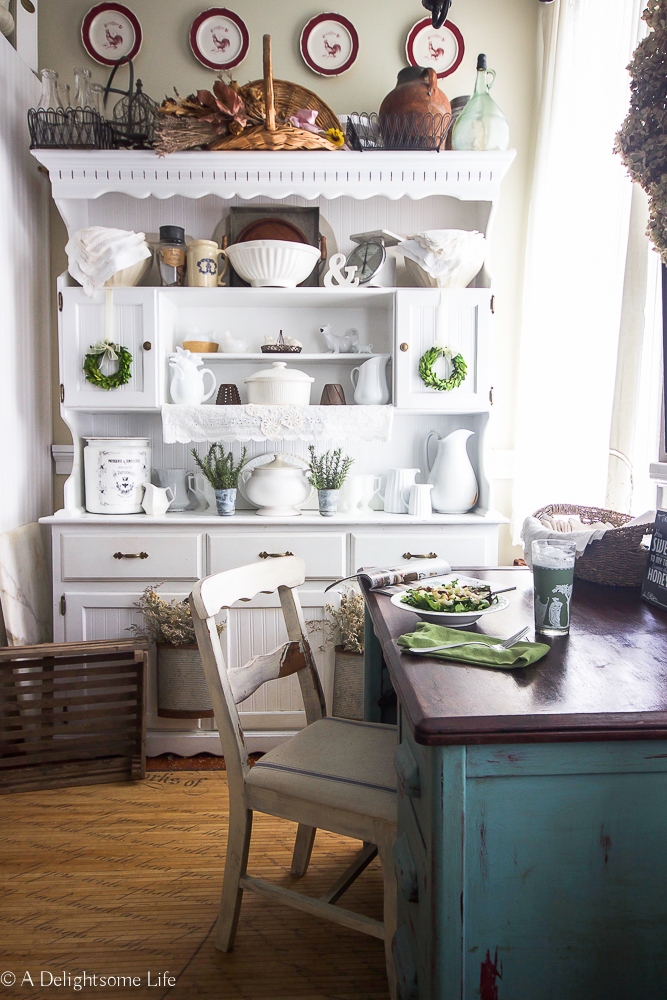
This hutch has had many different looks. We bought it from a store in Georgia where they have handmade furniture and sell produce – one of those real old-fashioned general store types. At first I just stained the hutch and decorated it in our previous home…Then, I painted it a cream color leaving the horizontal surfaces stained…then, the current look, I painted the hutch all white and added beadboard wallpaper to give it a more farmhouse appeal. I style the two and 1/2 shelves as well as the top. The top is a great place to store things that you may want to use, but have no cabinetry to store it (such as my cake stand)The kitchen in the Fall a few years back. The kitchen in the Summer; This is how I styled it for Spring.
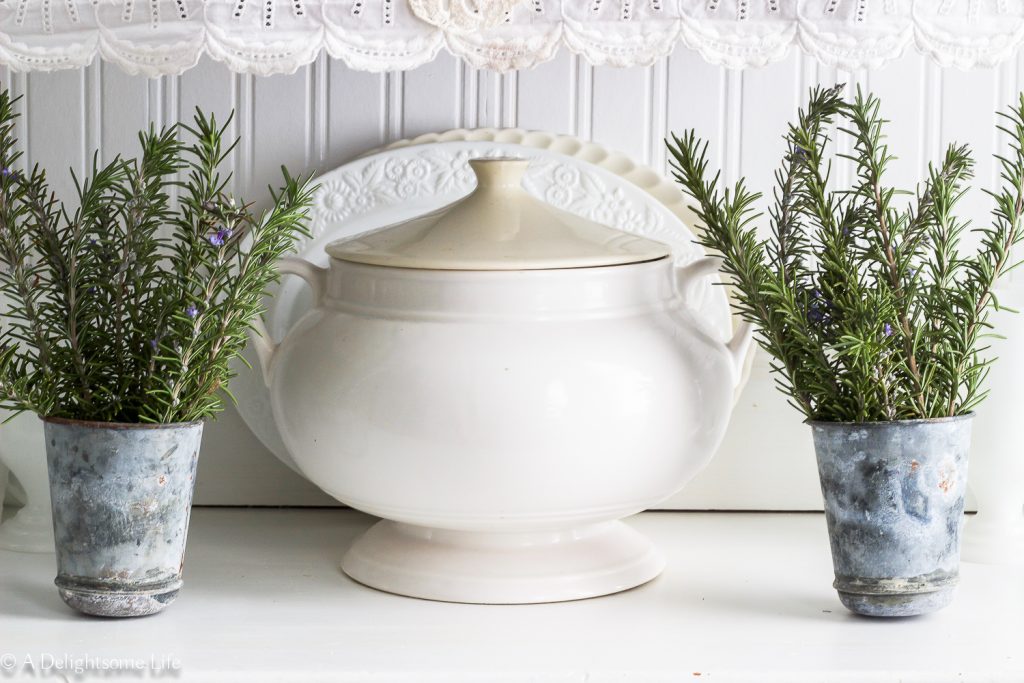
How to Style a Hutch with French Farmhouse Flair
Step One:
Decide what style you want to decorate your hutch. If you want to go the Farmhouse or French Farmhouse Cottage style…look for things such as:
- Ironstone – bowls, pitchers and platters
- wire baskets
- wood bowls, spoons,
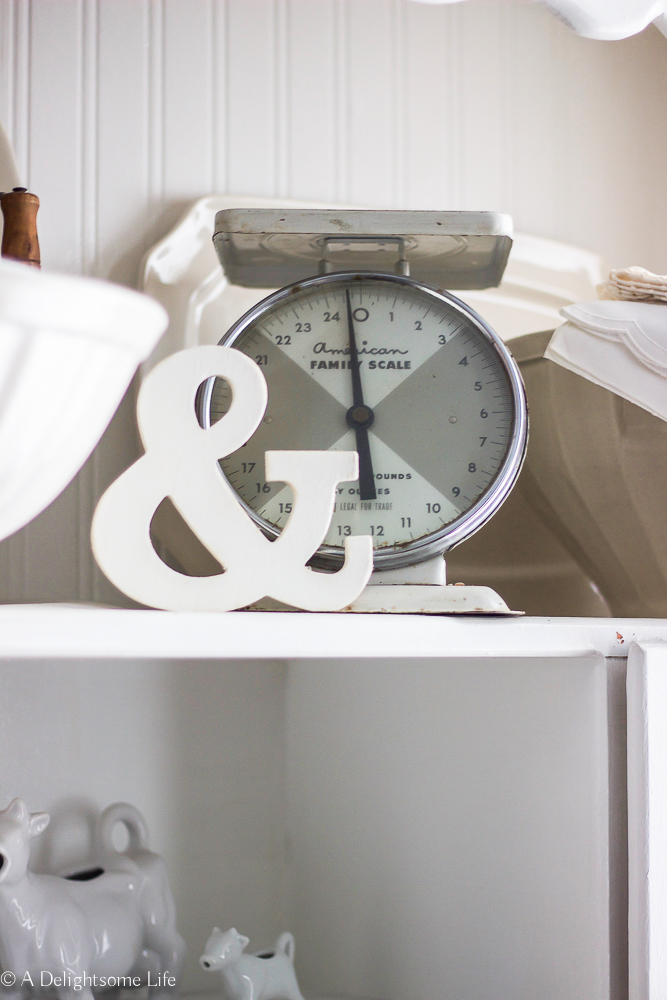
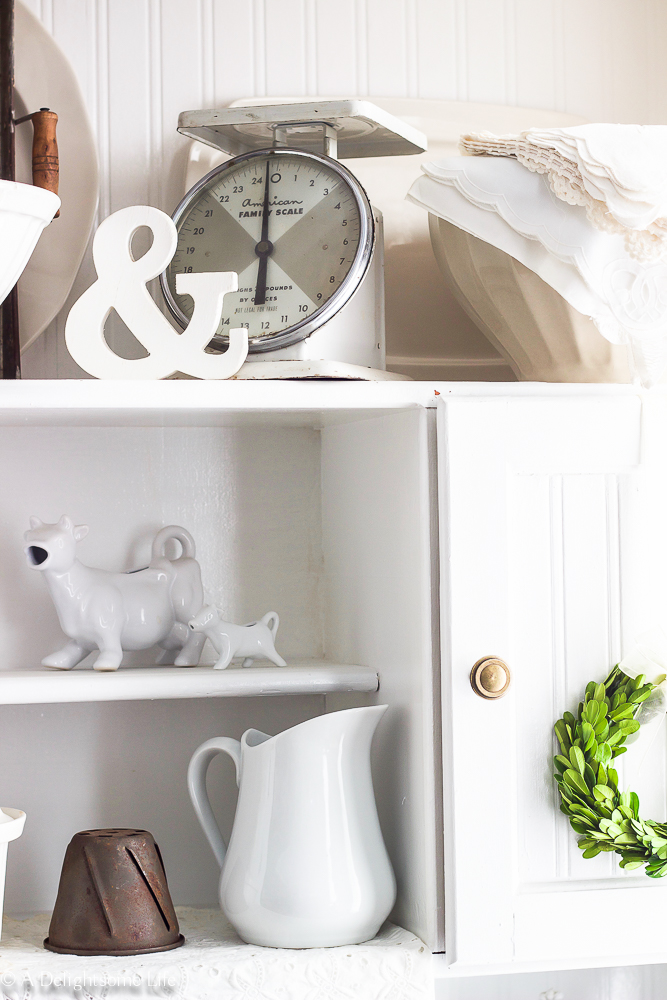
- scales
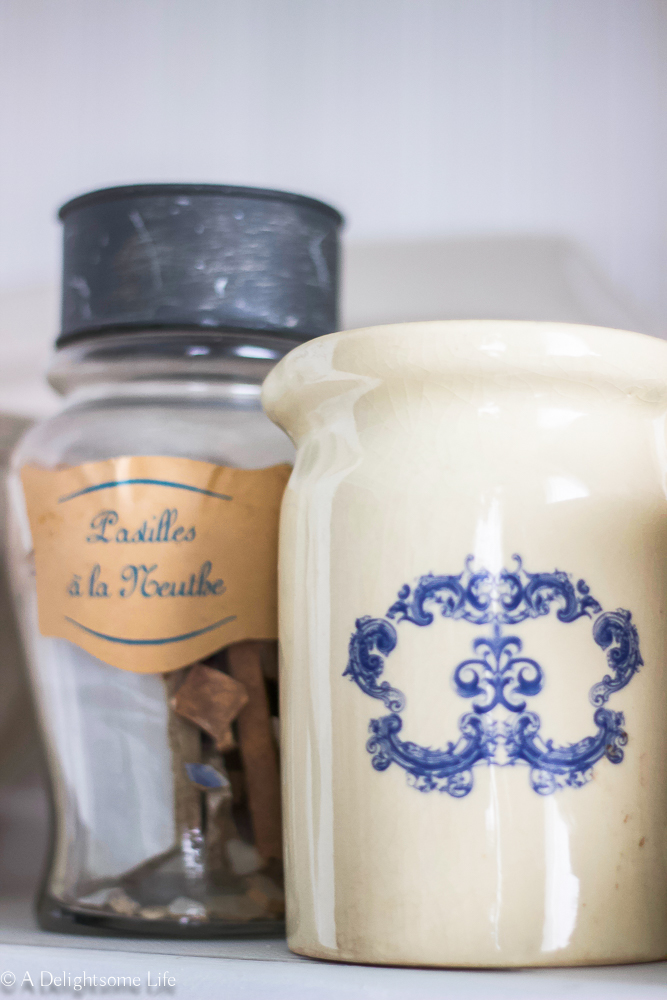
- creamers – such as my cute cows (the littlest came from Sunday Brocantes – I adore it!)
- rolling pins
- twine – rolled twine
- vintage crockery
- breadboards
- dried flowers such as Lavender
- canisters
- linens or towels
- signs
- greenery
- china/dishes
Step 2:
Collect your items and set them nearby
I like to begin from the top…I suppose it’s ingrained in a way… the thinking, similar to painting or cleaning…top-to-bottom – left-to right…to me this is an orderly way to begin.
Step 3:
Decide if You want Balance or A-symmetrical
Visually, I tend to lean toward a balanced look. This means – what you do on one side – you complement or repeat on another side.
A-symmetrical can be fun…it takes stepping back and tweaking. The way this works best is when you create a grouping or vignette of items.
Place big Items First or Create a Grouping and Layering
In this demonstration, I will be displaying items balanced and layering the decor. I will begin by dressing up the top shelf with these platters as a background for the decor items displayed. I may add other items for additional layering and texture after placing the decor items…it’s a ‘step back and look at the whole’ process as you go.
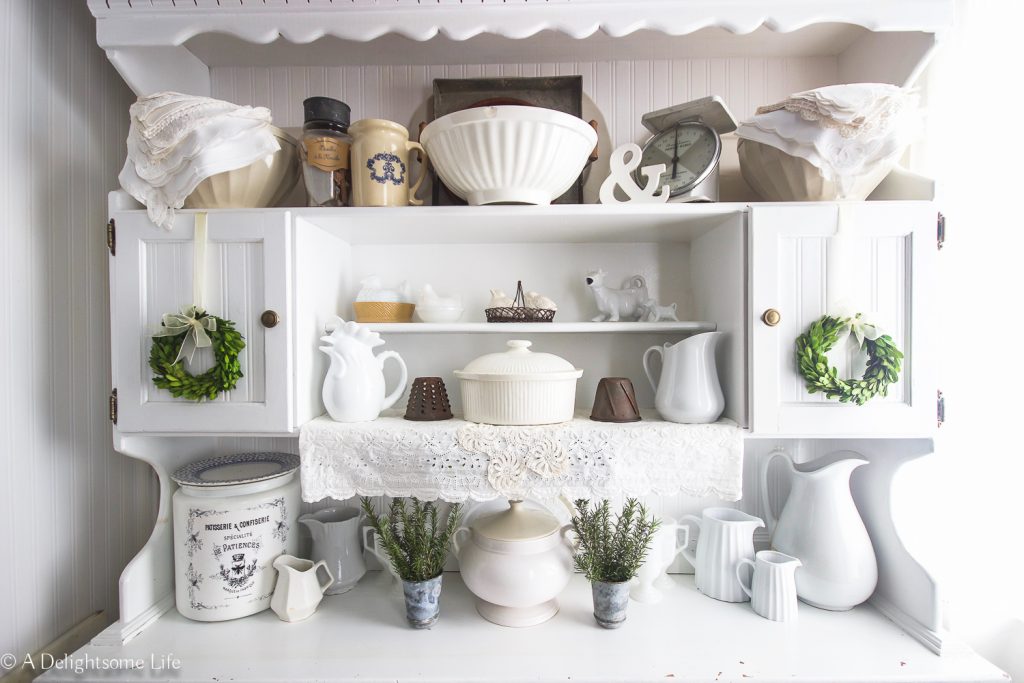
Then, these large mixing bowls. They’re a little off-white – which to me adds depth to the whole look. Creating vignettes – or grouping of items – can be pretty simple – just make sure they complement each other – together as a whole they either represent the look or tell a story.
I then decide what I will be displaying in the center of the top shelf – in this case – I have another large bowl.
Displaying larger items up high give you the opportunity to use the lowest shelf on any occasion – say for instance you want to have a buffet or set up a coffee or tea station for a gathering. Your hutch is still beautifully decorated and functional.
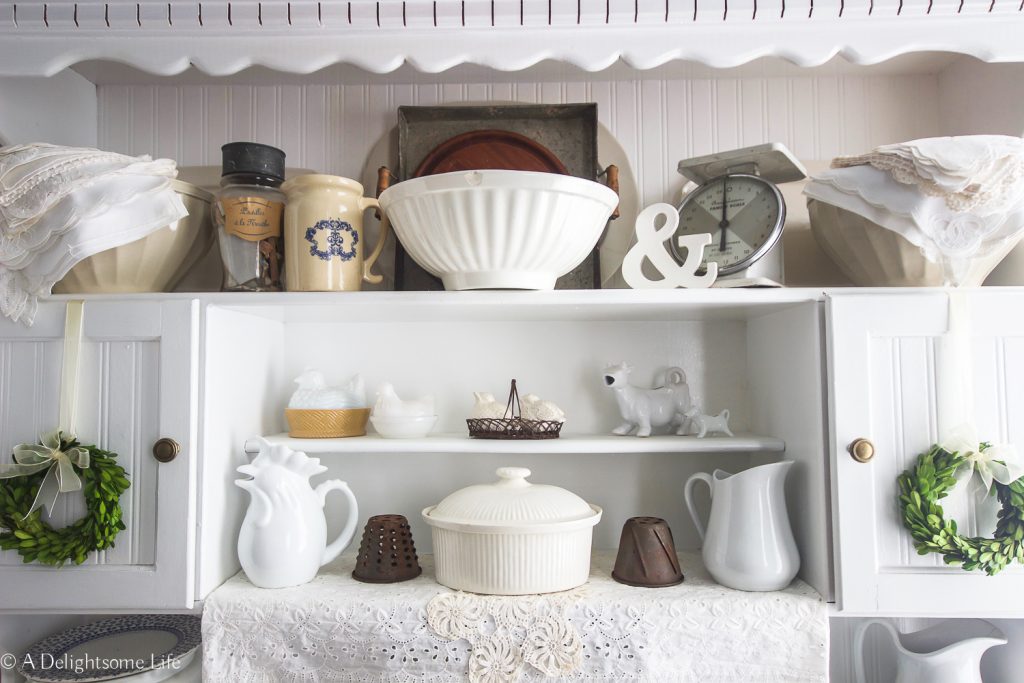
Since I am going for a balanced look…I work my way down to the next two shelves. I add similar medium or large sized items going down – so this look visually is balanced horizontally and vertically.
Creating Vignettes
Next to the larger items I create little vignettes of decor – going along with the theme. On the top shelf I add interest by displaying items of different textures and not exactly the same. They just may have the same or similar profile in height and width. Groupings work well in odd number collections – 3 to 5 depending upon your space and the size of your items.
Next, I work my way down the shelves. The center shelf is small – so I continue the balanced look without groupings.
The bottom shelf is open enough to add one or two groupings – that can easily be removed or set back if I decide to use the bottom shelf.
Step Back
Often…and look at your display. Is it visually appealing to you? Are you satisfied. You can move things around; tweak them to get your desired basic look.
Now add More – or leave it. If you want a very clean and airy look, you can stop here.
I like the layered and added interest look….
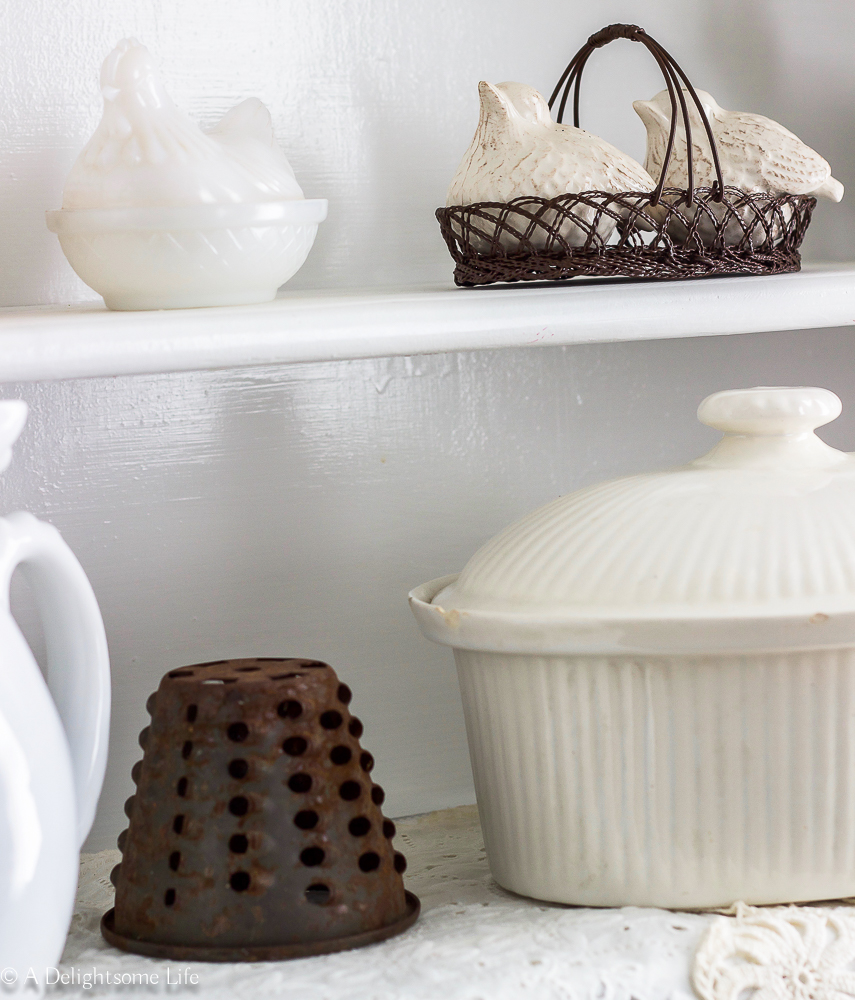
I select a few items to hang, hook, stack or stand upright…You don’t just have to sit one item on the shelf. What I’m now looking for are items to further the French Farmhouse feel…this includes items that I know are French and have Farmhouse flair. In displaying, things don’t have to be in perfect condition…part of the charm of Farmhouse style is well worn items. I have these two rusted graters – I’ll never use them in my kitchen…but as decor they’re divine!
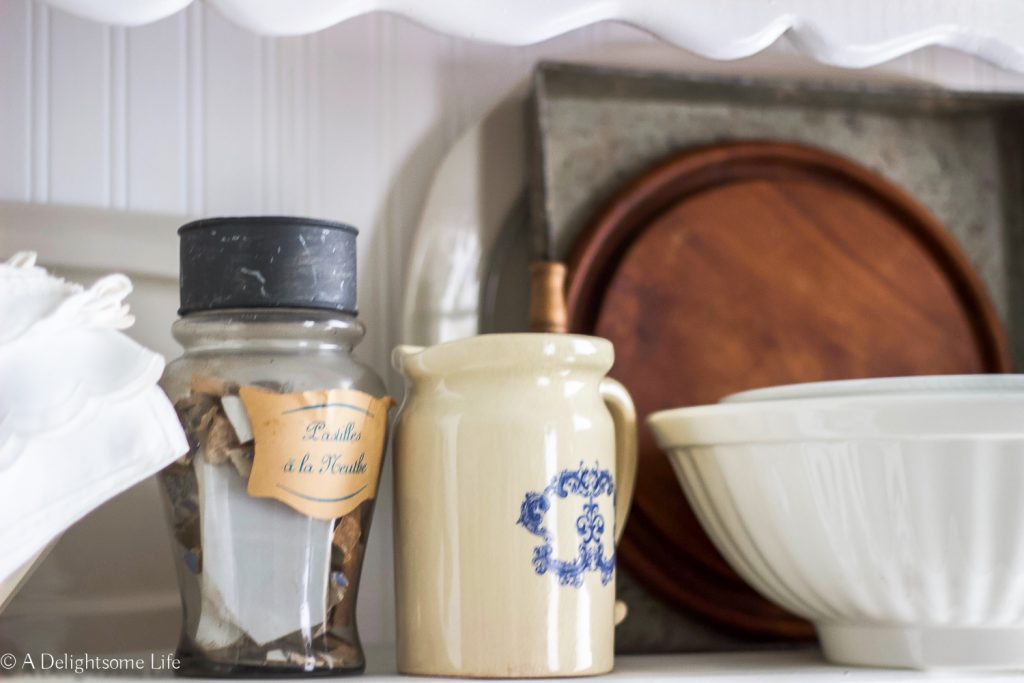
In layering vertically on the top – I select a patinaed metal tray and a wood cheese stand base. Combining these items add appealing beauty and charm.
The smallest shelf in the middle gets more items that have different, but still neutral colors and textures...this draws the eye from the top to the bottom...Items on this shelf are appropriately sized too – Items that are too big will stand out and look out of place.
Adding Natural Items or Pops of Color
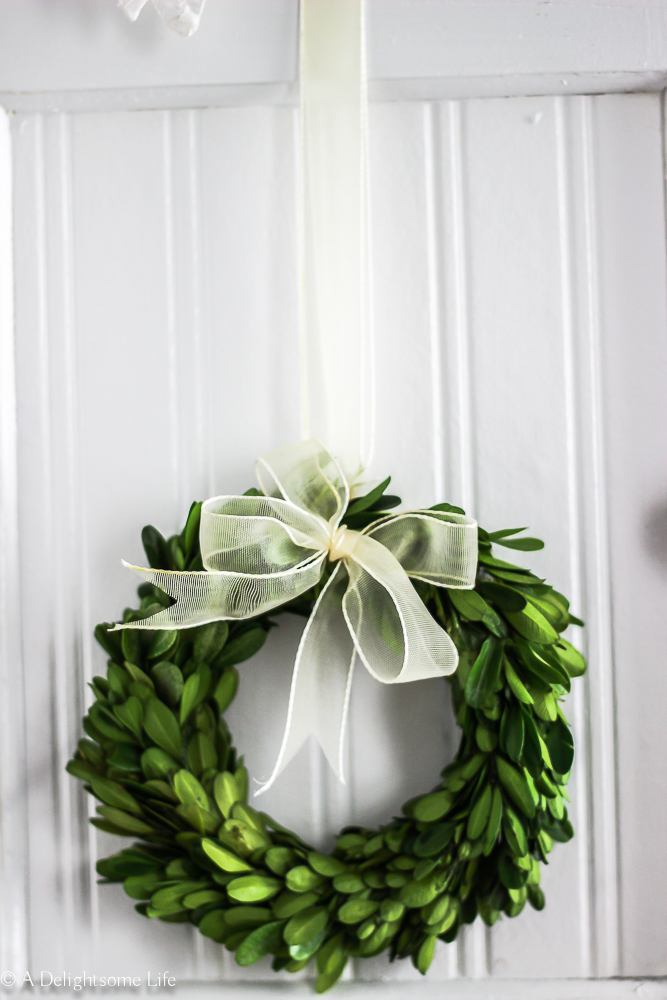
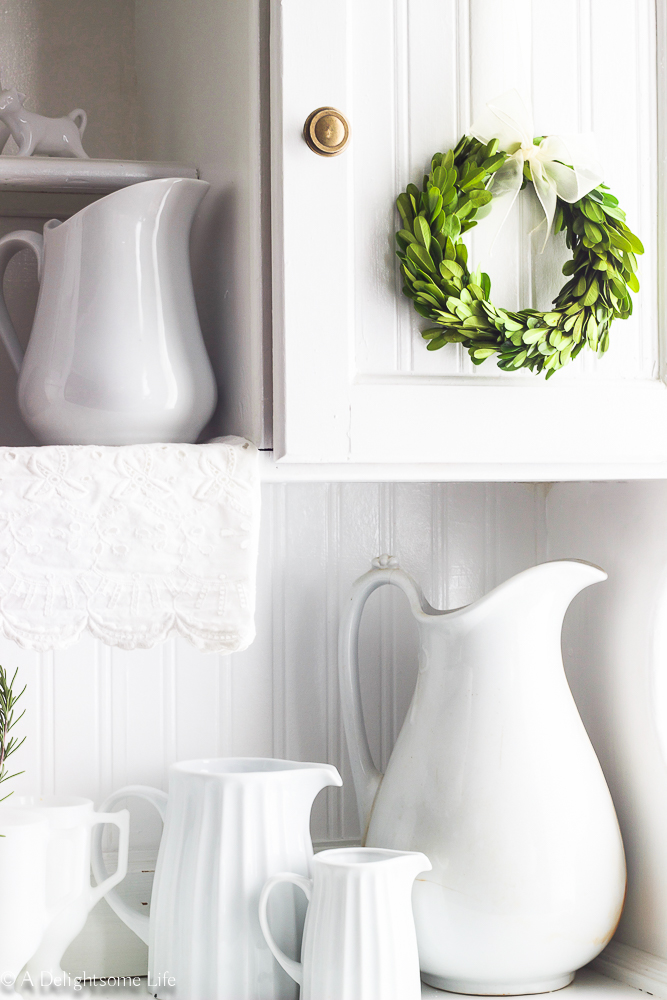
Decorating in neutrals doesn’t necessarily mean all white. You can go there – if that’s your desire. Neutral decor can include pops of color here and there – for this instance – I’ve added pops of green and natural items at the same time…also, the baskets and wooden items add shades of color to your display.
The Top of the Hutch can be left blank or can be decorated. This is also a great place to store items. Layering items up top too adds interest and dimension.
Last and one of the most important steps – leave space.
There are different formulas out there. But simply 1/4 or 1/3 of the space throughout should be open so that visually it is appealing. If you’re styling bookshelves – it’s o.k. to fill it up – with books that is. If you’re combining books and decor – leave some space so that what you display is more easily ‘seen’.
The Basic Steps:
- Decide upon your theme – or decor style
- Decide on placement, scale and textures
- Create vignettes or groupings
- Display horizontally, vertically, stacked, leaning, hanging – alternate here and there.
- Leave Space between decor items
And the most important part – have fun with it! As you walk by it and observe it – you may want to switch things around – tweak it from time to time. This basic display is wonderful for wintertime, summertime and spring. You can add pops of color seasonally to complement the time of the year. For instance, pastels for Spring, blues for Winter and rusts or orange for Fall…of course red and green are perfect for Winter.

Let me know what you think? Do you have a question or still need more help – I’d love to hear from you!
If you like French Country Decor…follow me on Pinterest! Click Below!
