 Christmas Decor is down and now it is time to change over to a winter decor.
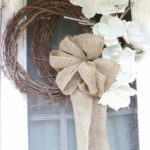
 I have been looking forward to this time of the year, because I’ve had this wreath project on the back burner for quite some time.
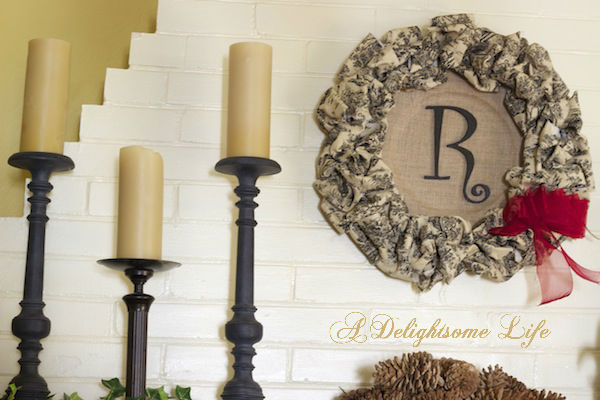
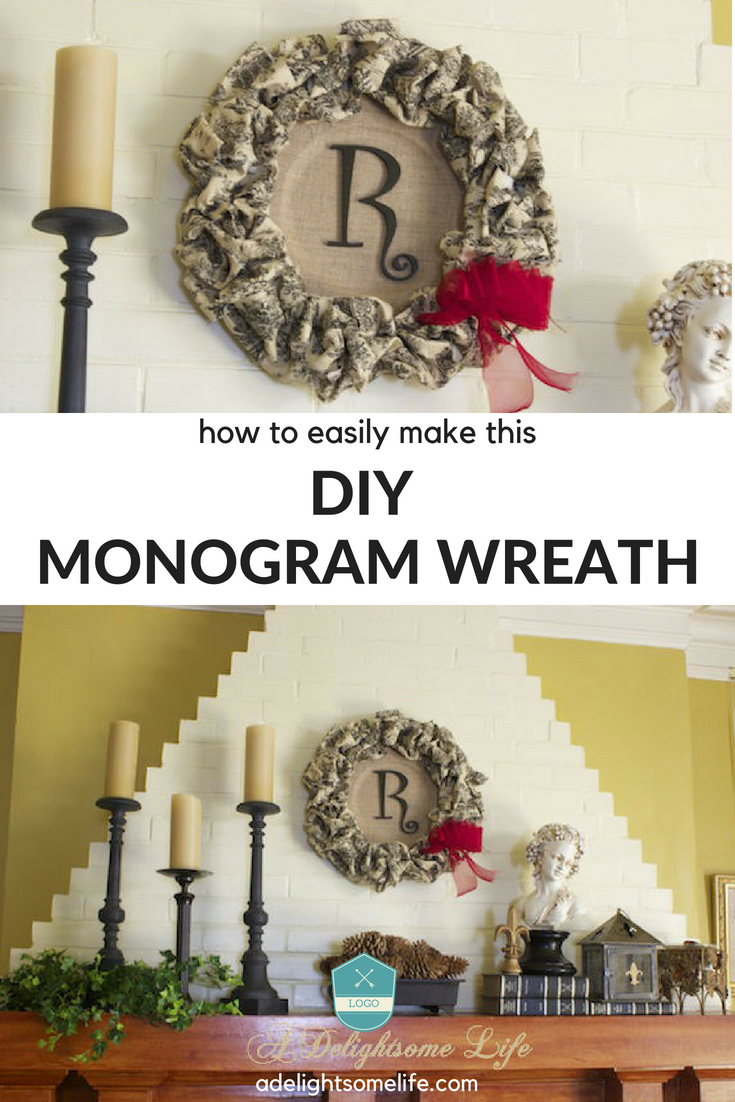
 I shared with you a while back that I found some wonderful burlap chargers at Hobby Lobby. I thought one would make a terrific background for a monogram in a wreath. I also found a lovely letter ‘R’ and a 16″ wire wreath form. The only thing I wasn’t sure of was what I would use to decorate around the charger burlap ribbon, colored ribbon or fabric.
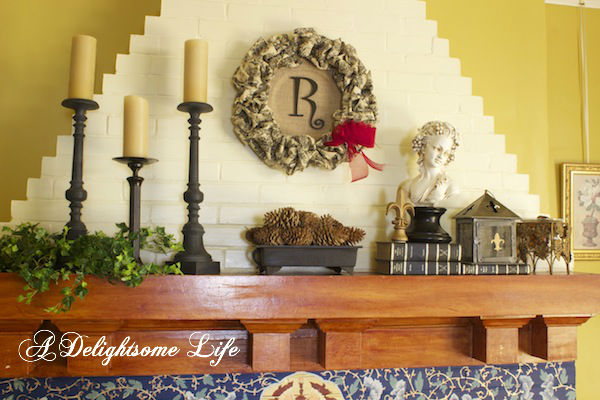
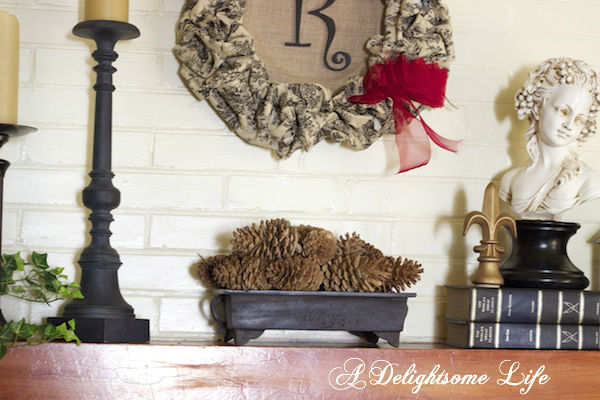
 Once the wreath was complete, I began to decorate the mantel. I kept the candles that were there during Christmas – I love the warm color of the bronze candlesticks and the beeswax candles. In the center I placed the bleached pinecones, that I used as Christmas decor, in a wrought iron planter.
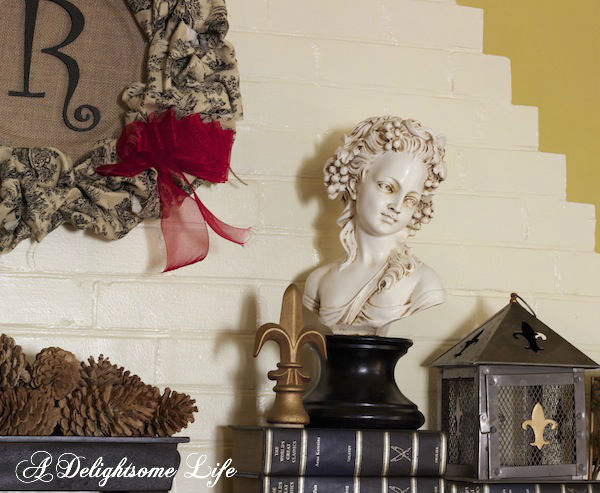 On the other side of the wreath I placed one of my lovely lady busts atop two books. I placed a Fleur de lis paper weight beside her and added a lantern with the Fleur de Lis symbol – to carry the theme and colors along.
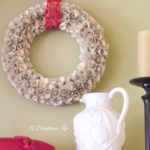
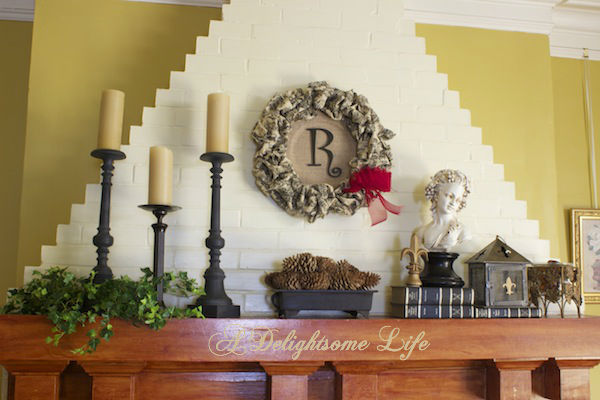 This is a very warm and cozy look for my winter mantel. I love the touch of red in the ribbon I added to the wreath – there’s always a touch of red in the decor of my home’s rooms.
Making a Monogram – Toile Wreath
One 16″ wire wreath form
One monogram letter – wood painted black
One burlap charger
6 strips of beige/black toile fabric 3″ wide 58″ long each.
burlap circle – nearly the exact dimension of the 16″ wreath
glue gun/glue sticks
Weld Bond glue
red ribbon
<center>[amazon_link asins=’B0033M4EKY,B010Q1YAFI,B016N4SBA2,B00N5R8AXY,B00CJ0KVXK’ template=’ProductCarousel’ store=’ATVPDKIKX0DER’ marketplace=’US’ link_id=’ab246772-a354-11e8-9c40-6f497ccb5b4c’]<center>
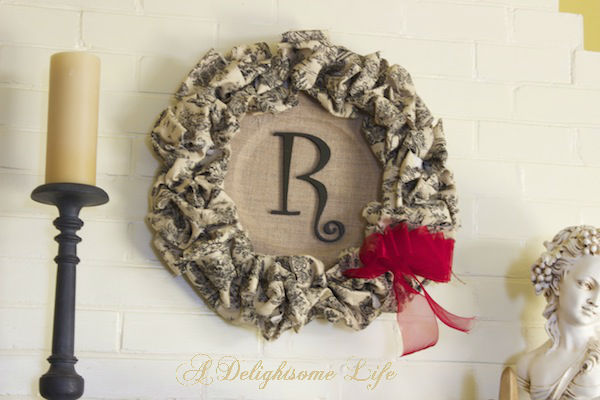
The first thing I did was to paint the wooden letter black – I used Rustoleum semi-gloss paint in a small can. Once the letter was dried, I then glued the letter to the center of the charger with Weld-Bond glue (love that stuff). I attached the charger to the back side of the wire wreath with beads of Weld-Bond. When that was dry, I ran a thread of hot glue along the edges to make the charger secure to the wreath form. I chose the beige background – black toile fabric, because I thought it would compliment the charger and the letter. You can use whatever fabric you like. What you need to consider is that the fabric should have some heft to it, but not too stiff. I cut the fabric into 3″ strips going along the widest part of the fabric – mine was 58″. I began to weave the fabric through the wires on the wreath form starting from the outer one weaving my way towards the center and back. I made each loop about 3 inches long. Since I used fabric, I held each loop as I wove the fabric between the wires of the wreath form – making them even – that was the biggest challenge. (This took me a couple tries) Once I was satisfied with the loops from each strip, I fluffed each loop out. When completed I turned it over and ran beads of hot glue underneath the end pieces. I then ran hot glue along the edges and secured a round piece of burlap to the back to secure the fabric and to make it finished. Wanting a pop of color, I made a red bow and attached it to the lower right corner.

More DIY Wreath Ideas