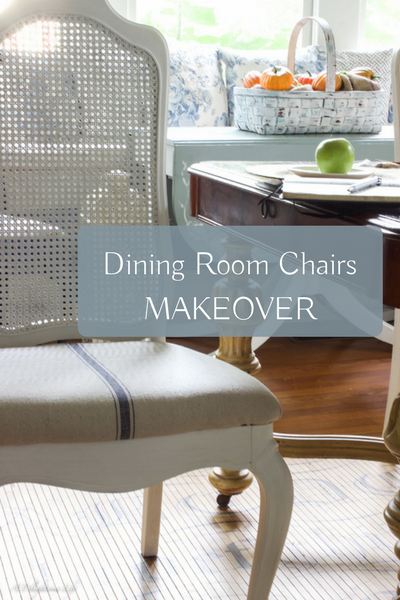
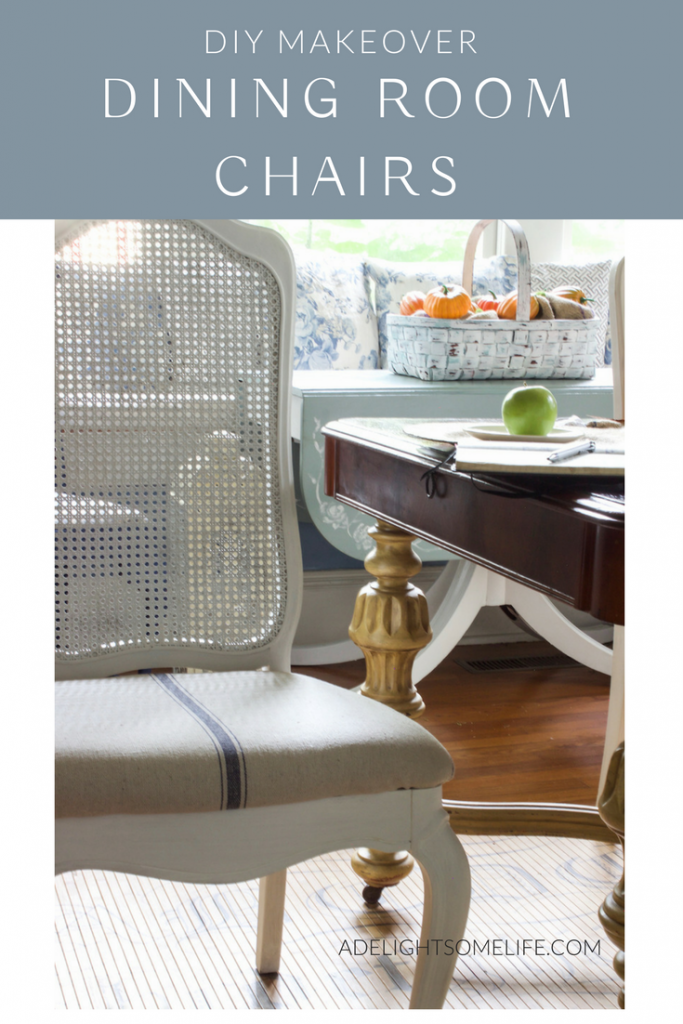
 Super Simple Dining Room Chair Makeover
Chairs! I just love chairs…I found these beautiful cane back chairs at a local resale store. The owner had given the chairs a makeover that sort of worked for a while…but lately, each time I walked by the dining room my thoughts leant toward a change. Then the seat of one of the chairs disintegrated. (pressed wood no one has time for that!) This gave me the nudge I needed to bring a super simple update that makes the dining room shine!
The Surprise I Shared Earlier
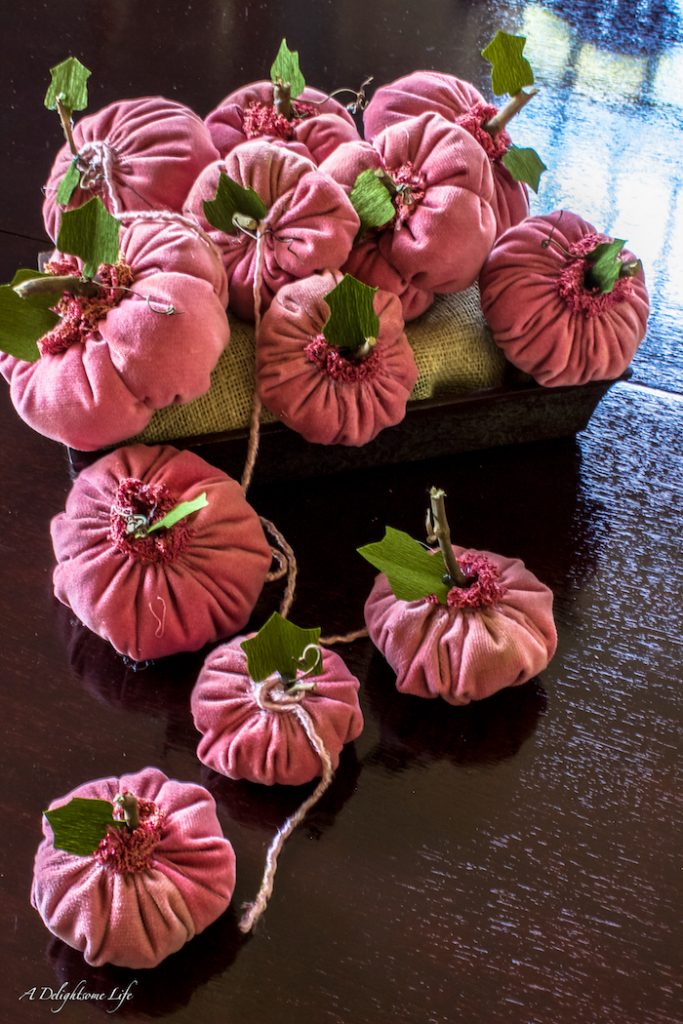
I began with the chair that had the broken seat. There is where I found the sweet pink velvet fabric! Knowing that potentially each of the four chairs had this fabric hastened my changing the whole look of the chairs. I love how I now have these adorable pink velvet pumpkins to decorate with each season!
The Process for Renovating Chairs
When buying used furniture, sturdiness is important. Chairs at times become wobbly and need special attention. If you find a chair you love and it’s sturdy – it’s wonderful. It’s not hard to secure the chair – just added work. So, since I was already taking on a big makeover for the chairs, taking time to secure the sturdiness of the chairs was a must. They all had become wobbly – the back had become somewhat loose. Wood glue and clamps work wonders. If need be you can add additional screws underneath to ensure the strength of the chairs. Chairs are not only beautiful, but also functional – so you truly want to make sure they’re in good shape!
 before
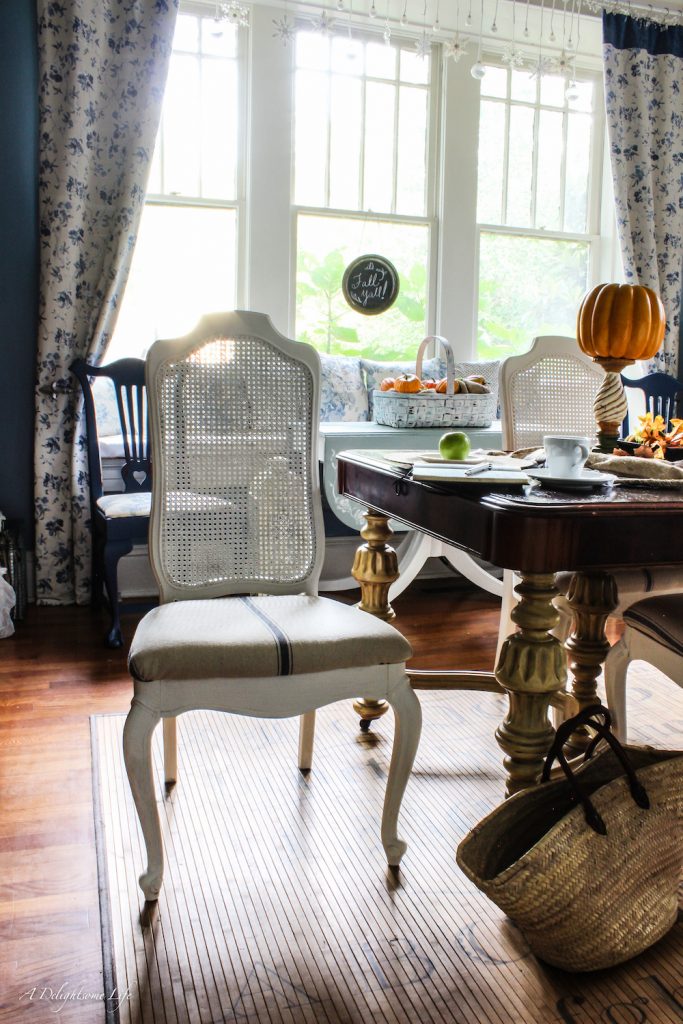 After
After
What You Need to Do:
- Remove the seat from the chair
- Clean and sand down any peeling paint
- Secure any loose joint of the chair with Wood Glue and/or screws
- Paint the chair
- Reupholster the seat – spray the seat with waterproofing spray
- Finish the painted chair with wax or Poly
- Re-secure the seat to the chair
- Enjoy your old/new seat
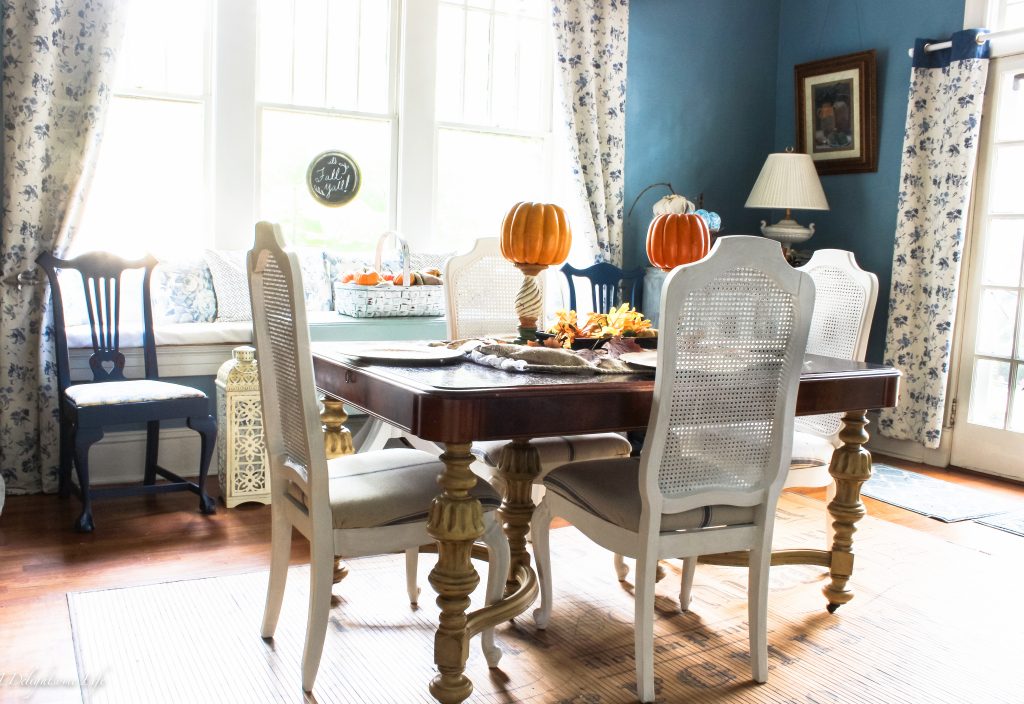
The Super Simple Steps to Reupholster Chair Seats
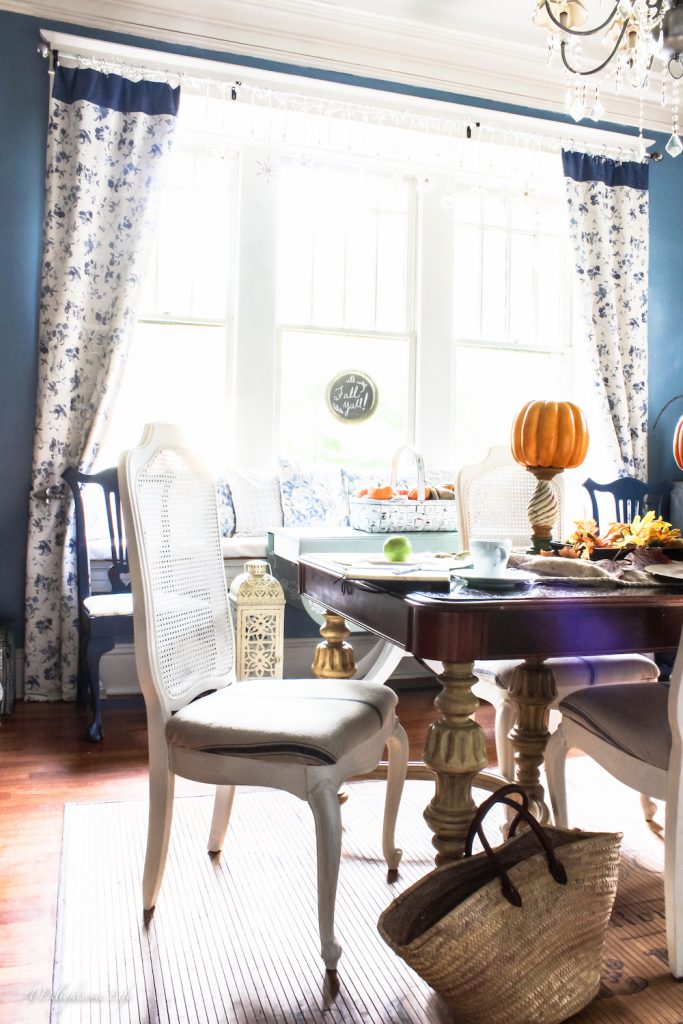
When changing out the seat cover on chairs such as dining chairs the first thing you want to do is to select beautiful sturdy fabric. I love this vintage-inspired French Grain Sack Fabric I found on Decor Steals! It’s simply gorgeous and I have been able to use it in a number of ways!
The former seat cover once removed becomes your template for the replacement fabric. Cut your fabric for all seats. Mine had these marvelous blue striping – I had to ensure they would be located in the center – so like measuring ‘measure twice – cut once’.
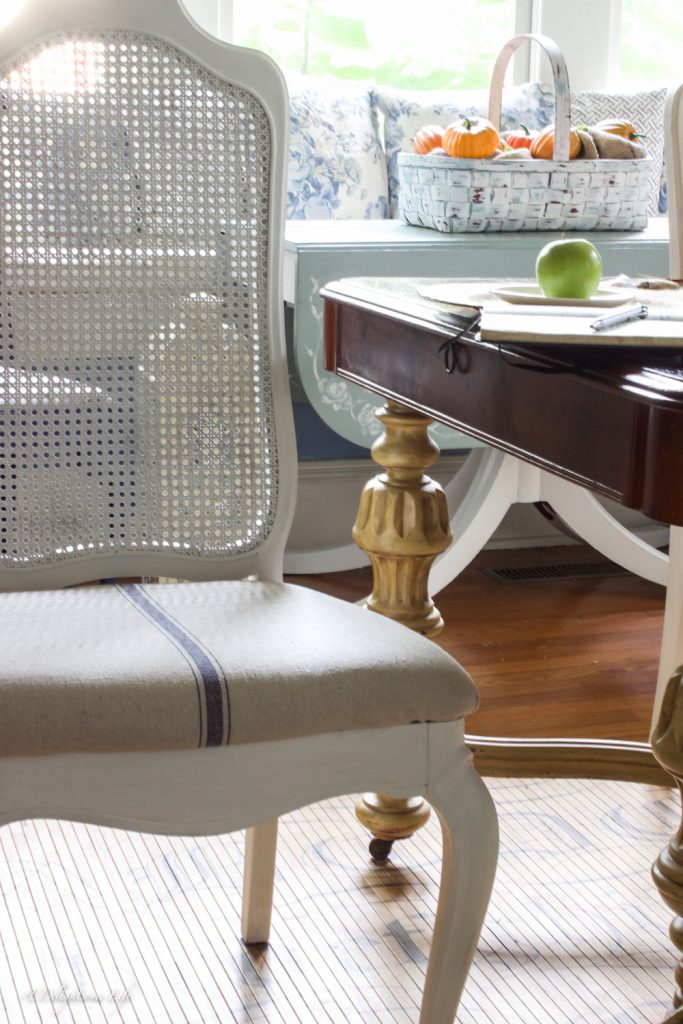
Replace any needed batting – I added some to the foam seating to make sure the seat was comfortable and that it covered the wooded base to the seat – measure to the same size just slightly smaller – about 1/2 inch – of the fabric.
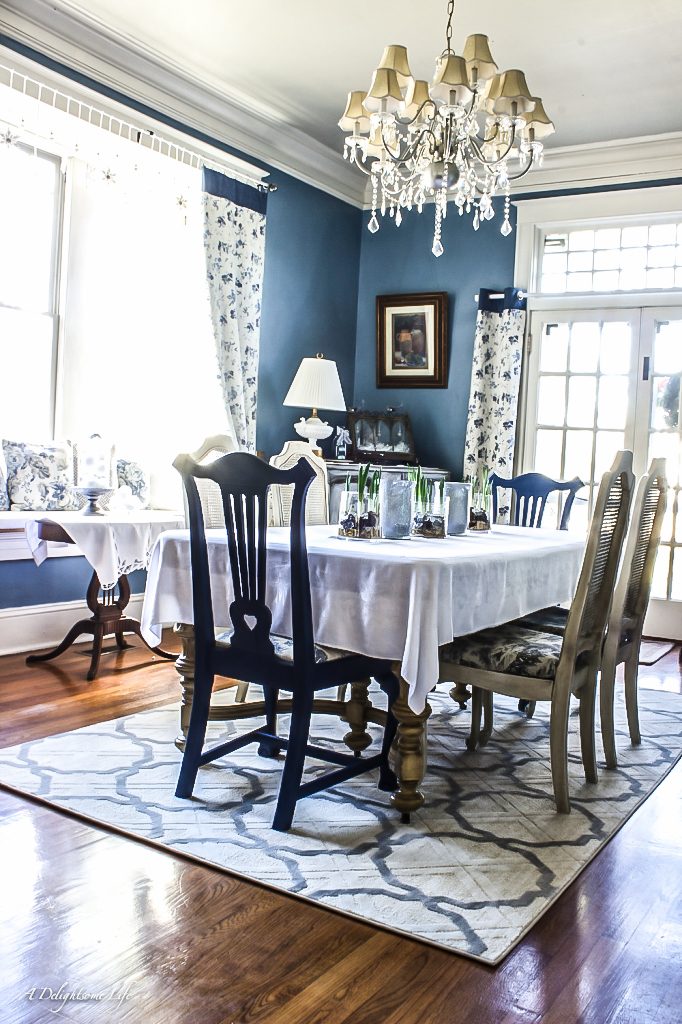 Dining room before
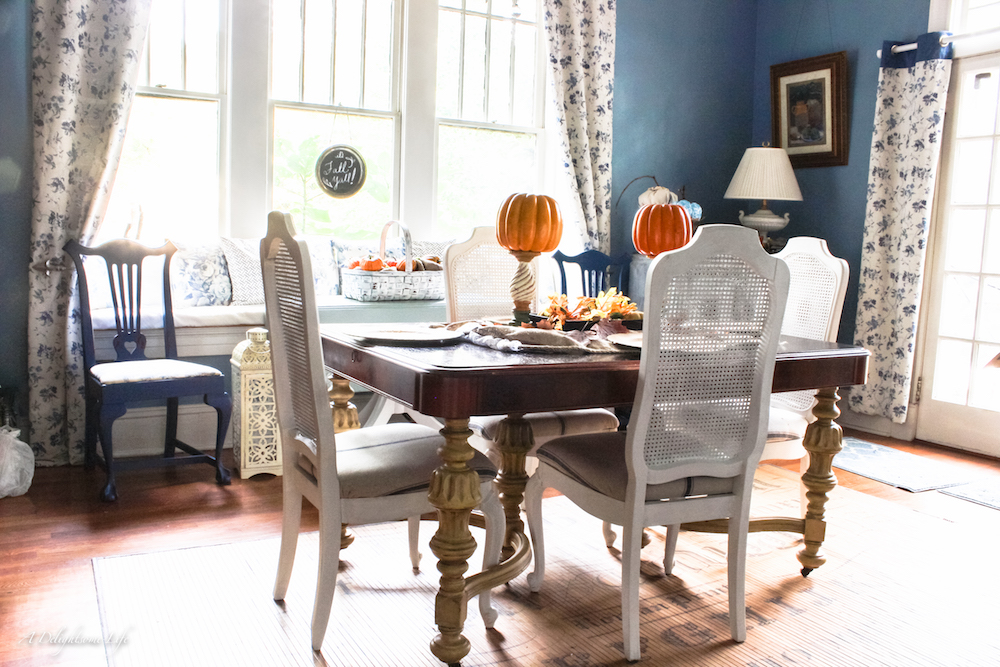 Dining Room after
Reassemble the Seat. With the seat facing upright, lay the batting then lay over the fabric ensuring it is aligned properly. Holding the fabric and seat cover on both sides turn over and lay on your surface. I begin securing with a staple gun and staples from the center of the front then the center of the back. I work My way to the edges of each side of the center front then repeating the same to the back. What you want is to ensure the fabric is straight and taut. Then repeat on both sides. The corners are the last. There are two ways you can secure the corner. You can create a fold at each side of the corner and staple down – this makes a clean corner. Or you can draw the fabric up pleating the fabric underneath and securing. This takes some practice and some readjustment here and there until you’re satisfied. I secure the fabric very well with the staples. Then you simply replace the seat and there you go!
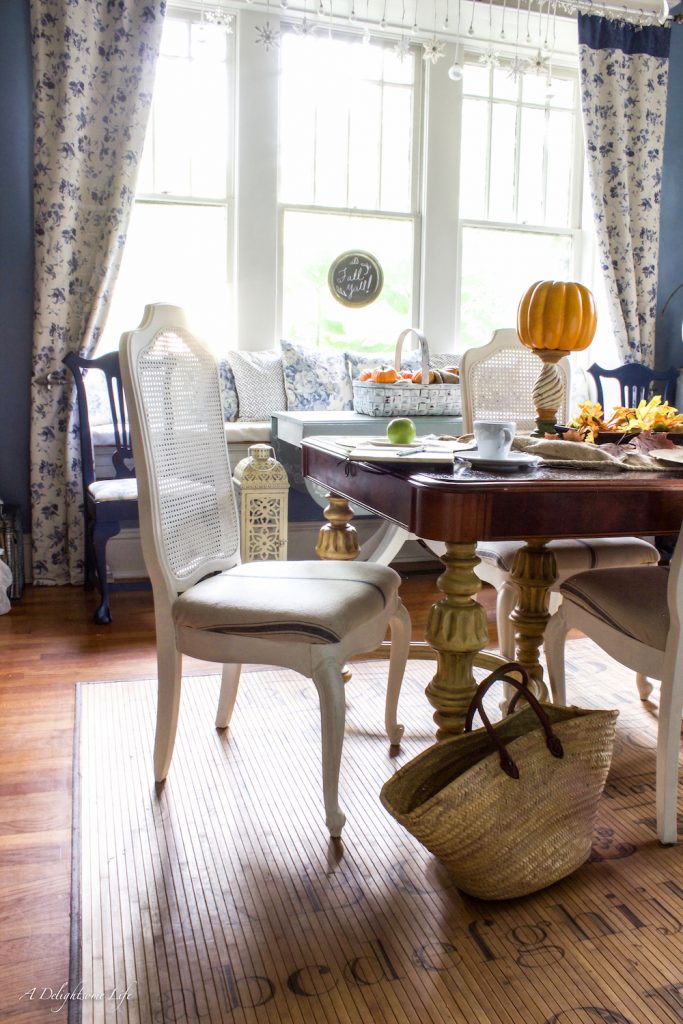
Your Newly Updated Seating
My daughter and her husband will be ‘inheriting’ this set (except for the chairs). I asked her if she wanted me now to paint the table legs white or blue…she loves the blue on the side table…so that’s going to be the next update! Dearest will some day soon be building me a dining table…I really want a larger – farmhouse style table to accommodate our growing family!
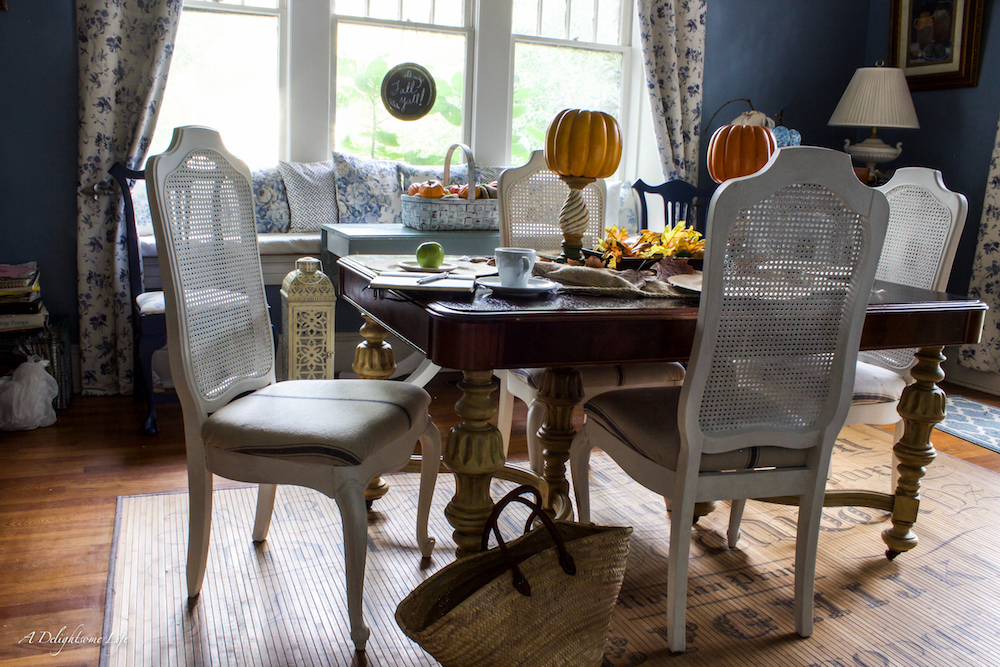 As you can see too, I’m getting ready for fall decor! Do you like to paint furniture? Check out this post on things to consider when painting furniture!
