Oh, What a Beautiful Morning!
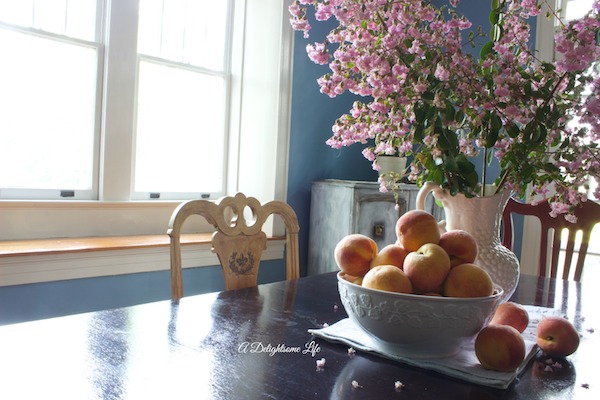
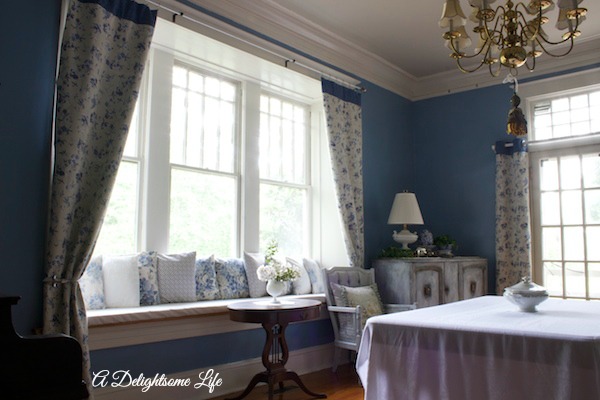
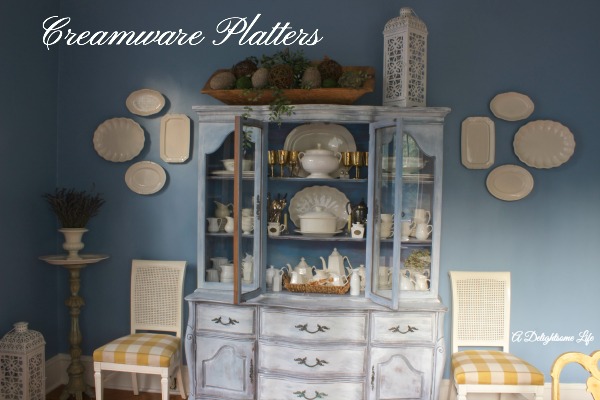
This morning the house is quiet after the Independence Day holiday. All of our children were here with a couple friends for a cookout. I’d just completed the finishing touches to the dining room transformation. The plans had been formulating for quite a while and I was quite delighted to be contacted to do a Valspar Reserve Paint Review.
It was Time for a Change
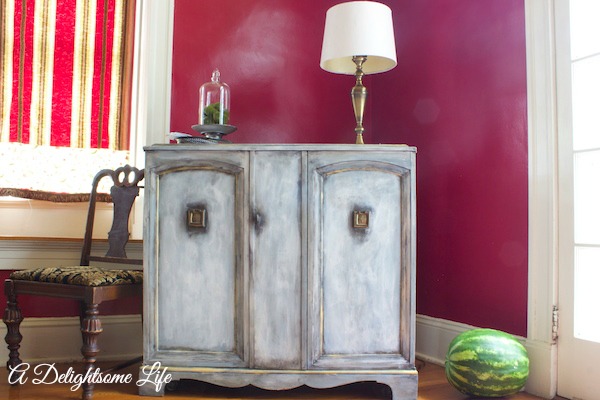
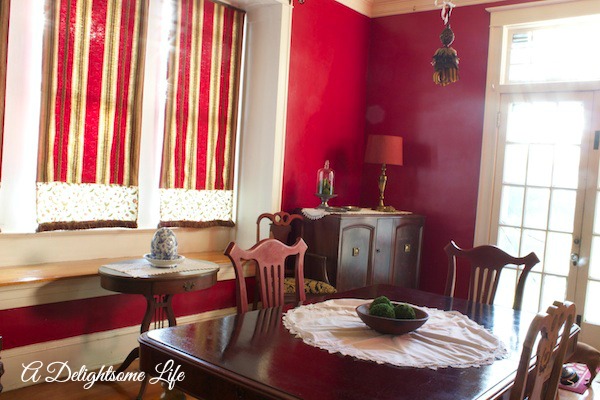
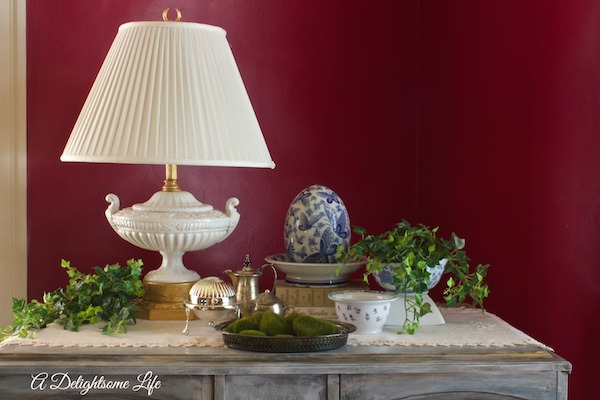
We’ve been in our old Craftsman house for just over 10 years now. When we bought our home, this place was literally a blank canvas. Nearly everything, save some woodwork and the floors, was painted white. Even the original chandelier and light fixtures in the living room. I’d loved images I’d seen of red dining rooms and knew this dining room would be perfect in red! And it was for these ten years.
A More Serene Color Palette
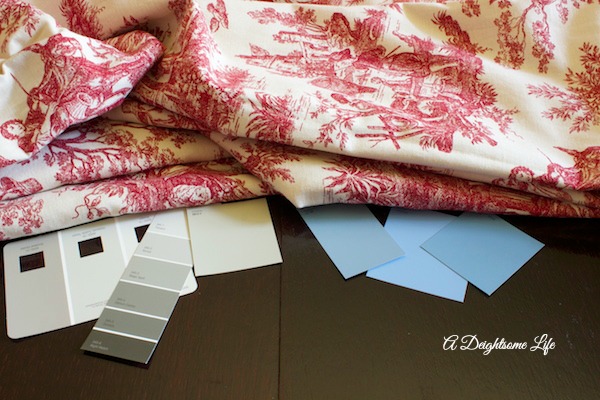
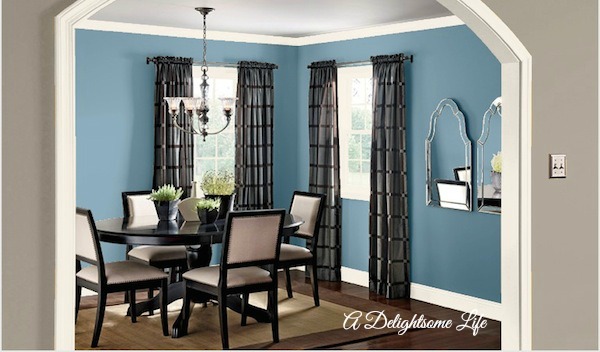
I have found myself drawn more and more to serene colors lately – especially blue. As I walked through our dining room I envisioned what this room could look like decorated in shades of blue. I’d found several curtain panels – red toile – that I thought could look good with blue walls as background. The drawback was that the curtains were too short for the windowseat – where the golden bee patterened curtains I’d made a while back framed the windowseat. I have now chosen another fabric for the curtains – following ideas I found in a Charles Faudree book.
Covering Red Walls
Everywhere I’d read and whoever I’d talked to noted that red walls are difficult to cover. That wasn’t something I considered when I first painted the dining room red. With this information in mind, I began to do some research and had made plans to do a lot of prep work for the dining room to clean, repair-caulk, and prime the walls before painting.
Valspar Reserve Paint to the Rescue!
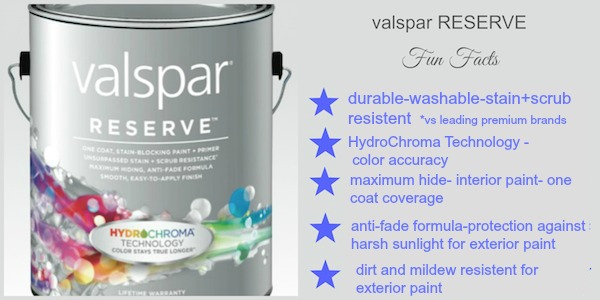
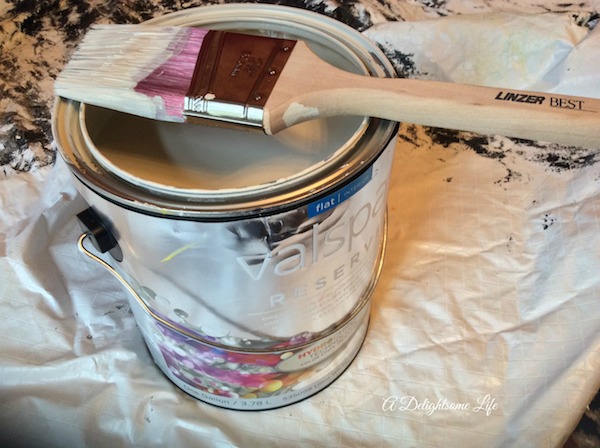
Serendipity! I was contacted and given an opportunity to review the new line of paint – Valspar Reserve. It is a ‘one coat, stain-blocking paint plus primer. It is touted as having unsurpassed stain and scrub resistance, Maximum Hiding, anti-fade formula, as well as smooth easy-to-apply finish’. This sounded like the perfect paint for my project!
Fun with Valspar Virtual Painter
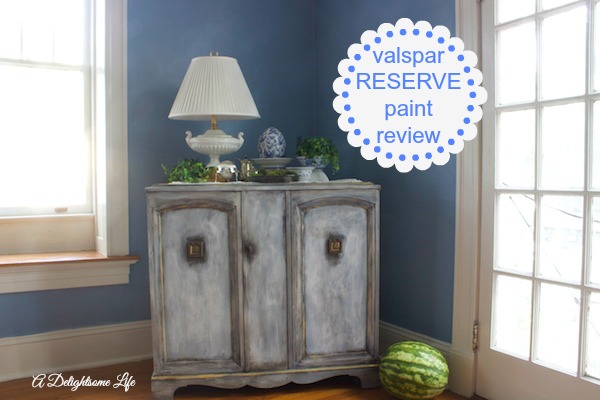
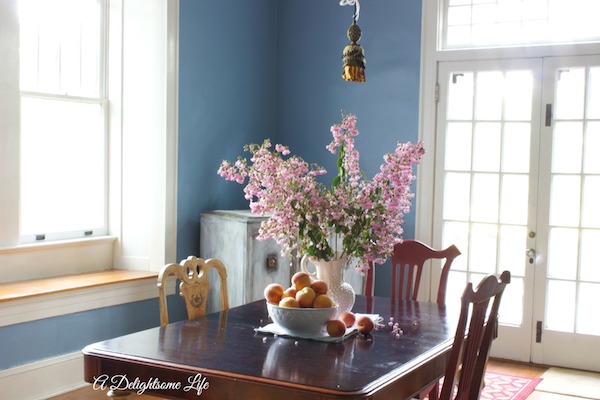
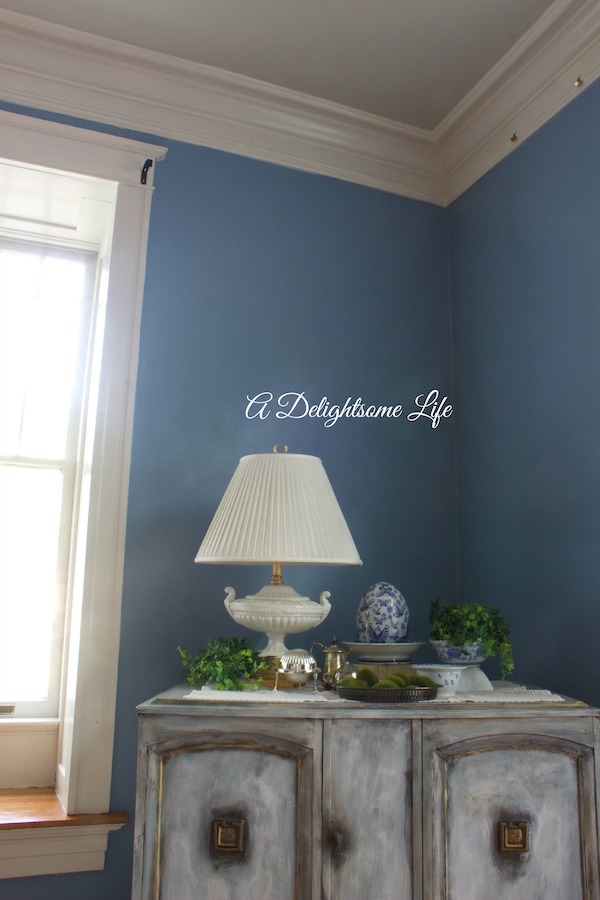
Imediately I began to experiment with this wonderful application, where you could upload your own picture or use several of the available room images in their photo library. I selected an image with similar characteristics as our dining room. I ‘saved’ several color combinations and then went to LOWES to gather paint chips to compare with the fabrics I’d selected. I finally narrowed down my selection to three options and then asked for my family’s opinion. Our selection ended up being Valspar Peaceful Slumber (CI-196) along with Oatlands Subtle Taupe(6005-1B) – for the ceiling and Asiago (6005-1A) – for the trim.
Patience and Preparation
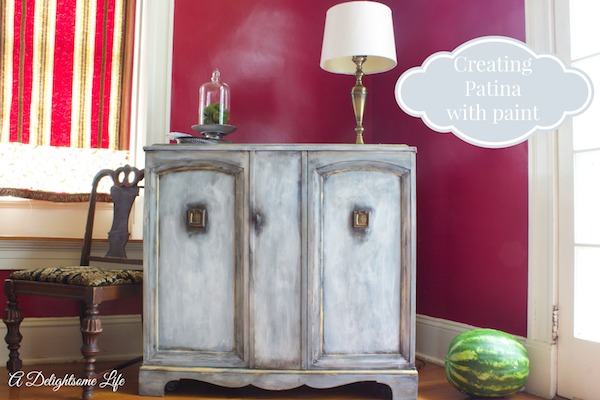
While waiting for the paint to arrive, I cleared out the dining room, cleaned the windows, filled cracks and holes as well as sanding the red walls, because they were quite shiny and that is one of the recommendations before applying another layer of paint. I also painted one of the chests that would remain – you can read about the story of Camille, the Little Blue Chest here.
Painting Project Begins!
I was thrilled when the paint arrived – very well packaged and ready to go! I read the instructions on the back (do you do that?) Even though I was chomping at the bit to see how well this paint would cover the red walls and to see just how this blue would look, I followed the instructions and started with painting the ceiling. I used a brush, Dearest asked ‘why’ I just did! I was up close and personal to our ceiling and loved seeing the transformation from yellow to a soft taupe. Our ceilings are 10 ft. hight with wide trim – the room measures 10′ 2″ by 19′ 2″. This was a lot of up and down work, but with my music playing nearby – I was quite ready for this task!
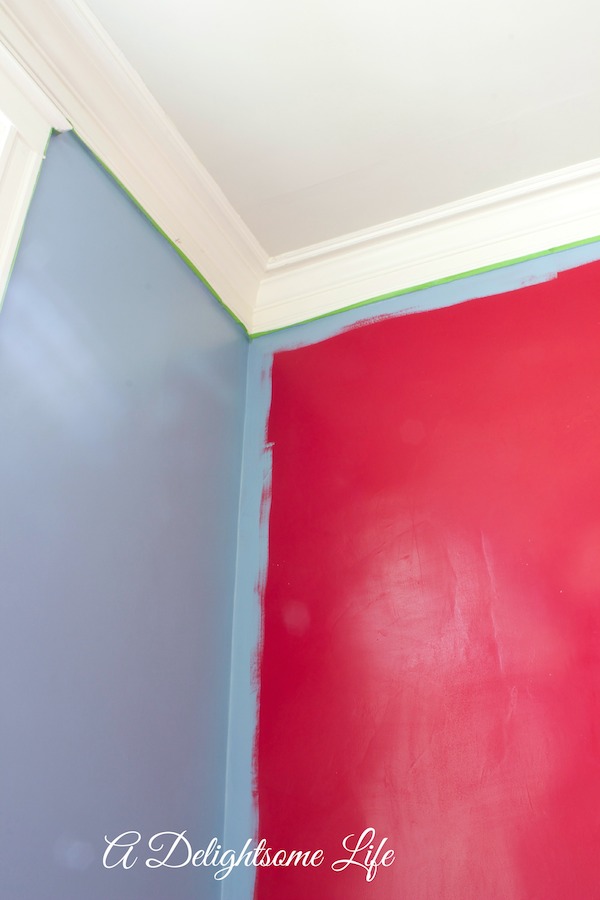
Valspar Reserve Peaceful Slumber over Southern Beauty Red
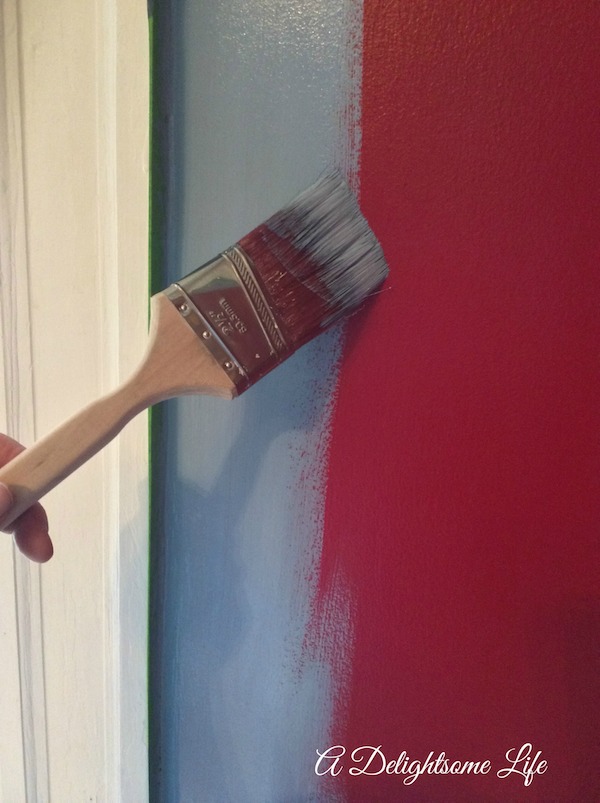
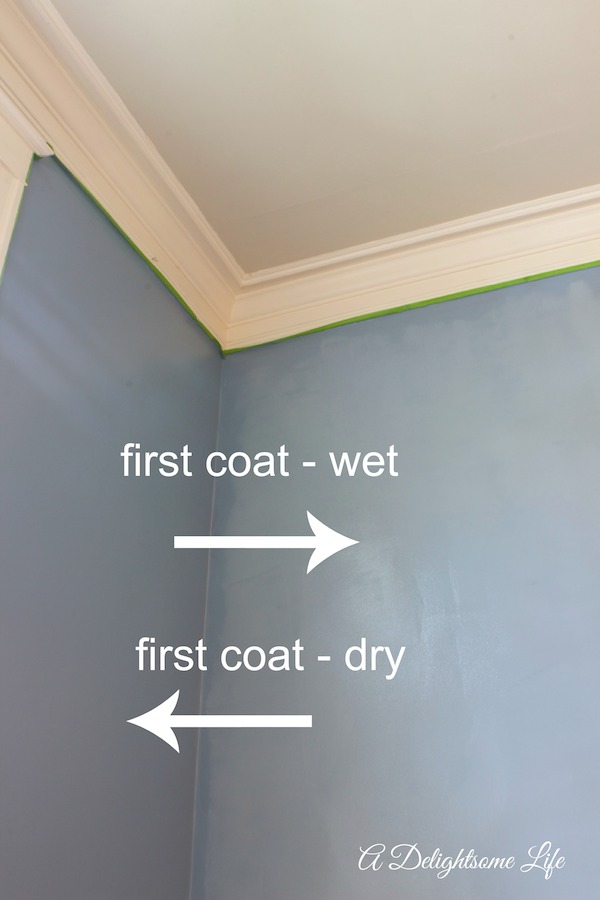
Ok! I was ready to begin. I taped along and then cut in the paint along the trim (I’ll share later why I truly should have stared with the trim next!) The blue wet was beautiful – and a bit lighter. The paint can be dry from between 30 minutes to an hour – I could see my vision becoming a reality. Then I used a roller with a long handle to apply the paint in straight up and down lines – I’d typically used the big V then fill in horizontally and vertically in 2 to 3 ft. squares, but in my research, I’d come across a professional painter who shared how to paint a room unsing the up and down method – It worked beautifully!
Nearly Full Coverage in One Coat!
Amazement! Incredible! I was in awe – shared a few photos on Instagram and Facebook as I went! I was ecstatic to see how well this paint performed! The only reason I had to do two coats was where I allowed the paint to come on thin and the fact that our walls are plaster – there’s a bit of an orange peel texture here and there -this caused the paint to need to be applied twice. But, after the second coat – complete coverage- no bleed through! I felt like singing that ‘Happy’ song-or dancing to it!
Oh What a Beautiful Morning!
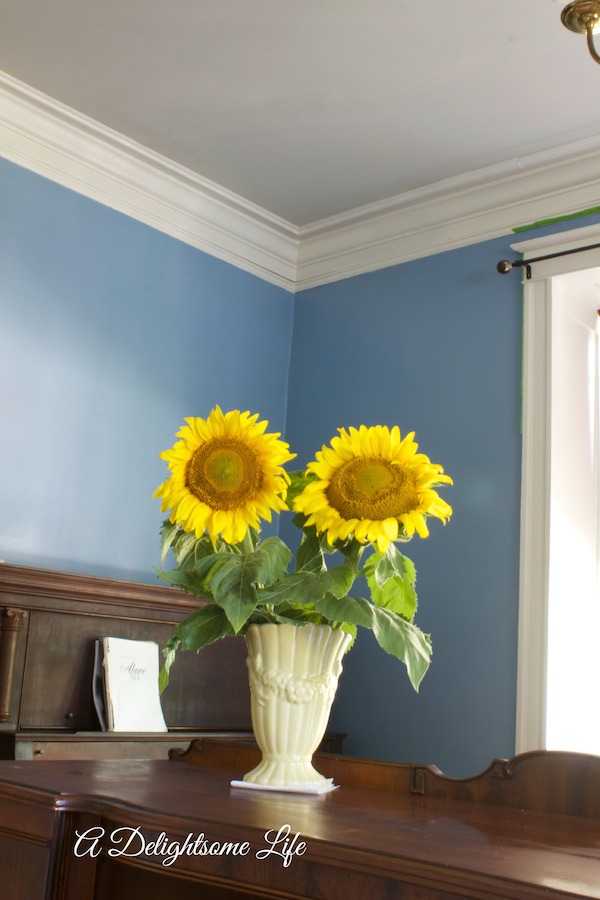
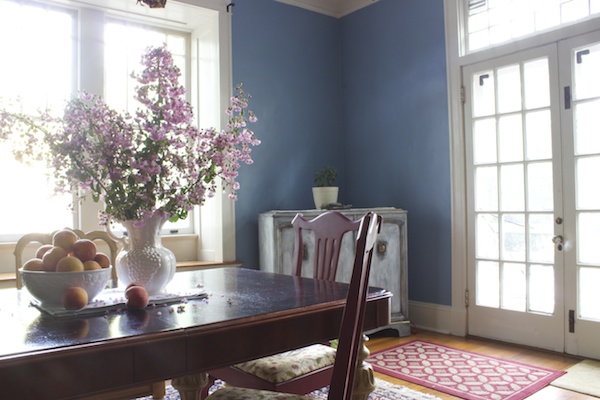
The morning after the first application, Dearest came downstairs to go to work and when he saw the room he belted with his beautiful voice, ‘Oh, what a beautiful morning…‘ (the song from Oklahoma)! With the room nearly empty of wall decor and curtain coverings his voice just reverberated beautifully! Darling daughter brought in two sunflowers she’d picked from her boyfriend’s family’s farm and joined in – their beautiful voices blending. We all laughed. Yes, this beautiful blue is the perfect color for this dining room!
Happy
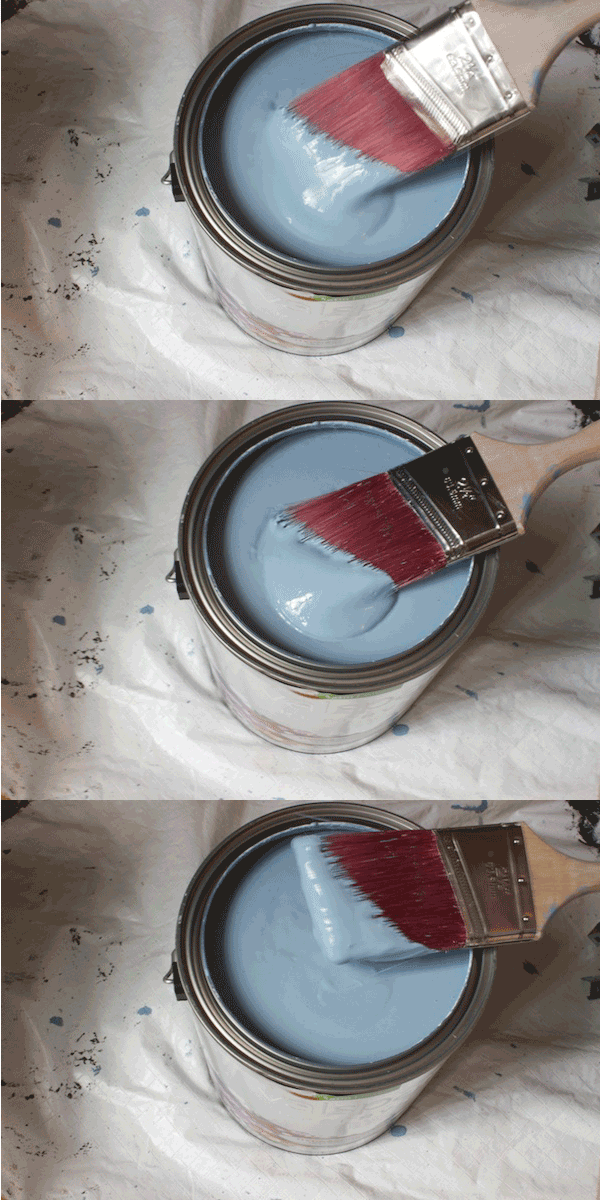
I truly am so happy with this shade of blue, this incredible paint, the ceiling and trim color choices, the truly easy application of this thick paint. It’s consistency can be compared to batter – with the combination of paint and primer it glides on beautifully.
Do follow the instructions and check out the painting method shared by this professional – it helped me a lot!
Important Notes
I’d shared with you that I should have applied the trim color before the wall color – Dearest was right! This was his suggestion, but I thought all I’d have to do was to reapply the tape over the blue with perfect lines and it would work beautifully. There is not one truly straight line in our old, plaster walls! This house is 100 years old and there’s been some settling over the years – and who knows how many applications of paint beforehand and the walls do have character – patina. So as I removed the tape here and there red paint peeped through. I’d go back over by hand, messing up the ‘straight lines’. I did a lot of this hunting and pecking at the red paint! Here’s how I should have done it (and eventually did). I should have covered the trim and allowed the trim paint to run over the walls a bit covering the ‘seam’ between trim and wall. Then I could tape the trim, once completely dry, and apply the blue wall color to achieve the semblance of straight lines. Voila – the red covered, the ceiling and trim complete – this stage of the dining room transformation is now complete!
Brush Clean Up
With this paint being a combination of paint and primer and being such a thick paint, you truly need to be diligent in cleaning your brushes and rollers. Primers have a reputation for being difficult to clean and potentially ruining brushes. The instructions call for warm, soapy water. I found you truly do need to open up the bristles and get into the center of the brush to get all of the paint out! Make sure that your brush is thoroughly cleaned and the water runs clear before drying. I missed on one brush – more research – and found that soaking the brush amonia and water does the trick on cleaning and restoring brushes. I also tried the vinegar solution – and found that the ammonia cut through the areas in the brush I’d missed – along with some of elbow grease and scraping.
Would I recommend Valspar Reserve?
Yes! Absolutely! We are planning to do some painting in a couple other rooms – the living room off from the dining room….I’m considering Valspar ‘Smoked Oyster’ (6005-1C) loving the greige colors right now too! Do follow the instructions, and due diligence in cleaning your paint brushes and rollers you too can be quite pleased with the coverage and applicaton of this paint. As for the cleaning aspets and anti-fade- – I suspect they will be true – it’s truly too early to tell – I’ll keep you updated!
Now onto the rest of the dining room transformation tasks…
sewing, more furniture painting, as well as creating my own artwork. I do need to find that ‘Happy’ song to add to my playlist!
Dining Room Transformation
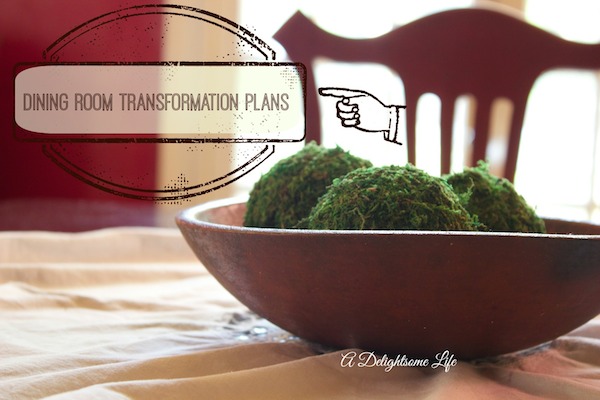
Dining Room Transformation Plans
The Story of Camille, the Little Blue Chest
Painting the Walls and Trim
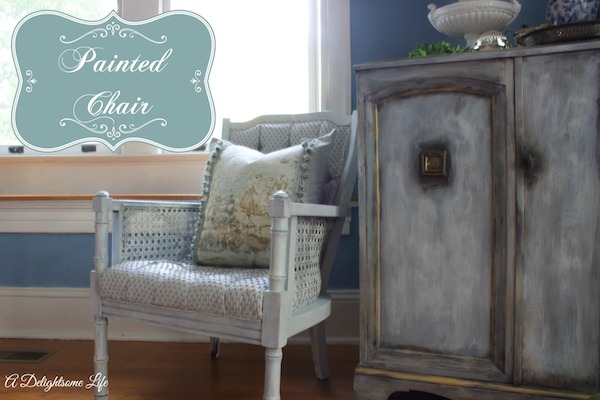
next, Salvation Army $10 chair transformation
Follow Along:
Valspar may ocassionally have giveaways and sales – it’s a great time to make a change in your home with Valspar Reserve Paint!
Twitter: @Valspar_Paint
Instagram: @ValsparPaint
Facebook: Valspar Paint
Pinterest: www.pinterest.com/valsparpaint
